
Draw this horse step by step!
(Take a look at the horse that Sarah, age 7, drew!)
This drawing is actually of a foal, which is why its mane is shorter. You can download the reference picture here.
To begin, start with the basic shapes you see. This will help you get the proportions right before you start adding details. Draw these shapes VERY LIGHTLY, as you’ll be erasing some of these lines later.
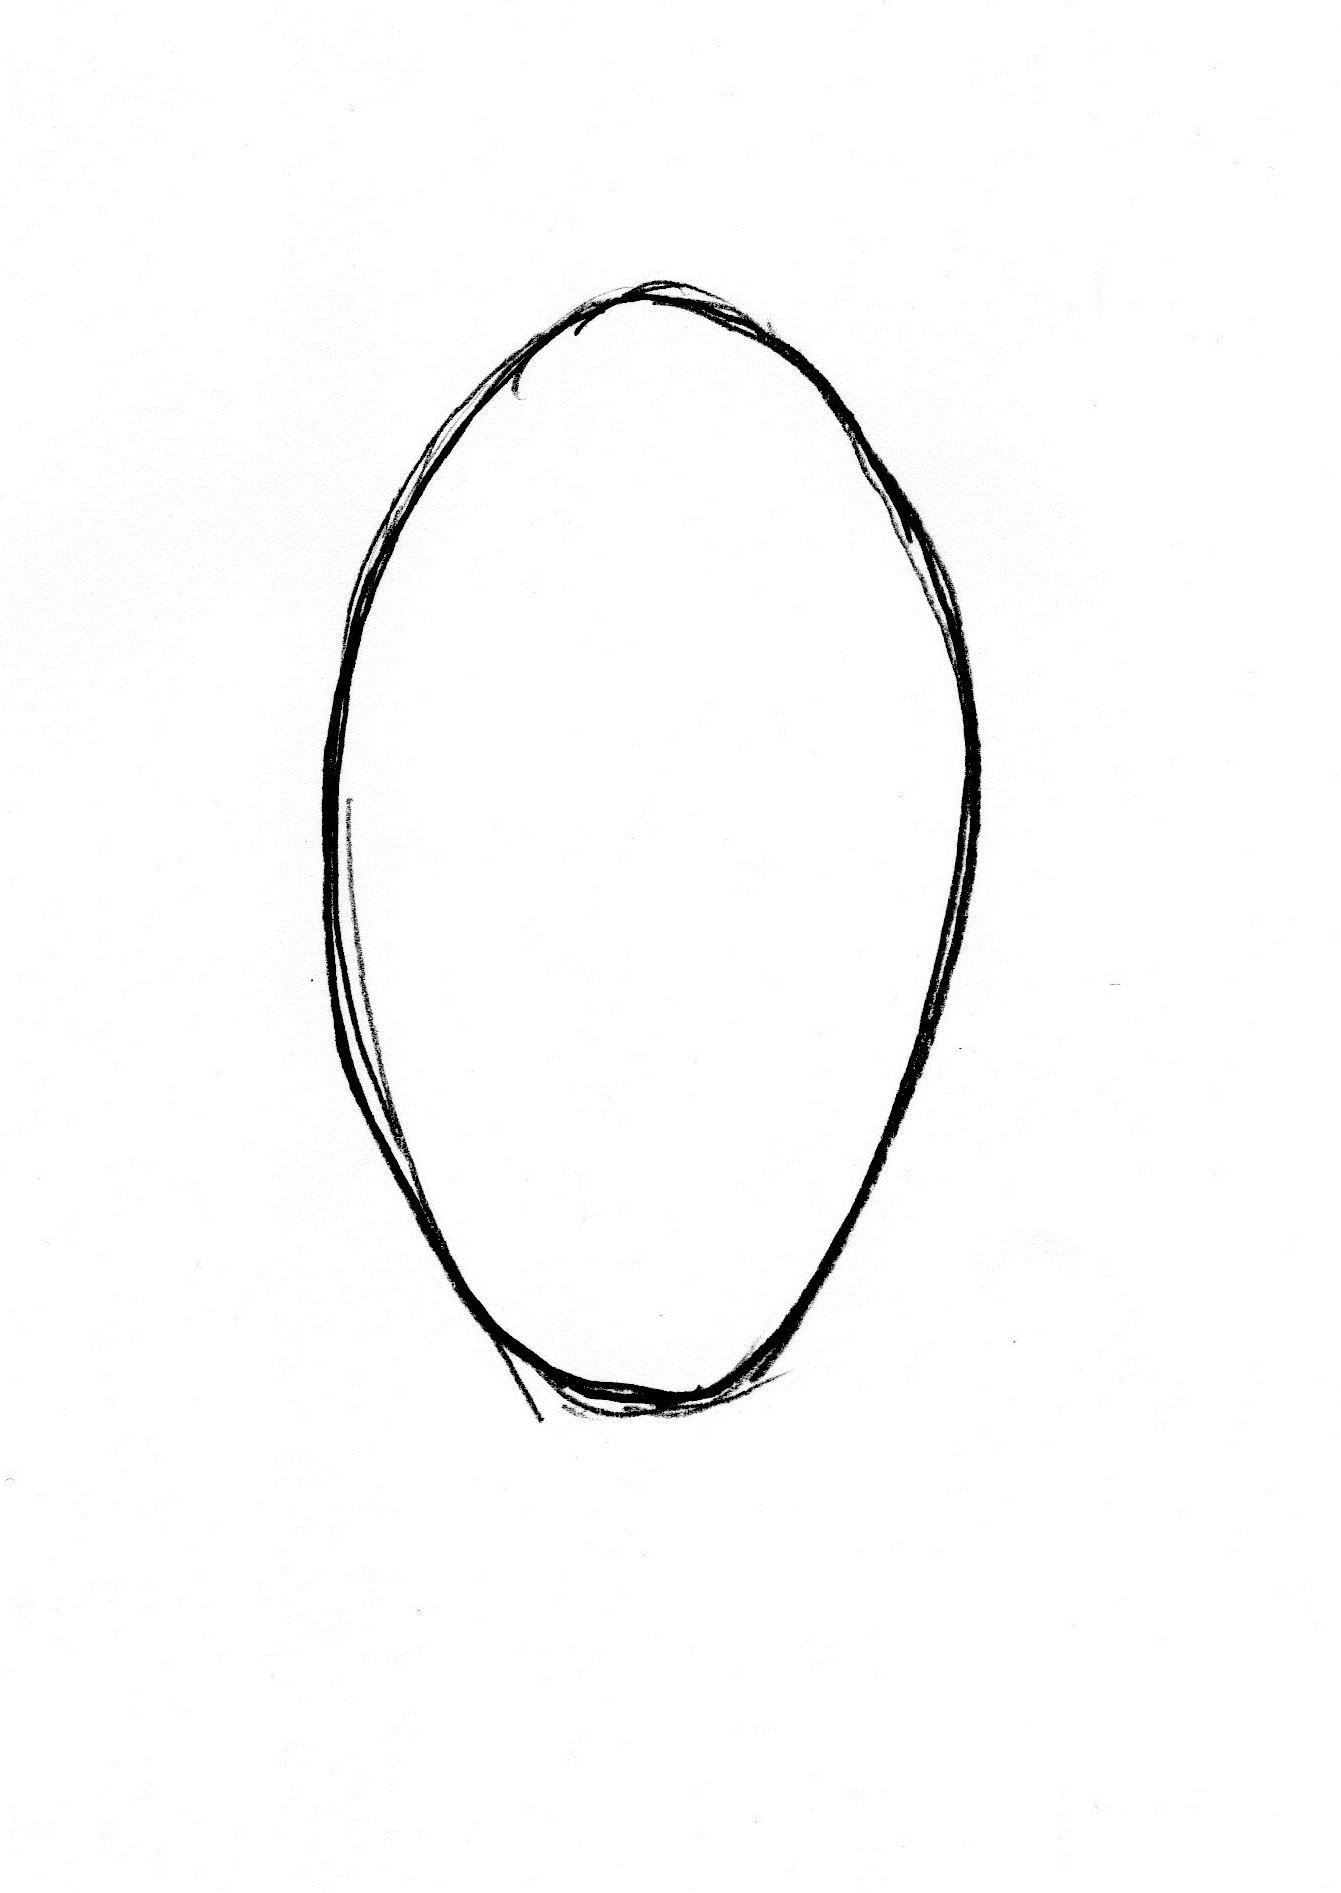
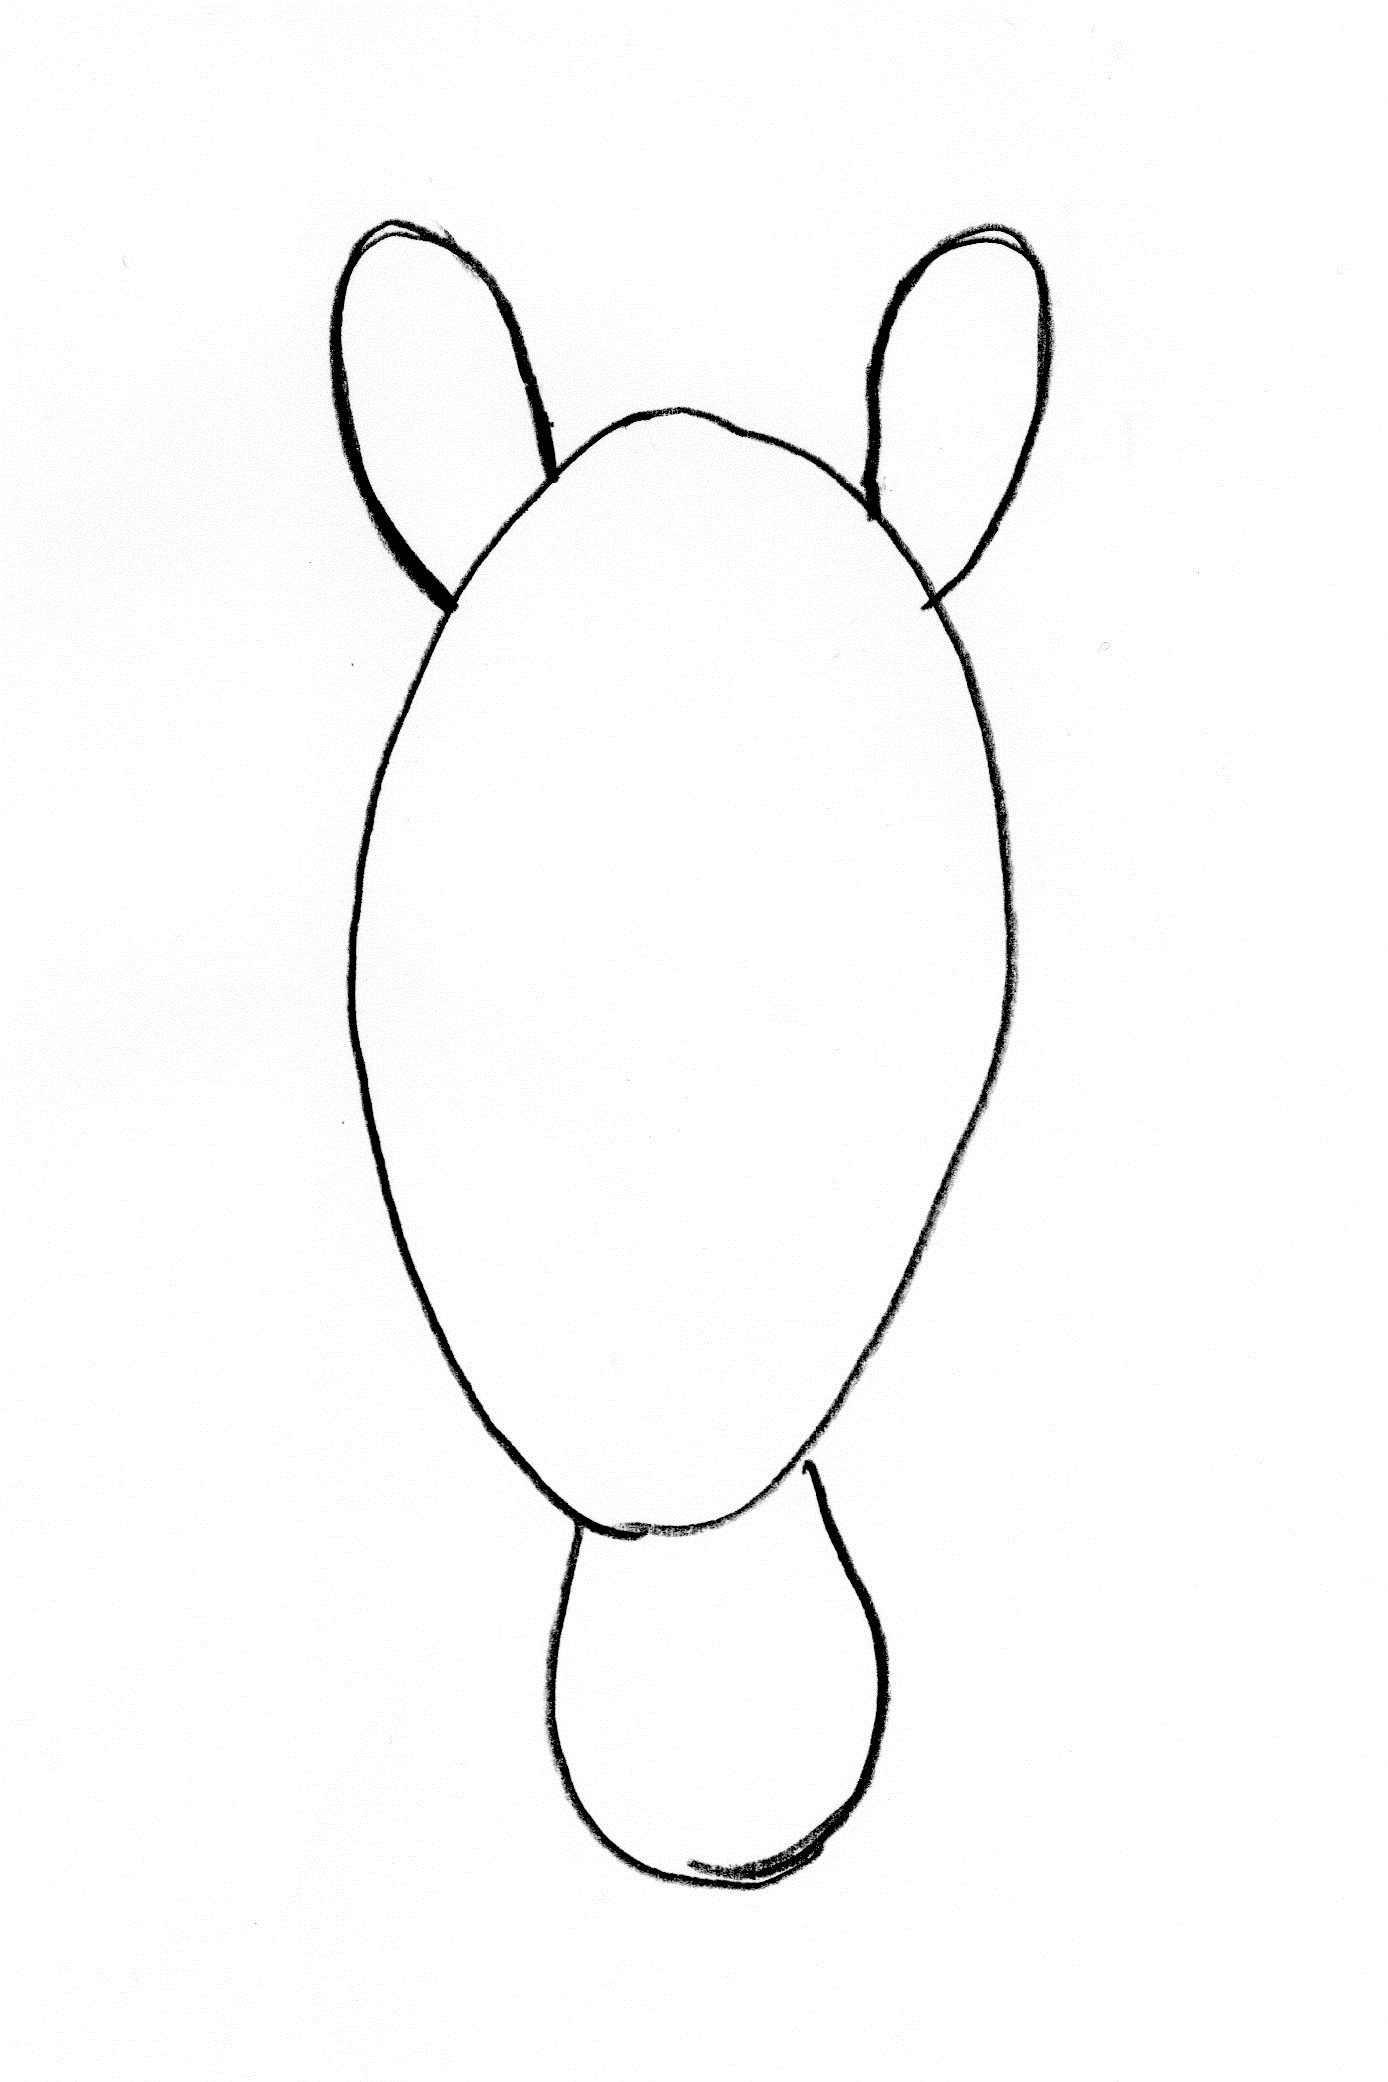
The basic shape for the head is an oval that is a little thinner on the bottom. It looks like a chicken egg, but a little thinner.
Next, add the nose. It’s sort of an oval too, although one end connects to the bottom of the head. It’s actually a curved line that looks like a horseshoe. 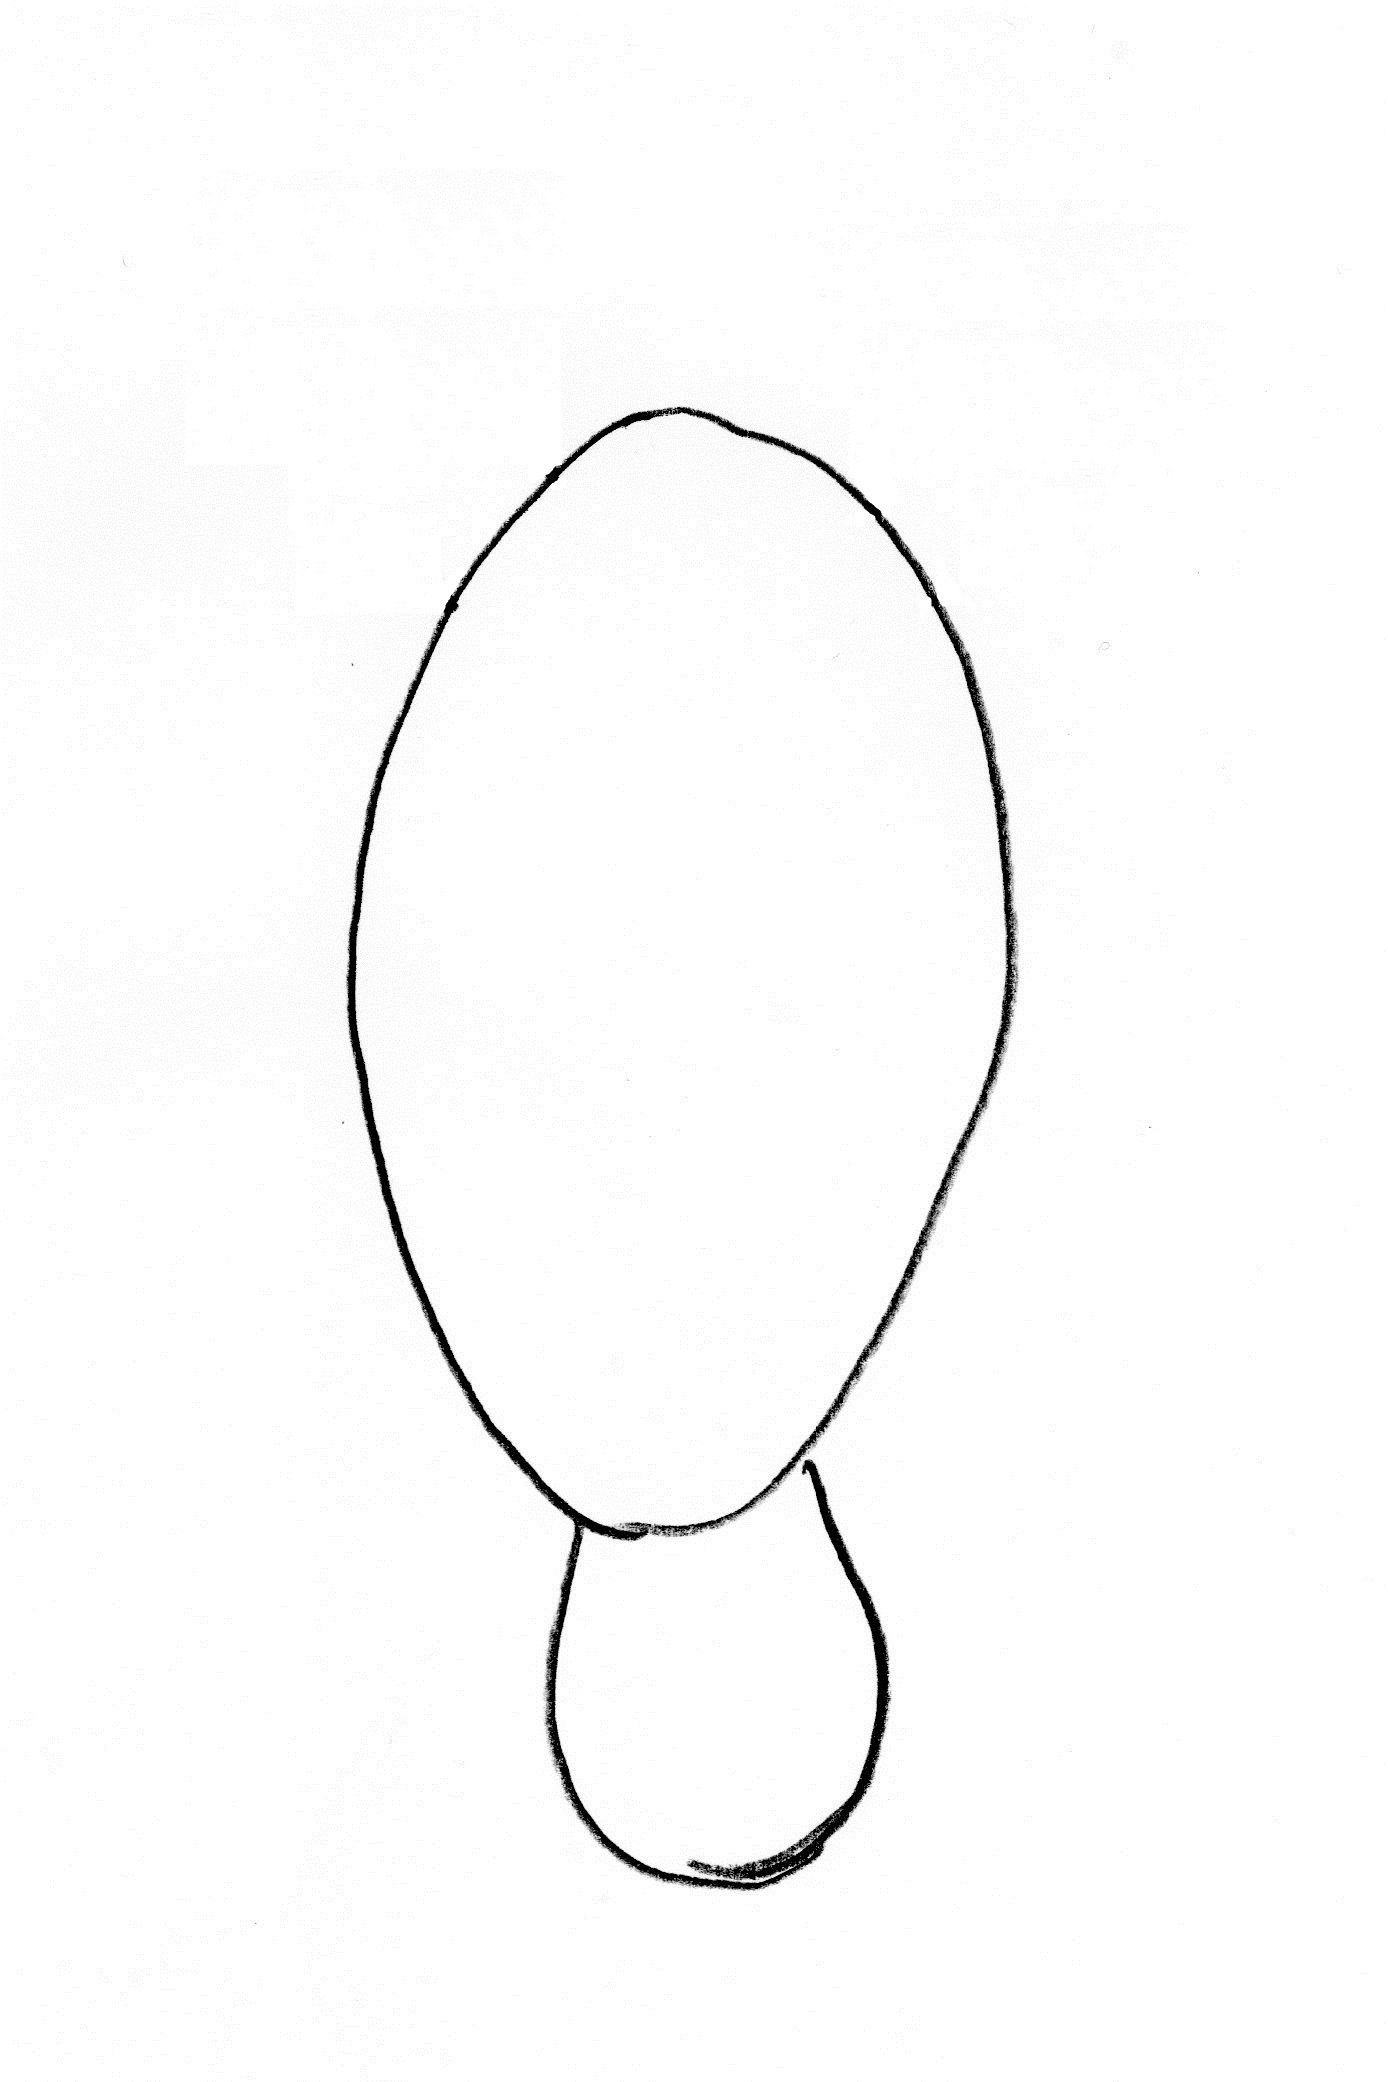
Now for the ears. Again, draw ovals that attach to the head. Notice how much space is between them.
The neck is just two straight lines, but note where the lines come in. Horses have wide necks. On this colt, the top line actually attaches at the ear. The bottom line is near the nose.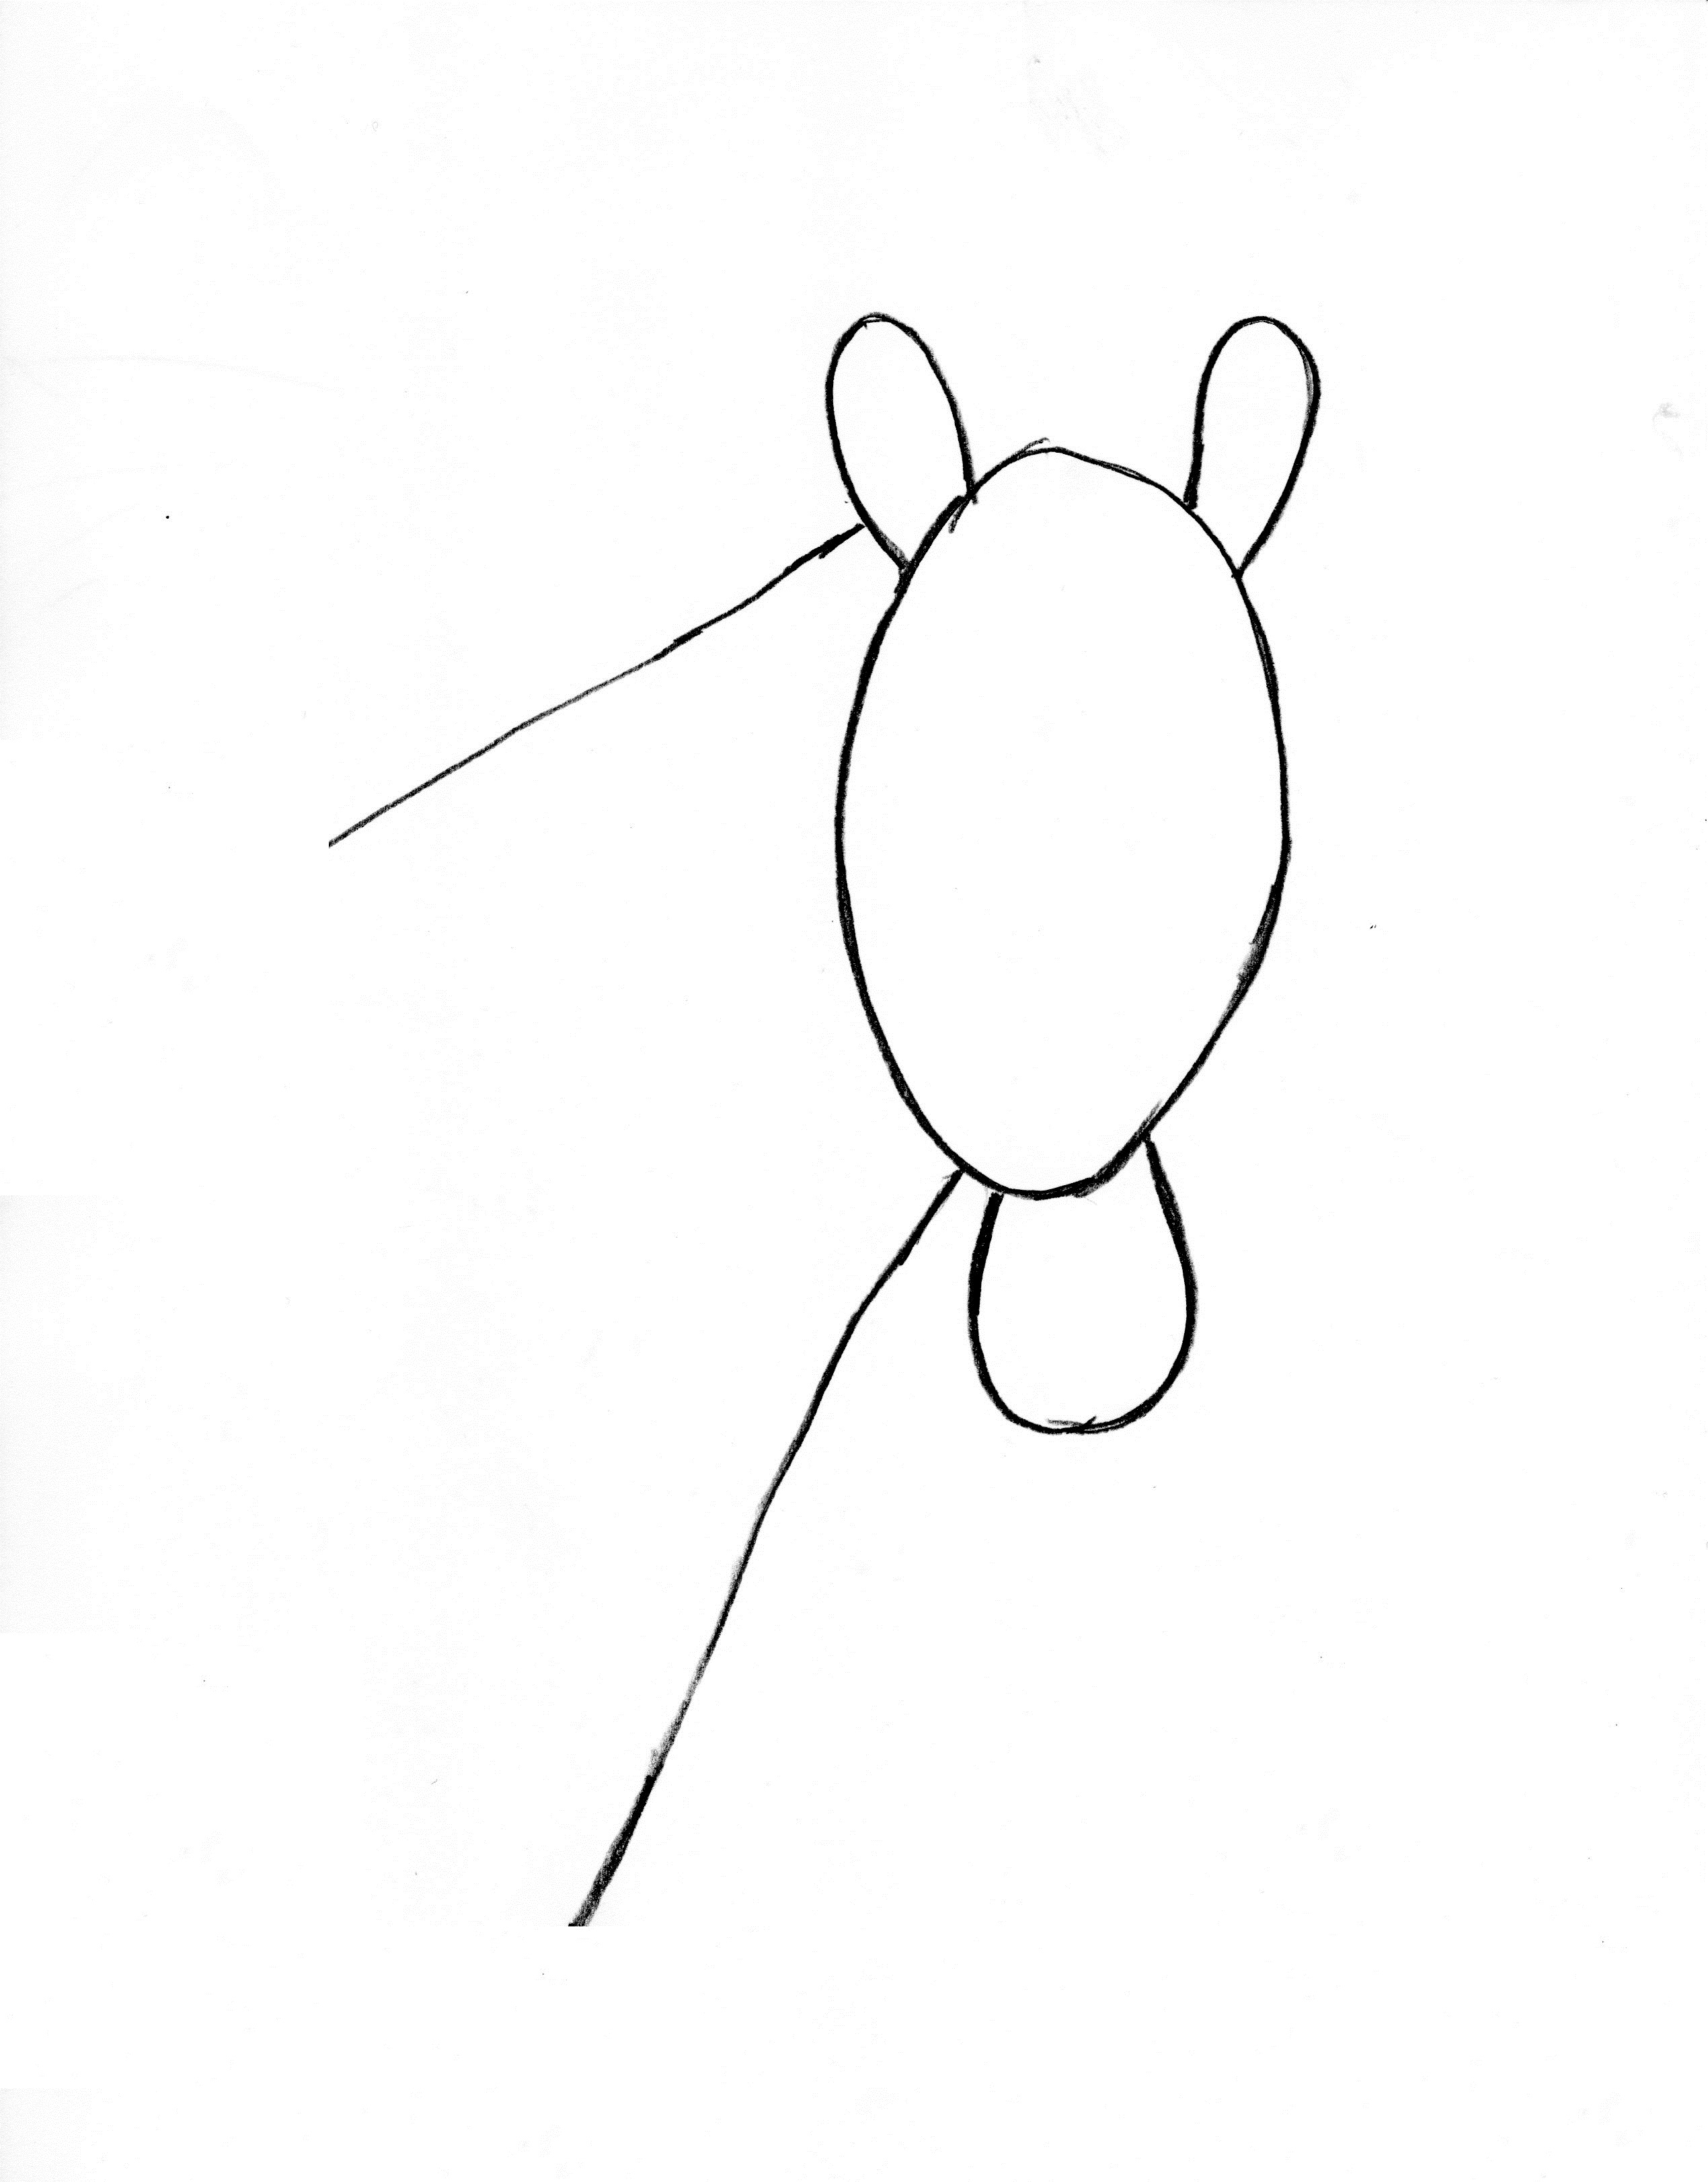
The lower neck line slants downward until it reaches the leg. The leg line goes down vertically from the neck. The other side of the leg is a slanted in the opposite direction as the neck. One more line — this one going straight across horizontally — indicates the middle of the horse.
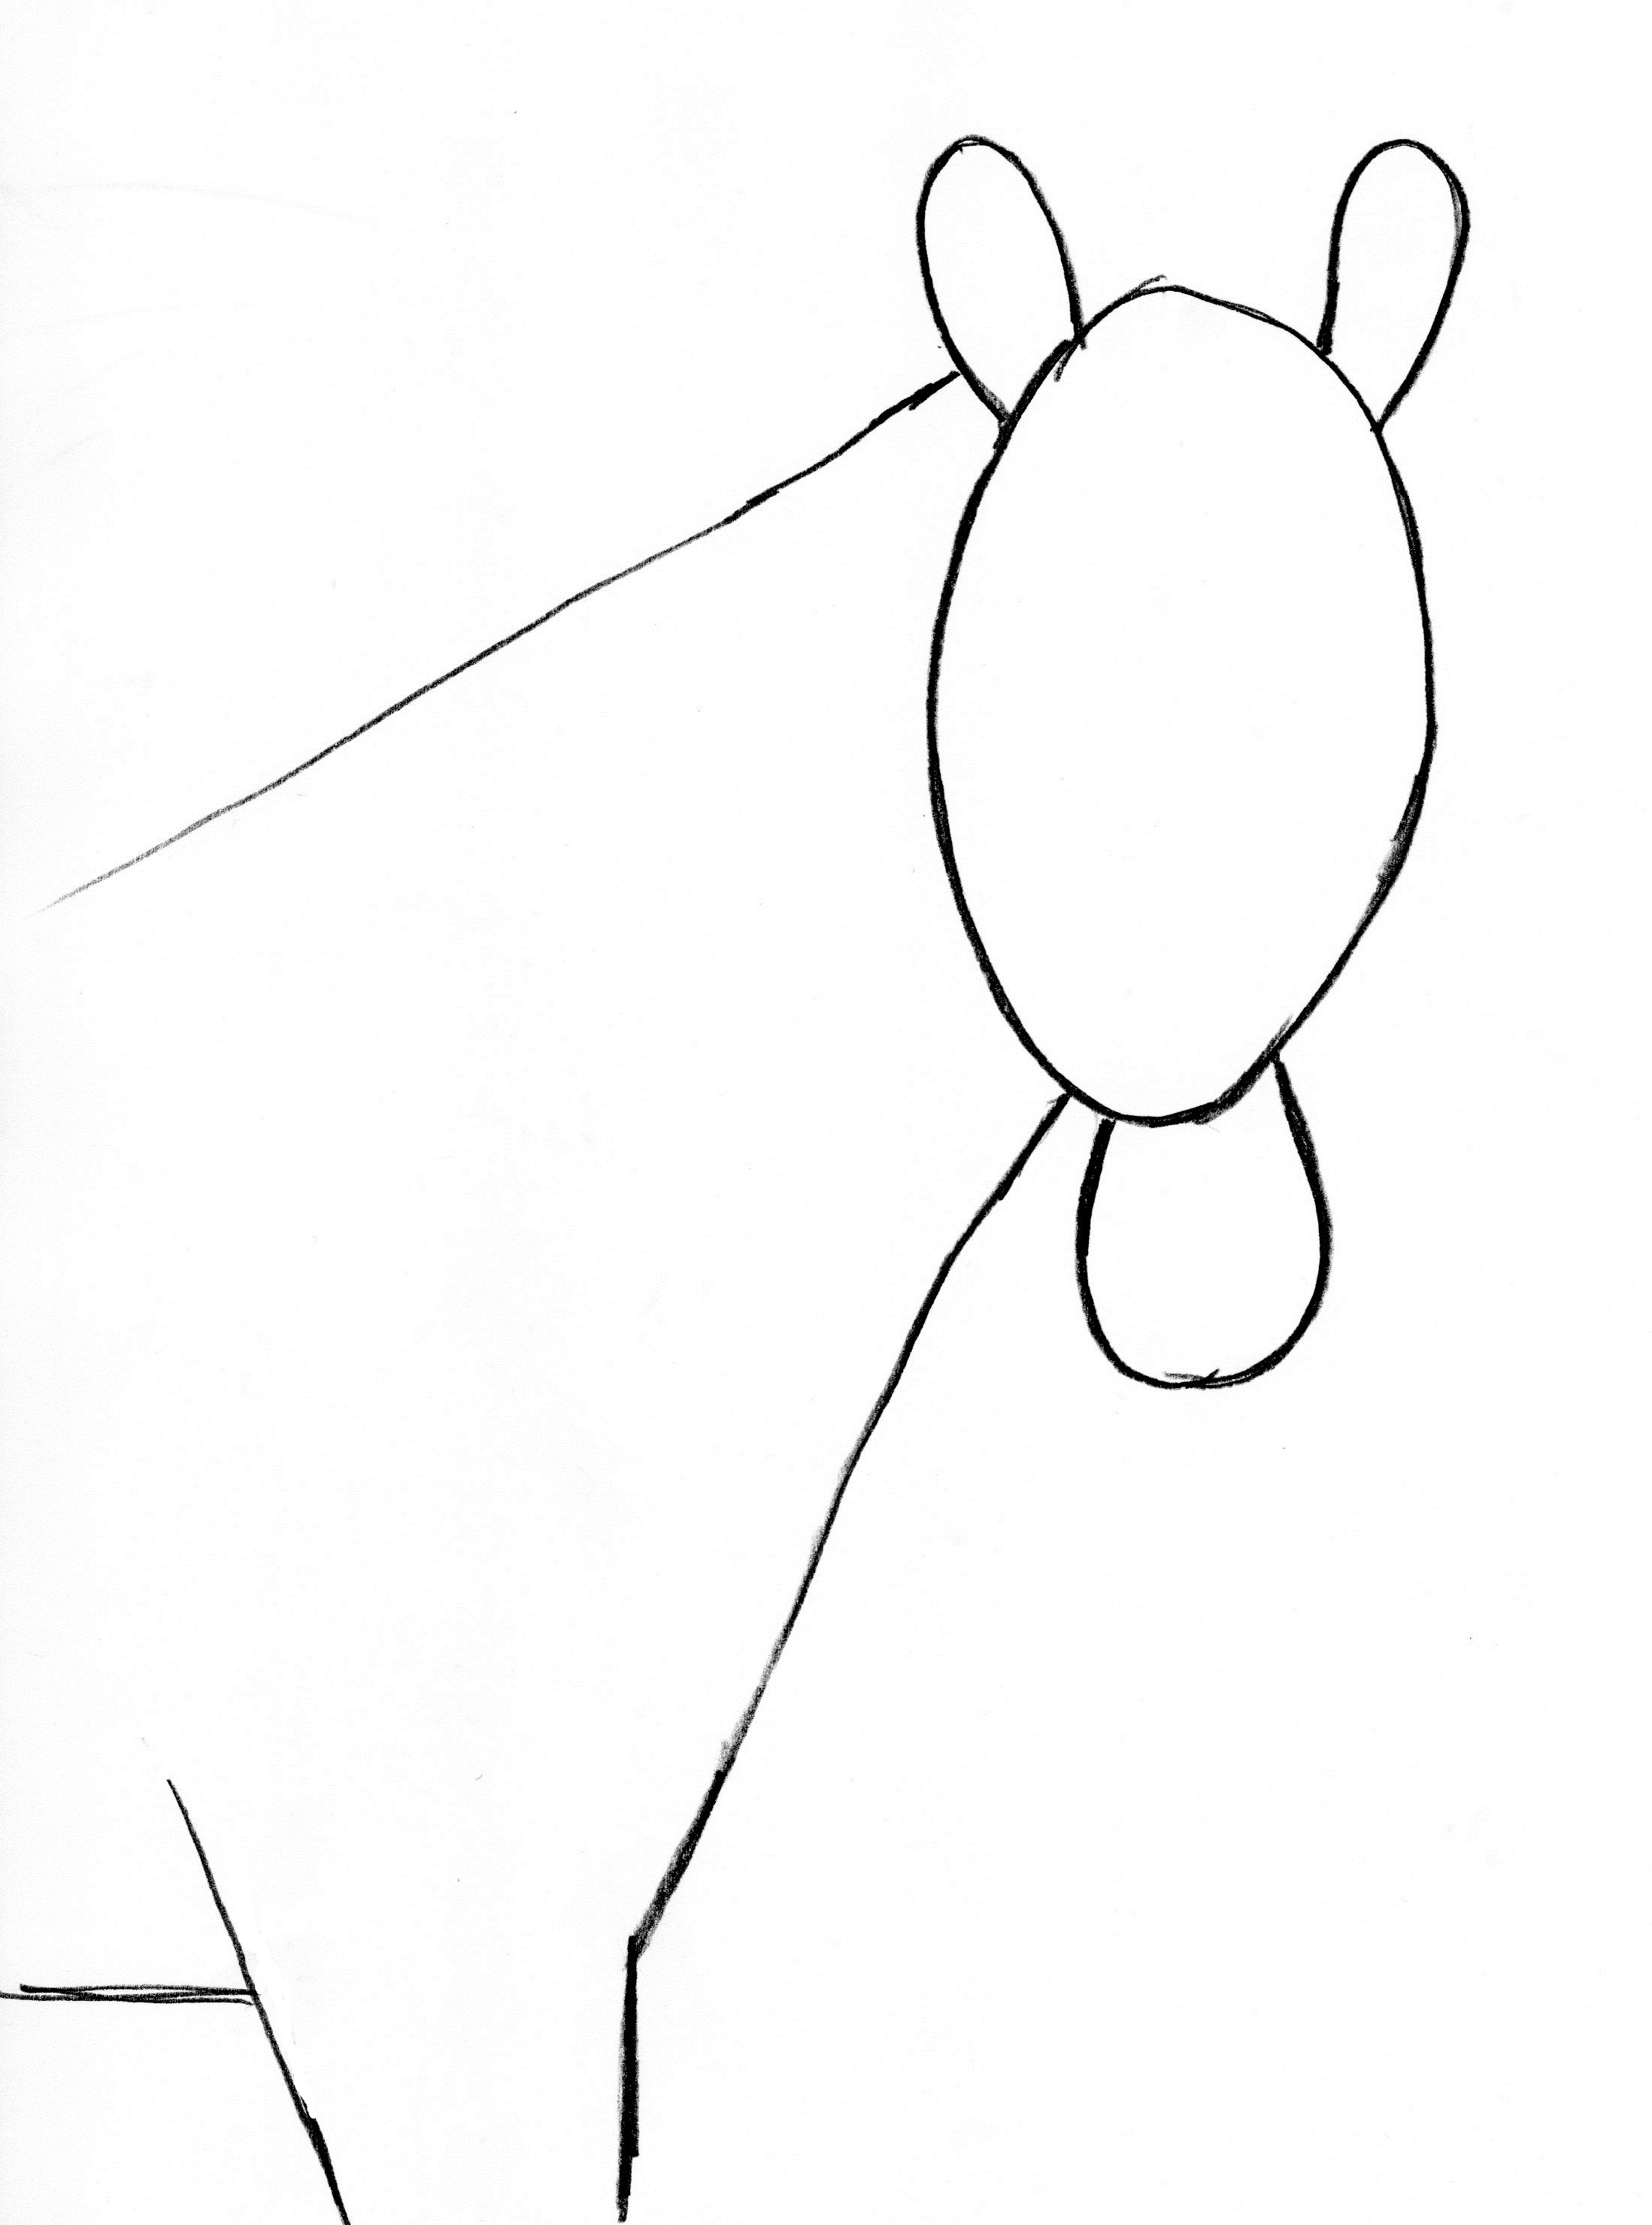
That’s it for the shapes! You should be able to see how your horse is going to fit on the page.
Now it’s time to add in the lines that will really define your horse. Draw these lines darker than the lines you drew for the shapes. To draw them, follow the outline (or contour) of the horse, creating curves and angles just as you see them on the reference picture. These lines won’t follow your shapes exactly. 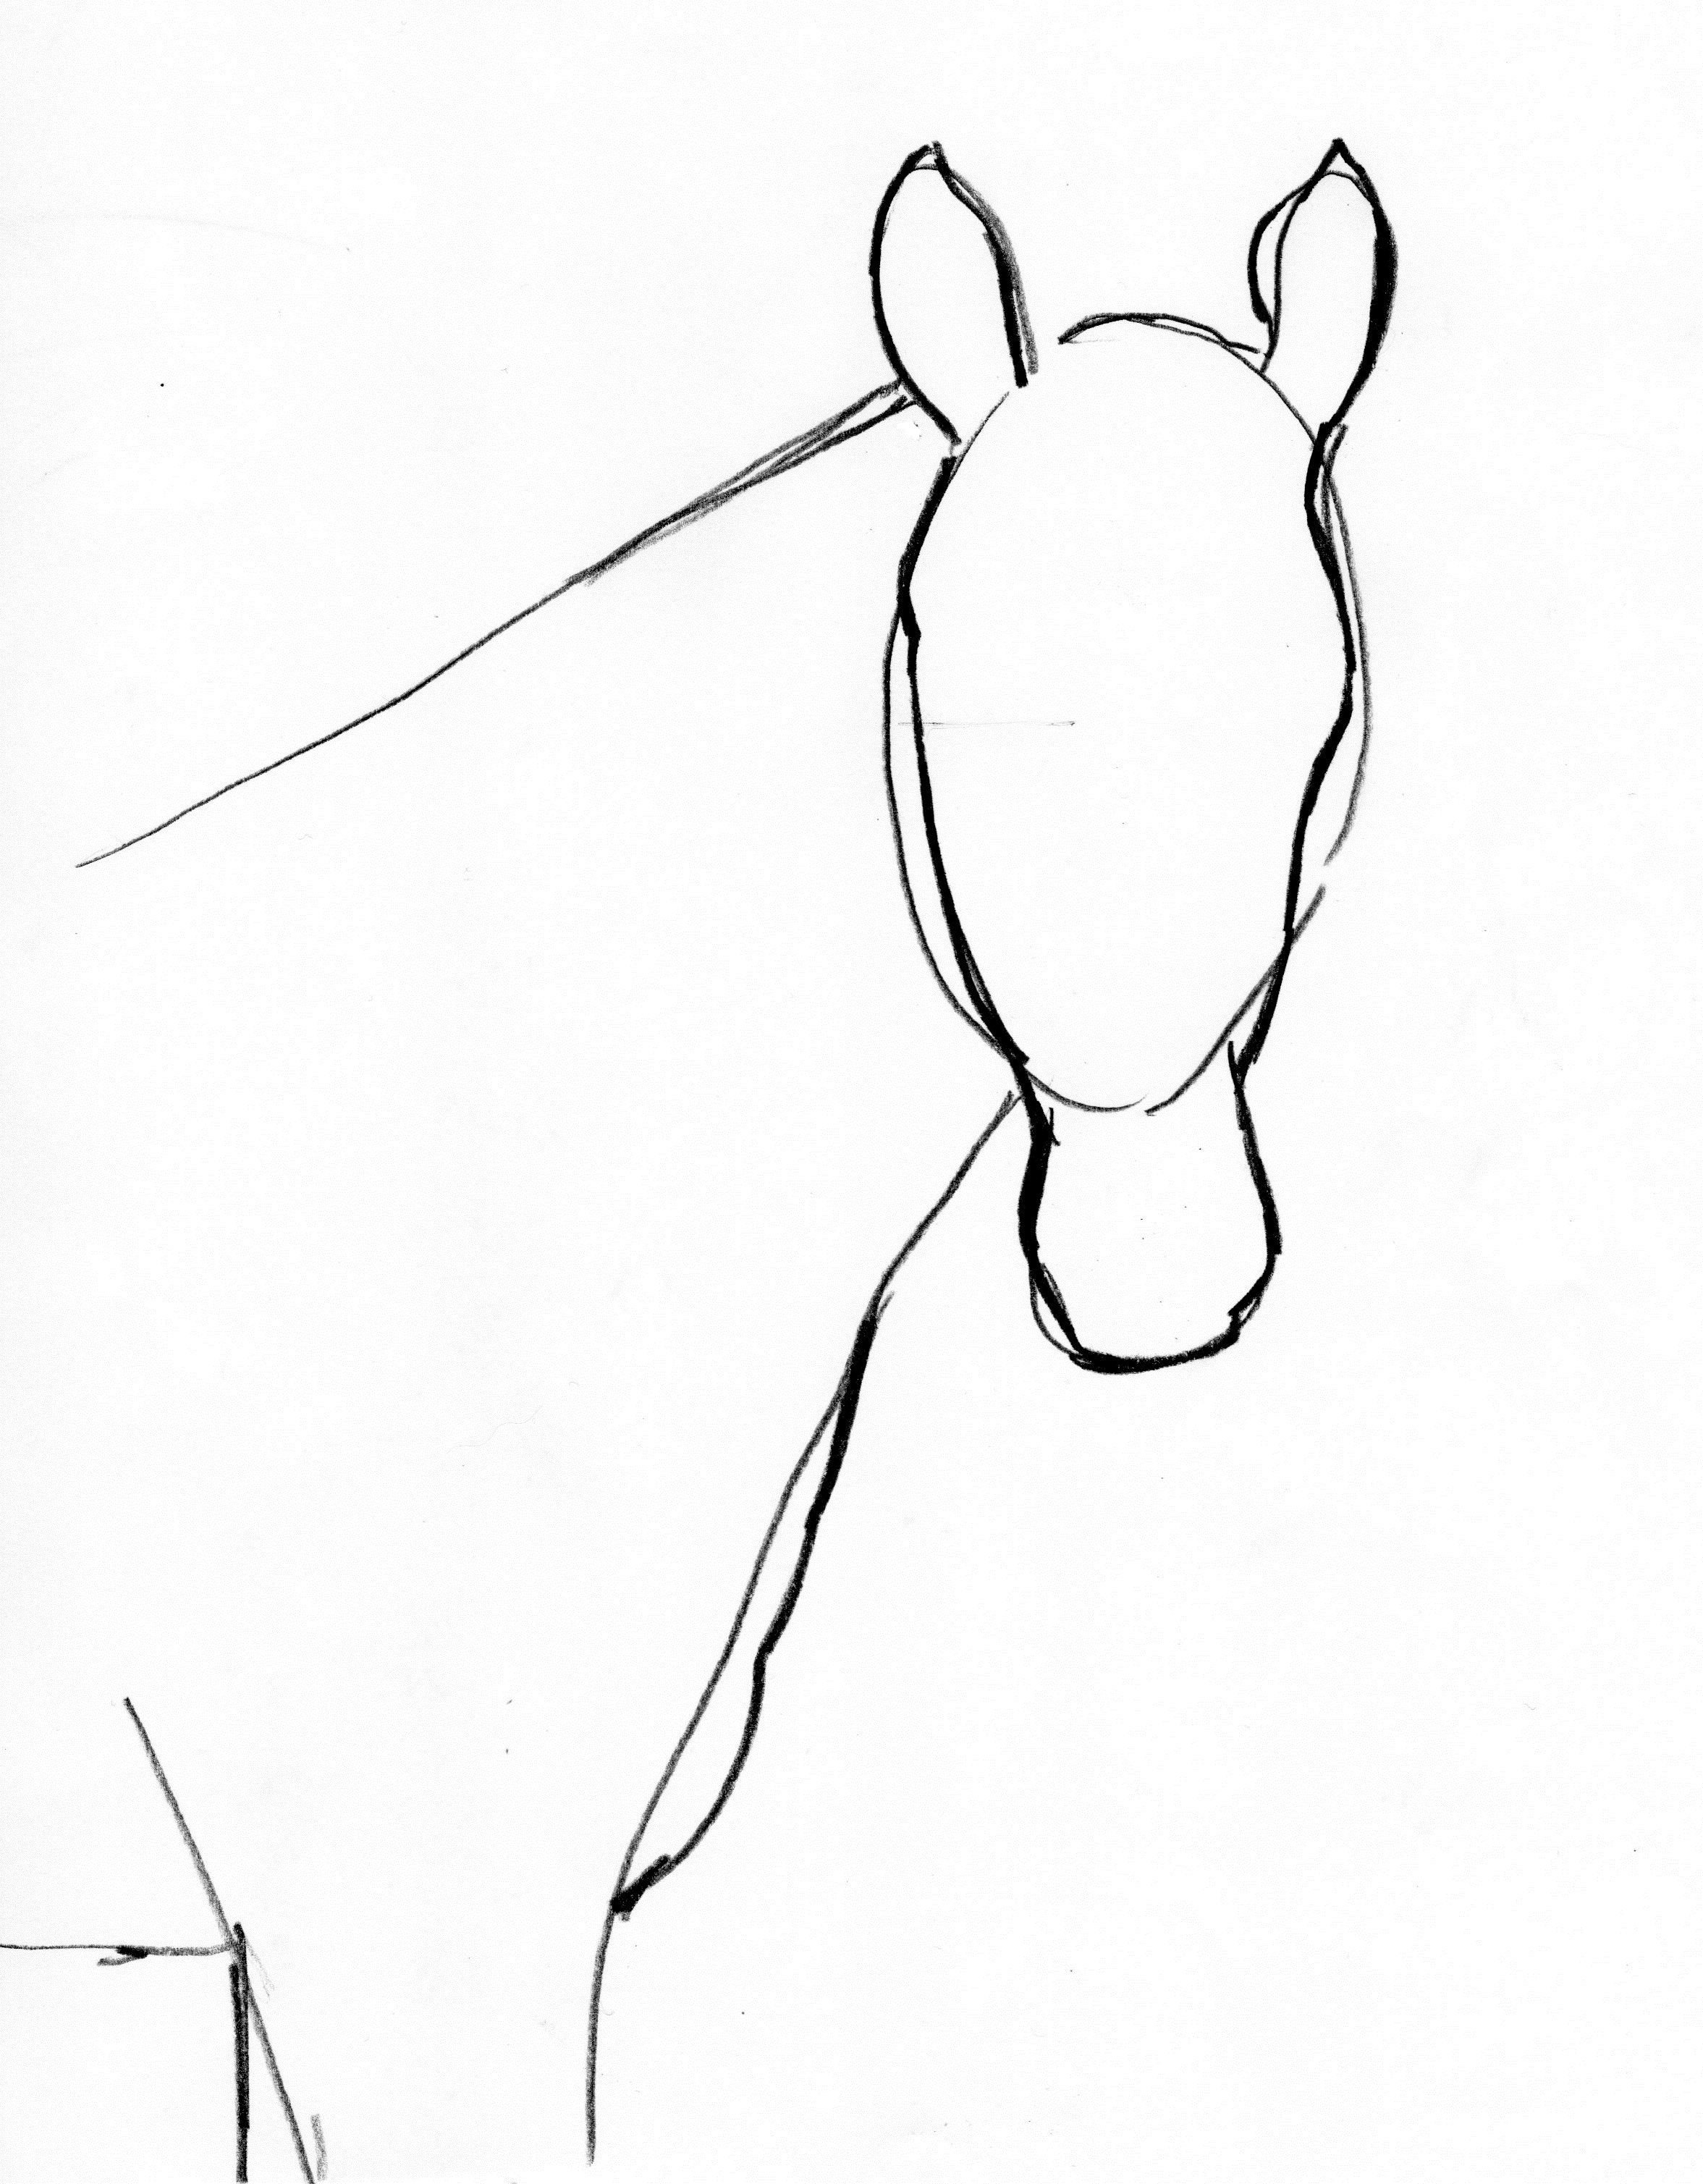
Next, place the eyes. The eyes will go half-way down on your original oval for the head. You can mark this spot lightly with a line. 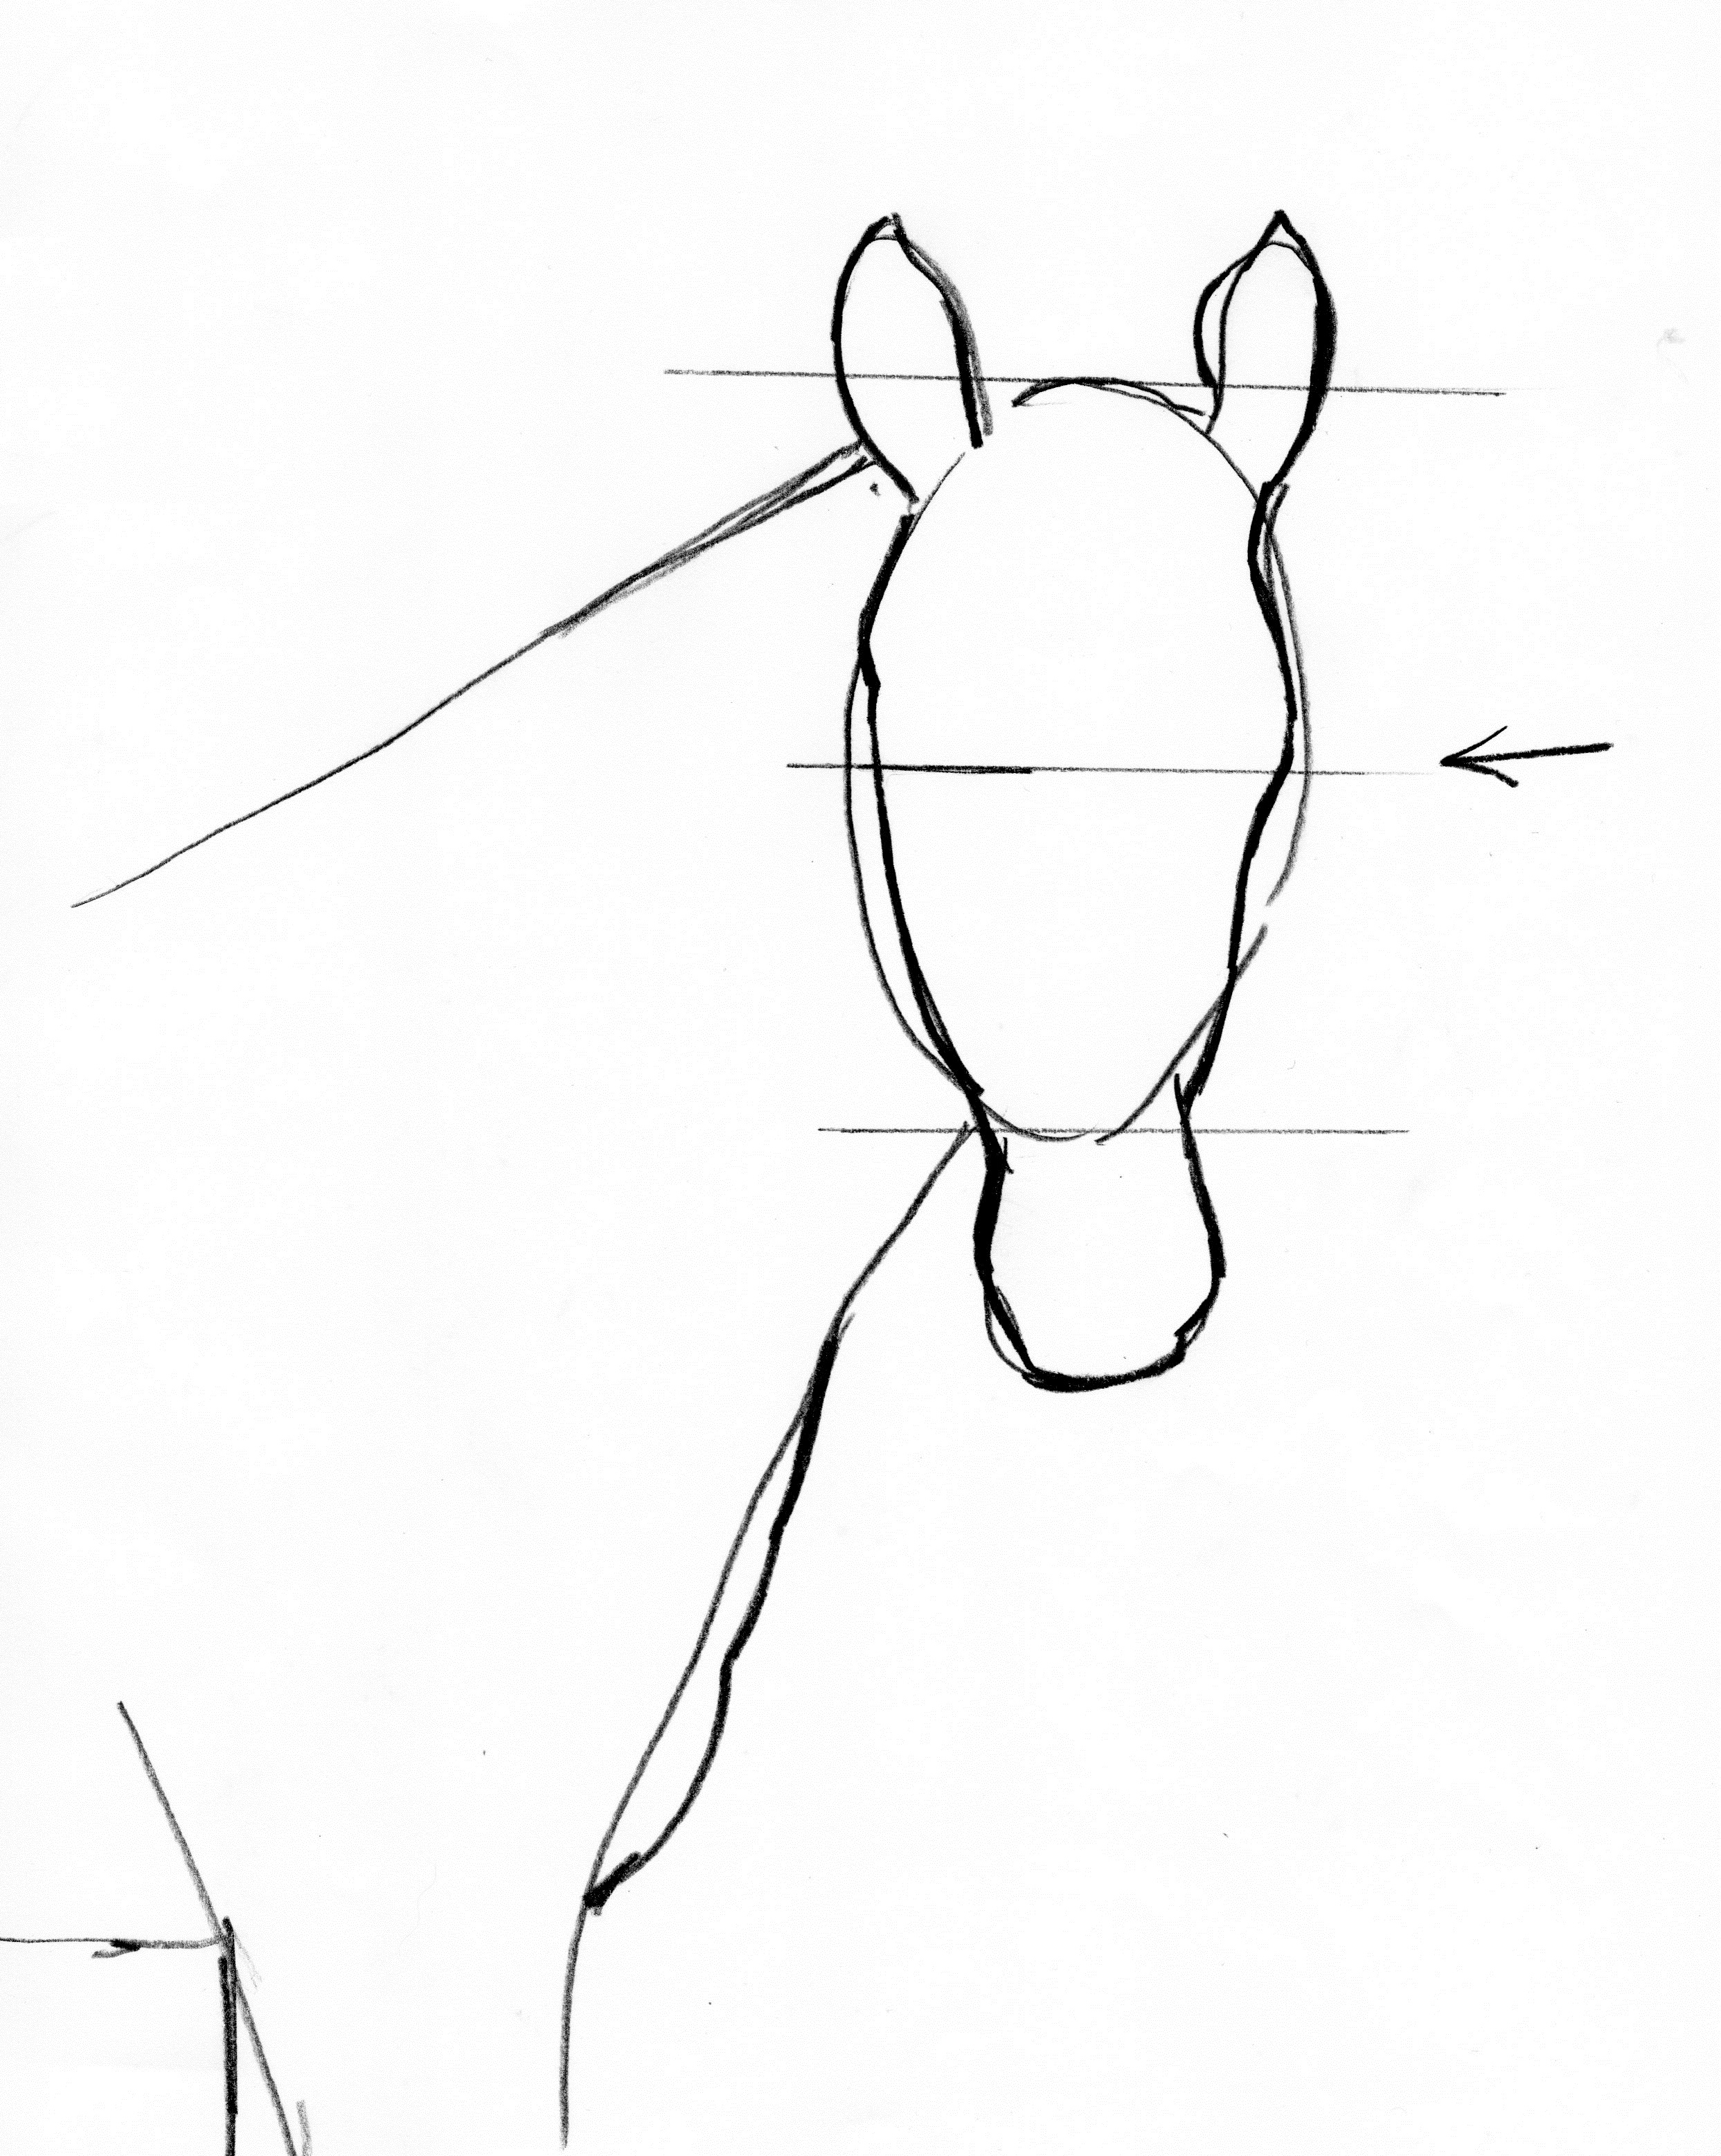
A horse’s eyes are located near the sides of its head. Draw the eyes on top of the center line you drew. Notice the eyes are like egg-shaped ovals that slant upward. 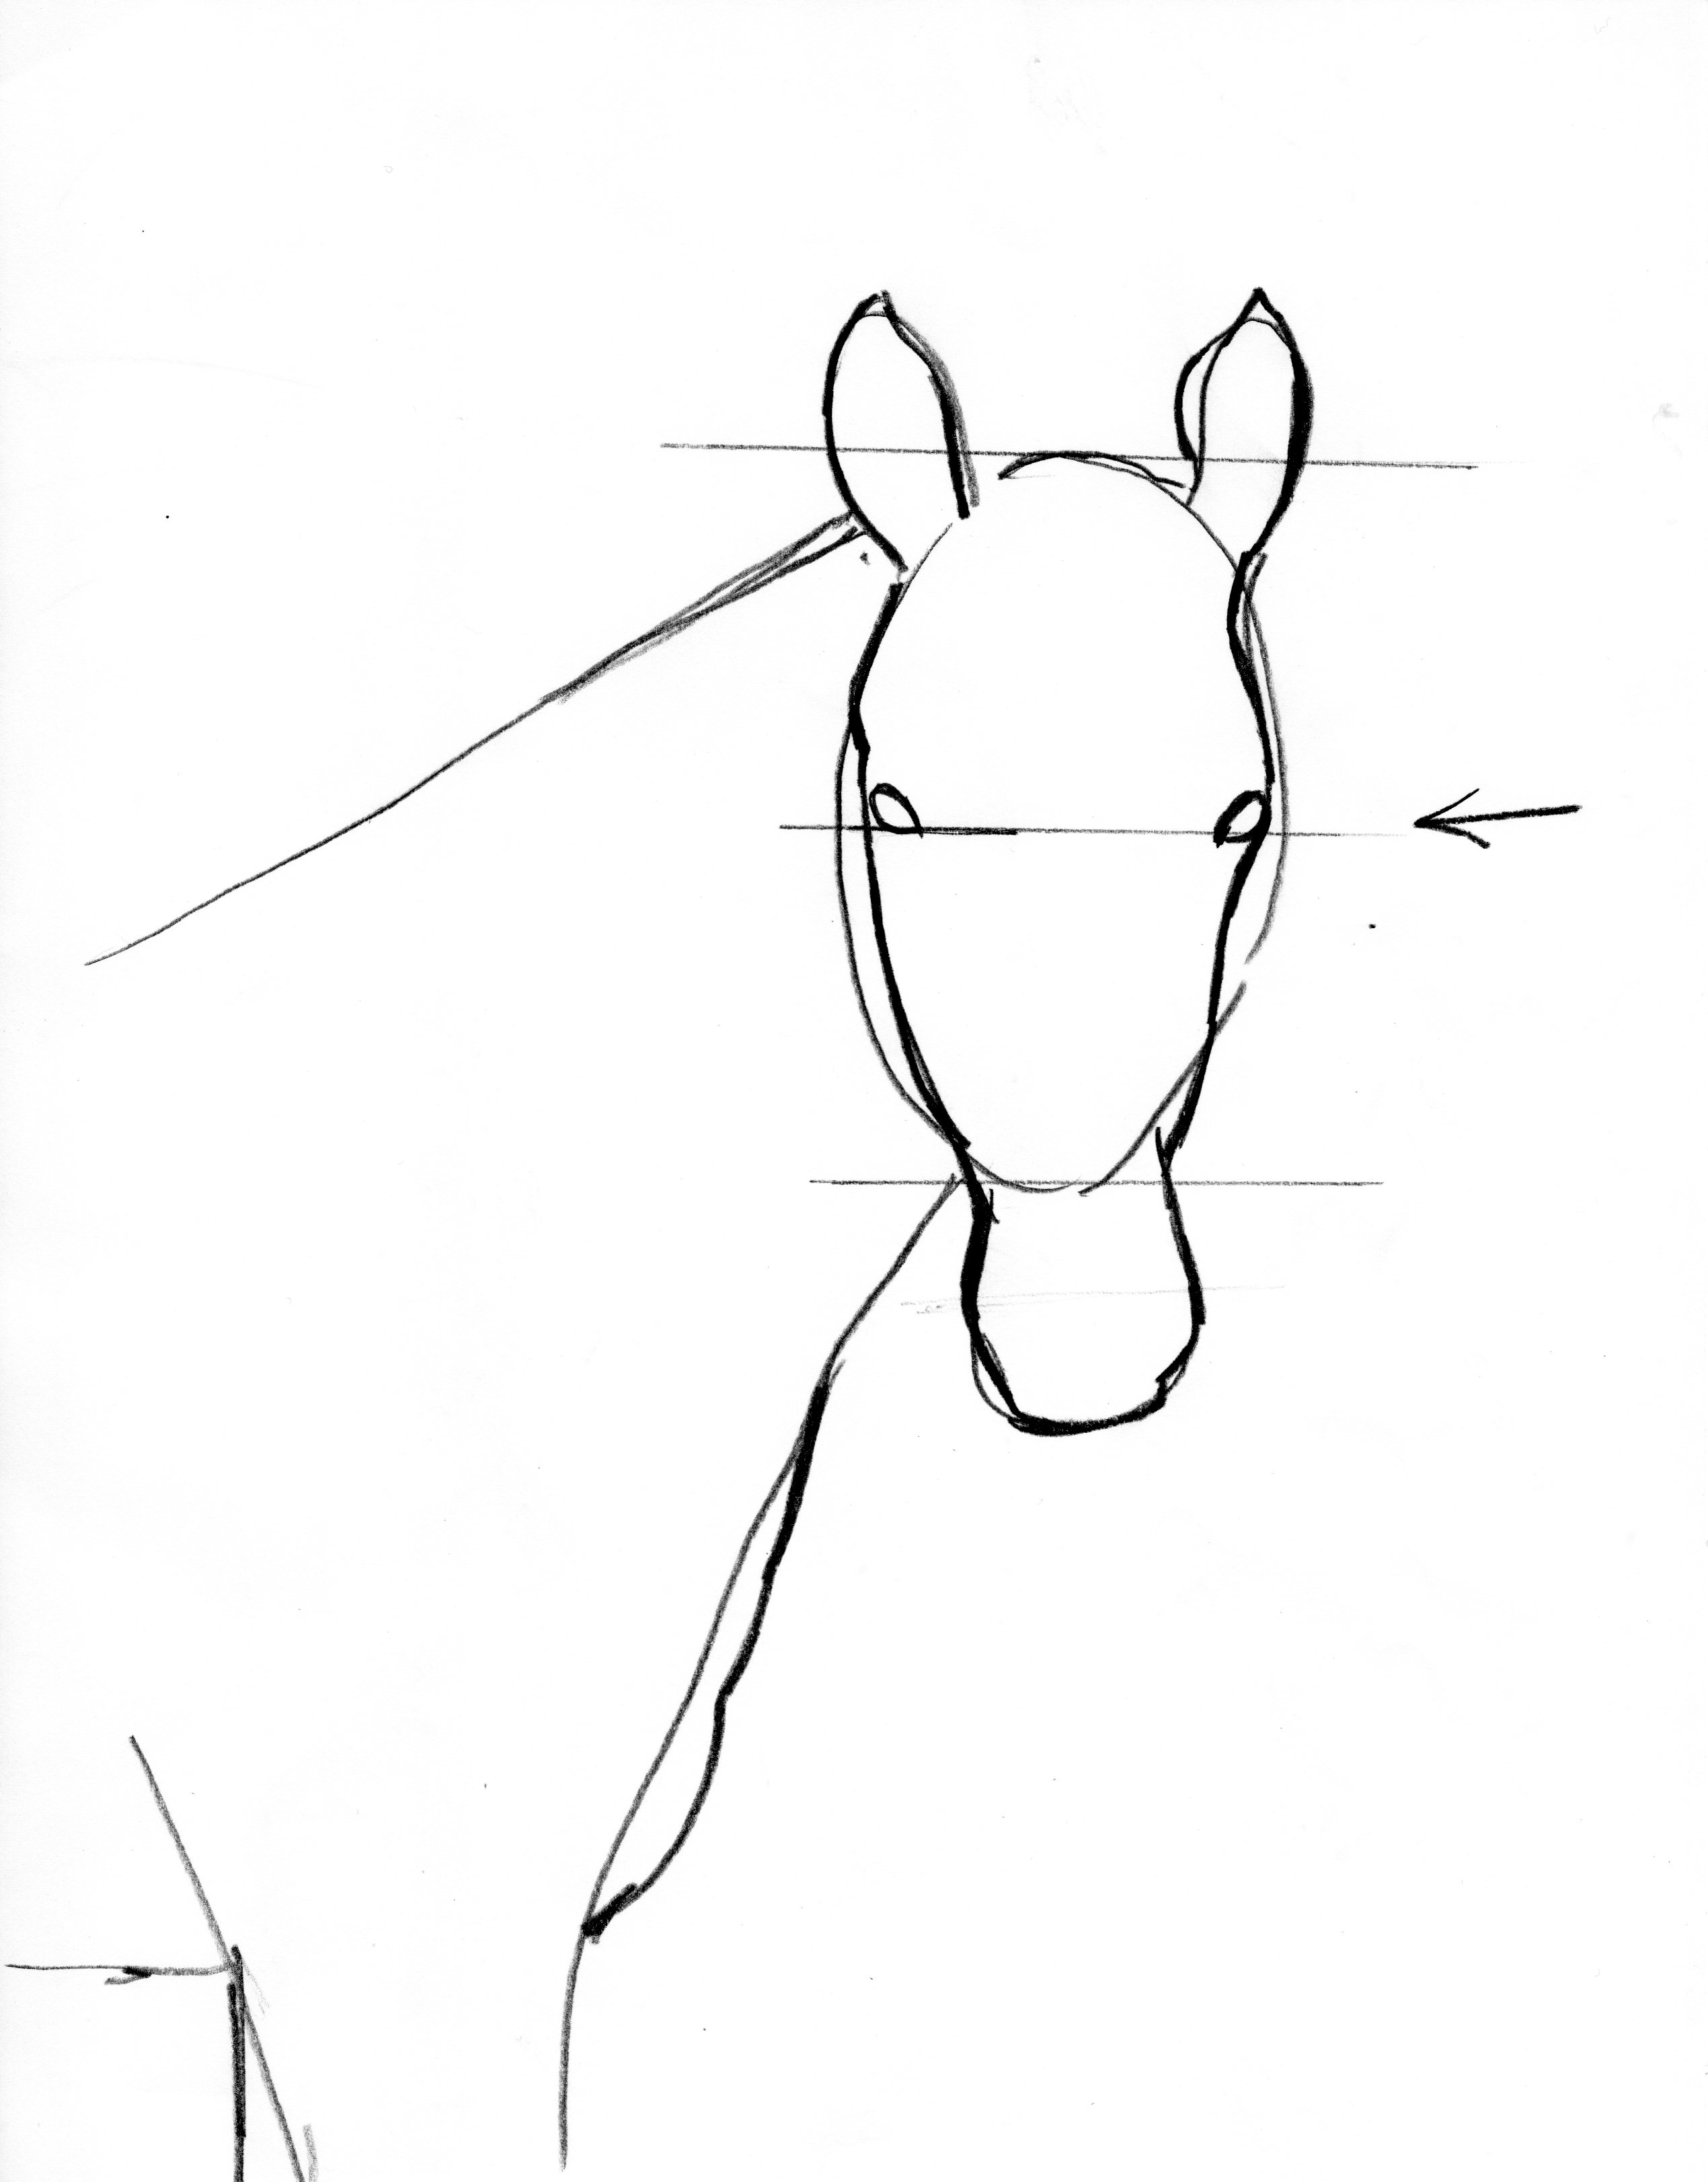
Next, add the nostrils. Notice the shape of the nostrils — almost like tear drops.
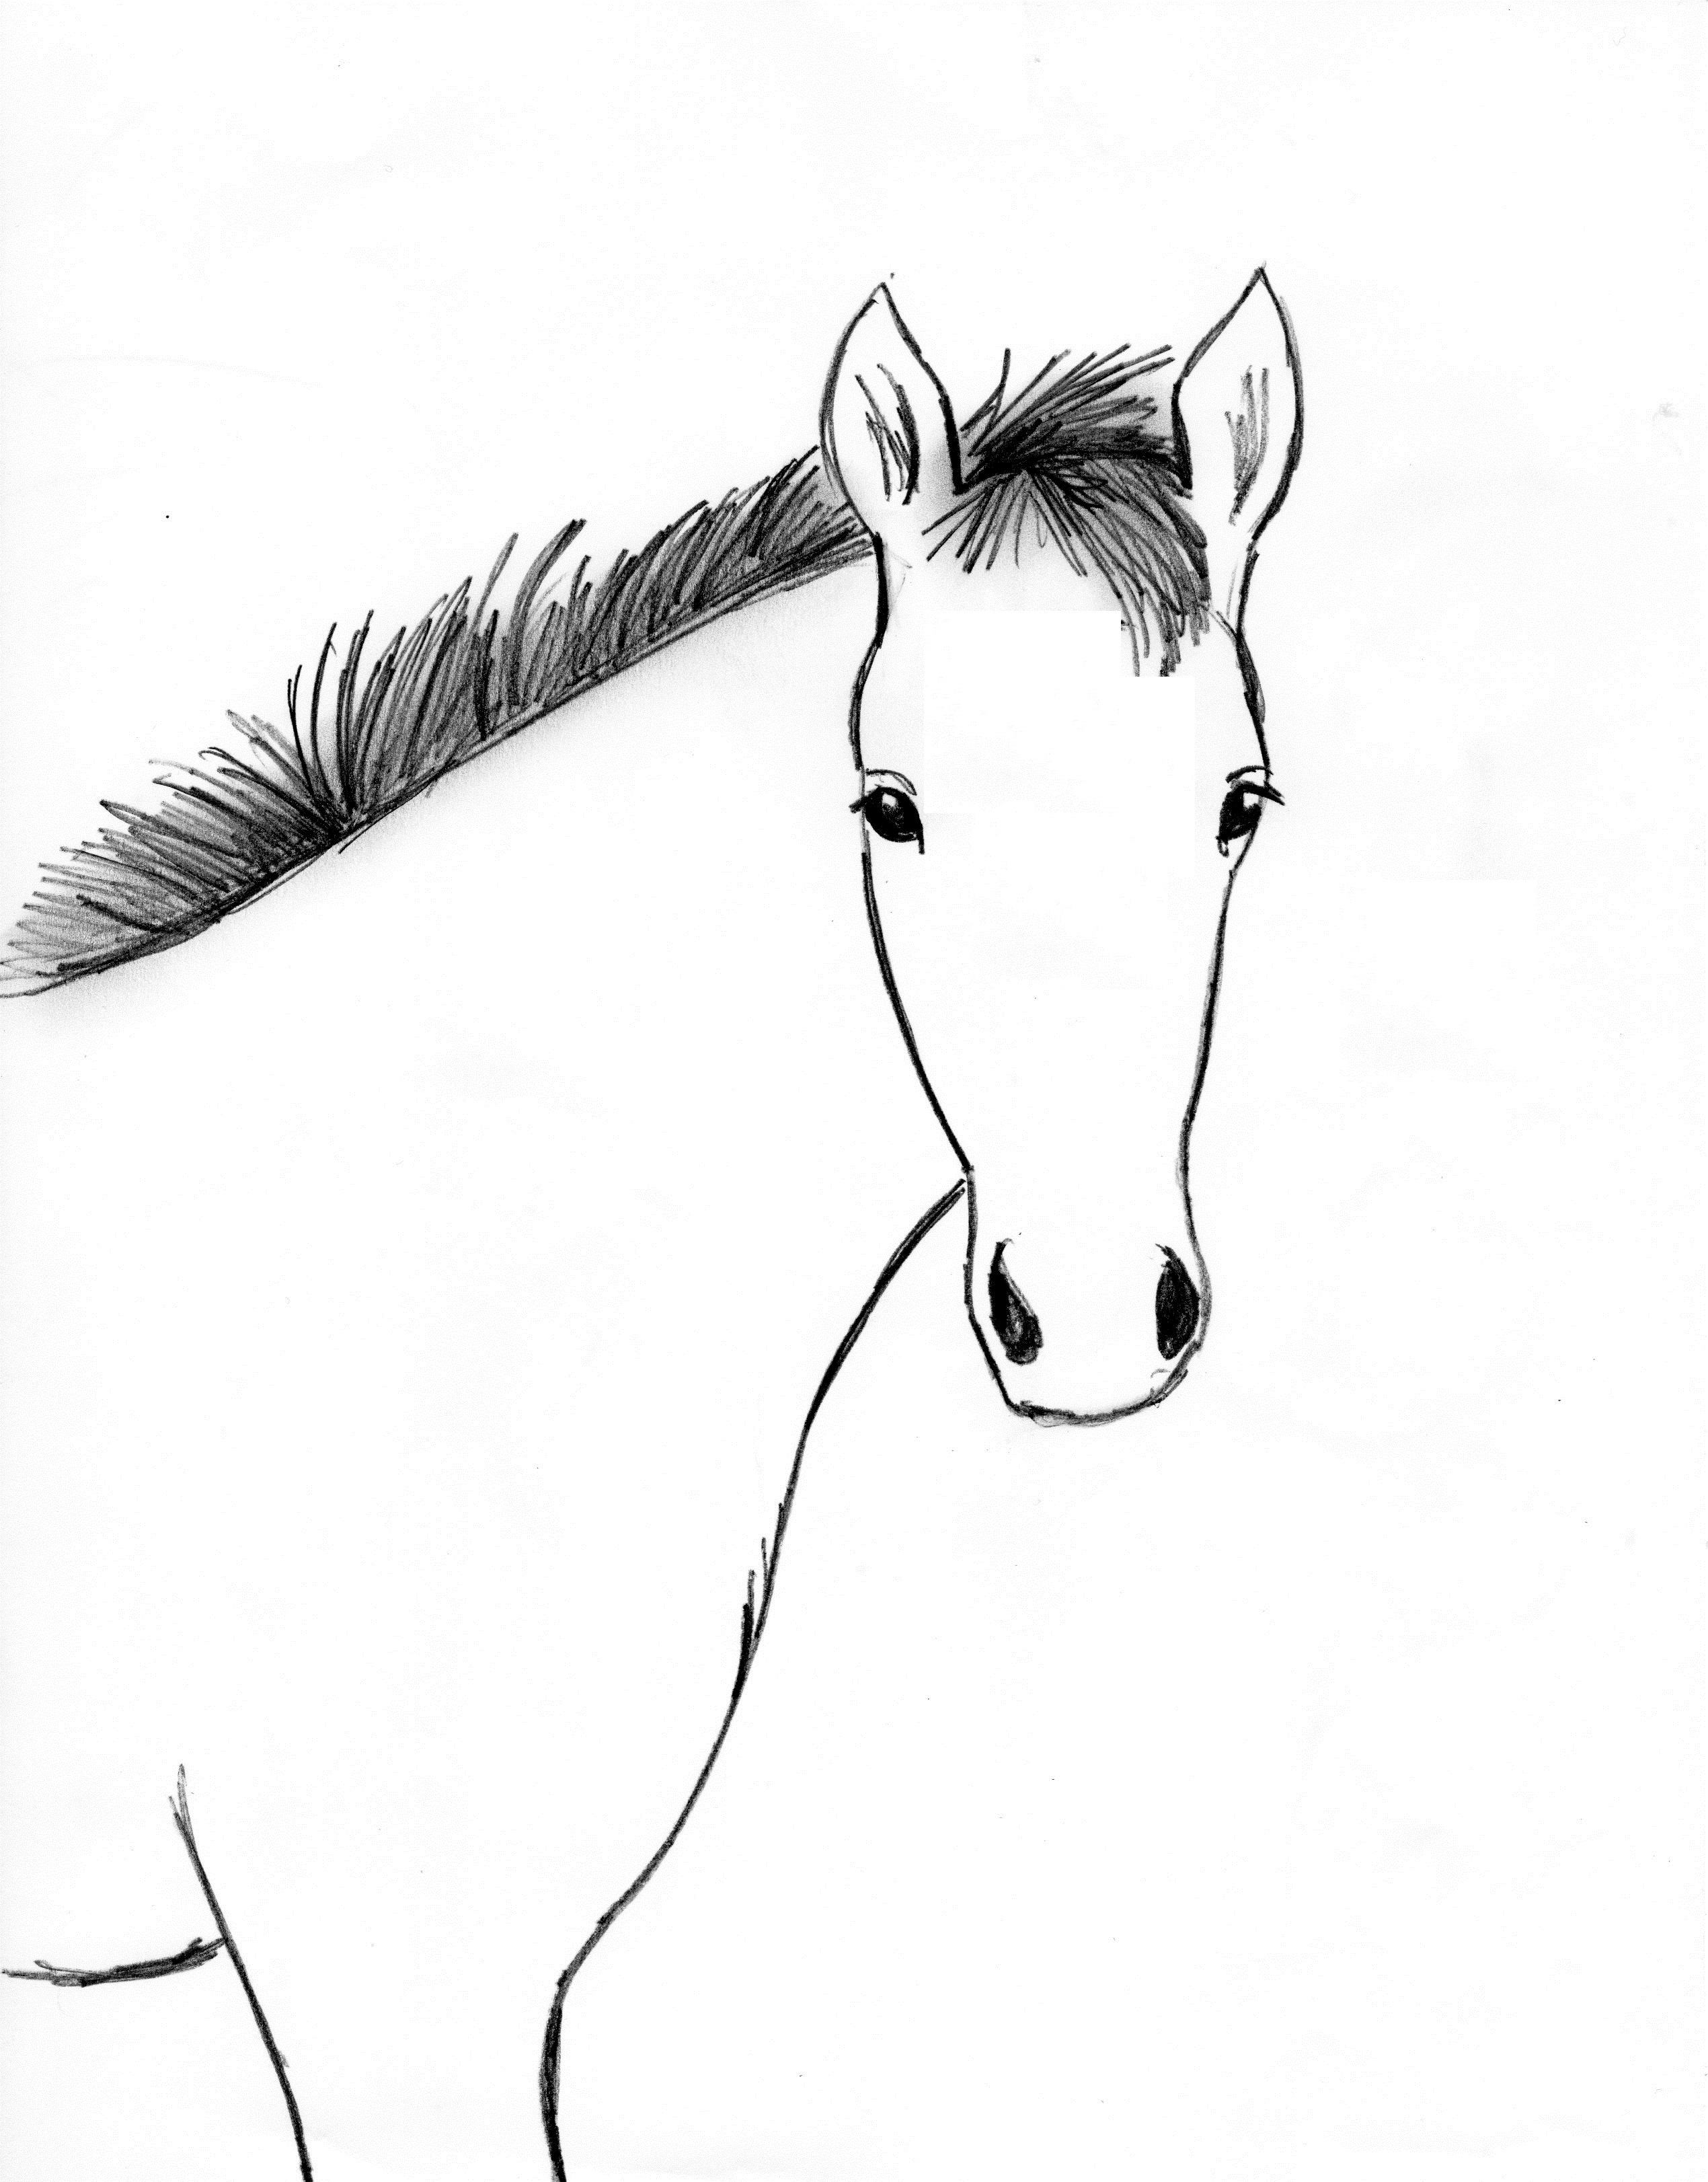
You can also erase the “shape” lines you drew. They served as good guidelines, but you don’t need them anymore. 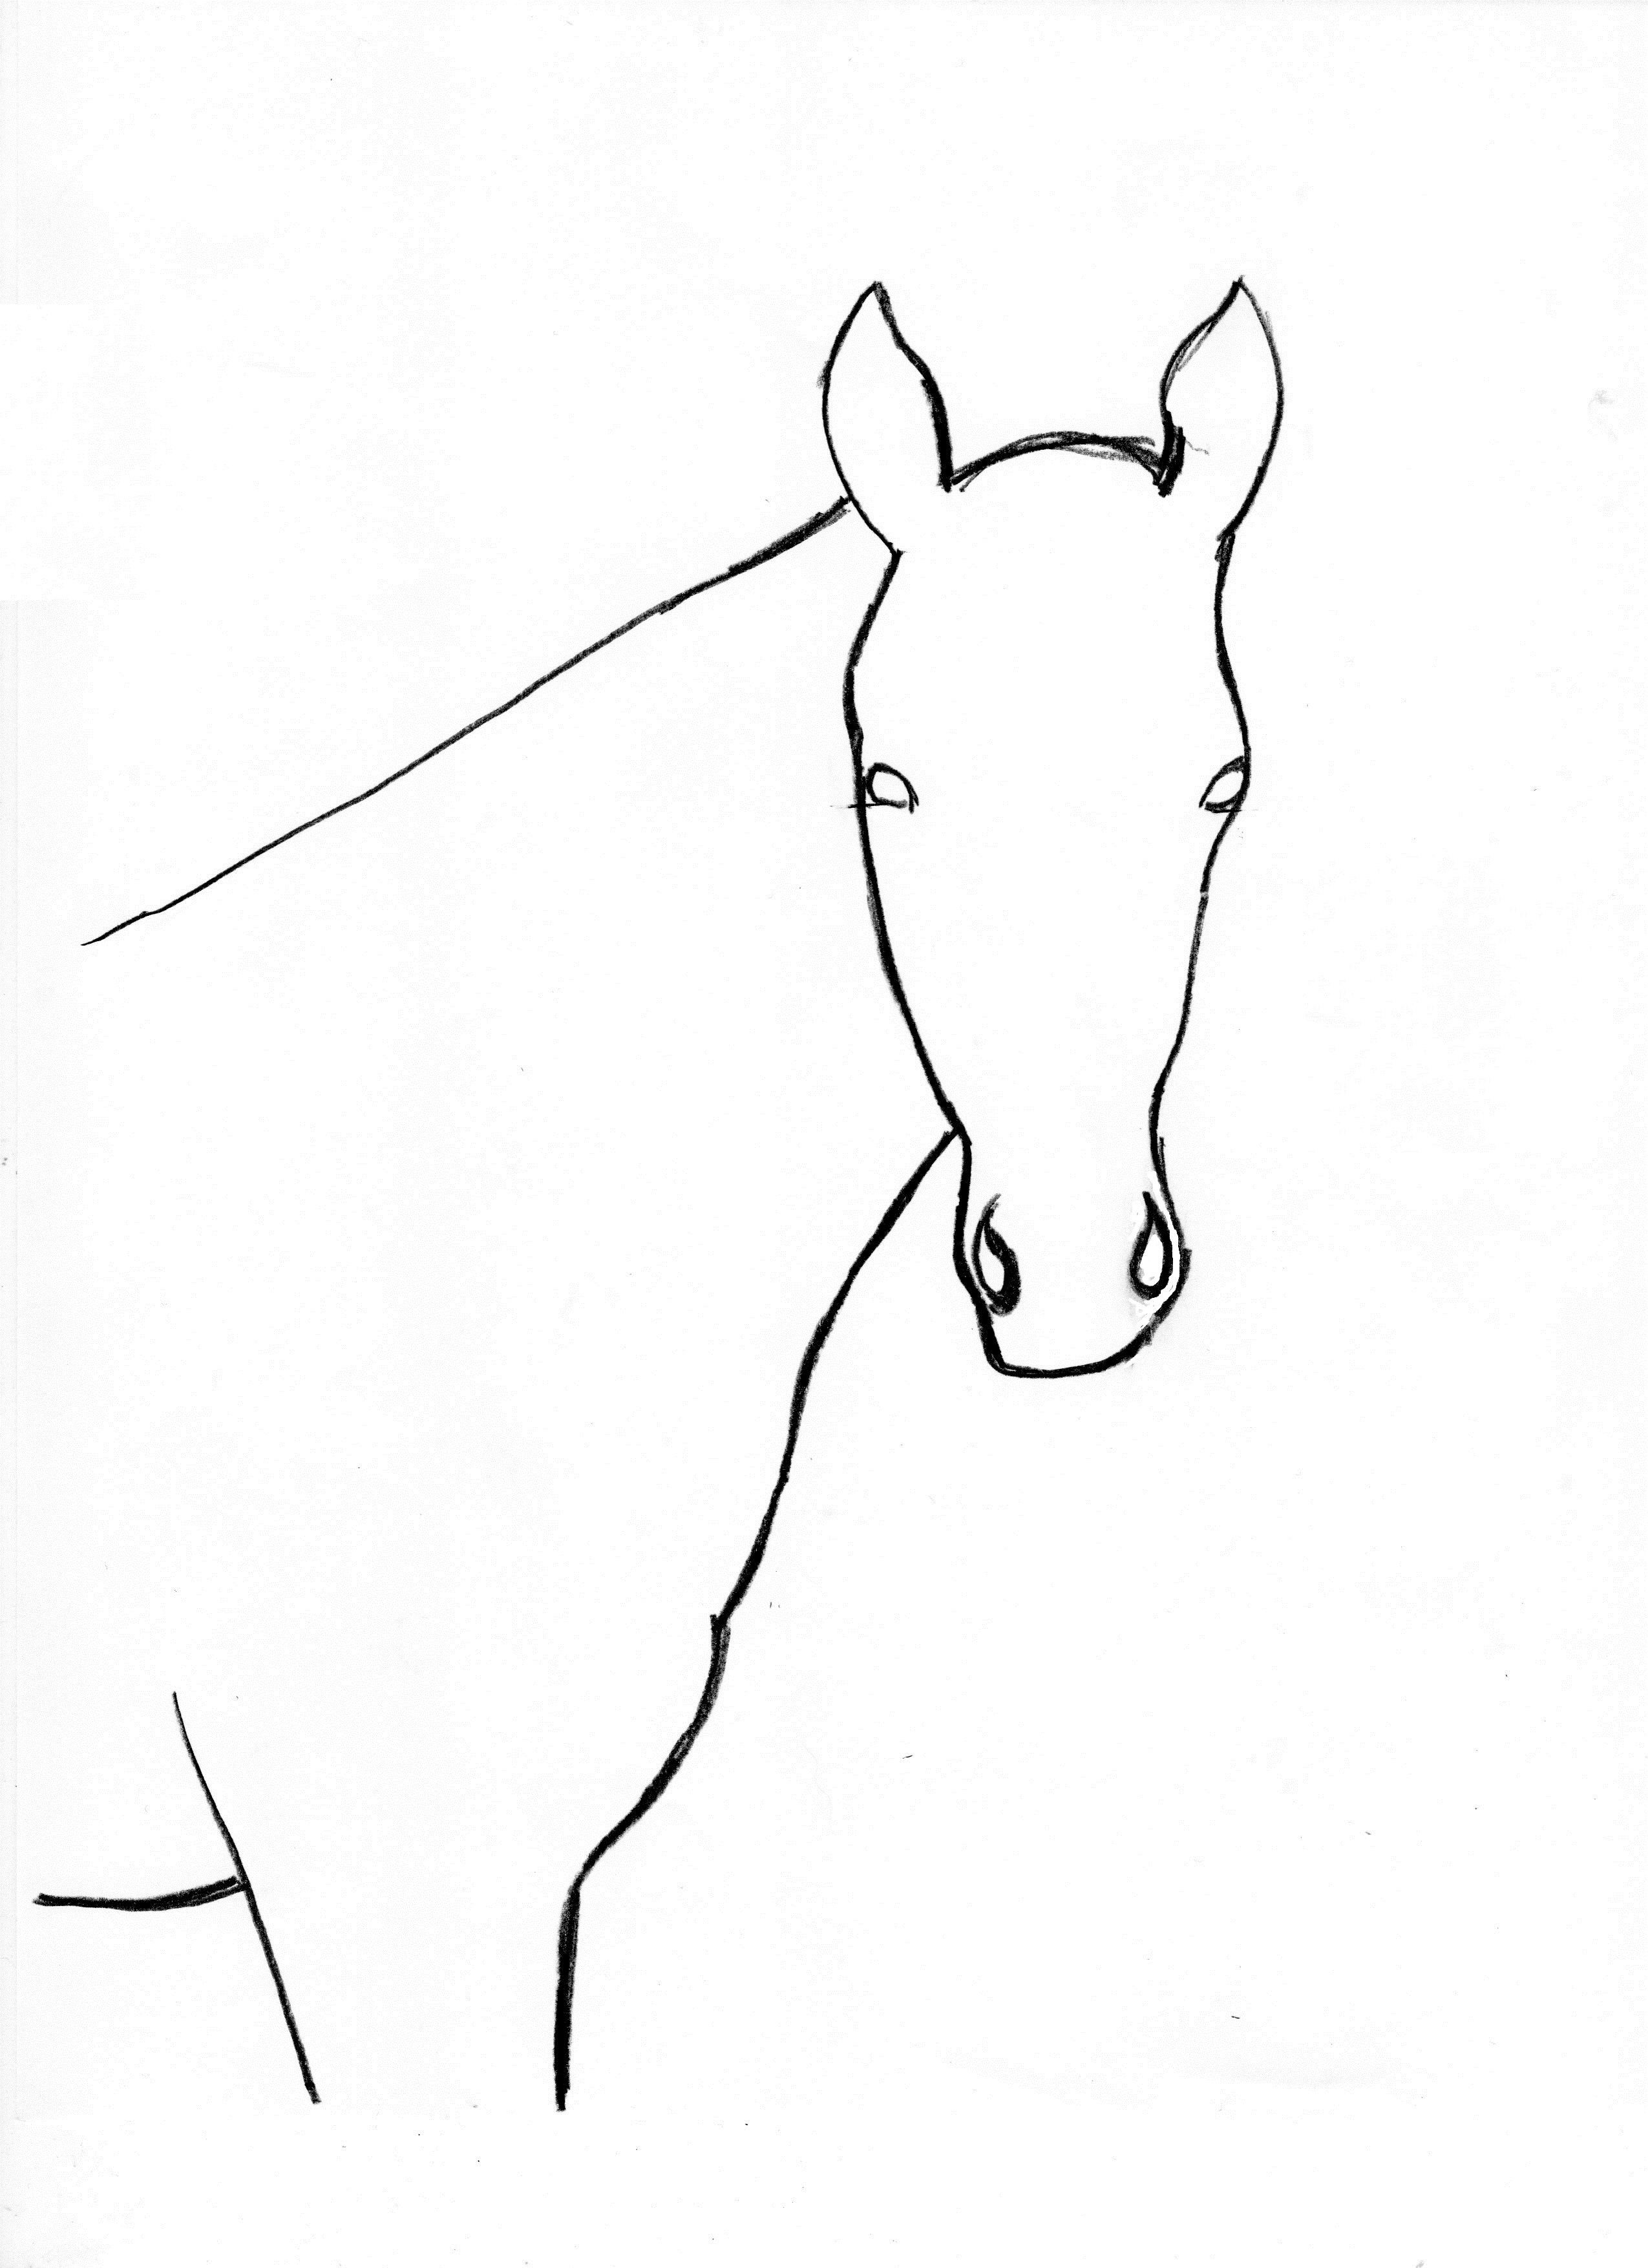 Now you can color in the eyes. Notice the small white dot in each eye. This is called a catchlight, and it’s the light reflecting off of the eye.
Horse have long eye lashes, so you can add these as well. The lashes on this colt are just single lines that slope downward.
You can also shade in the nostrils. 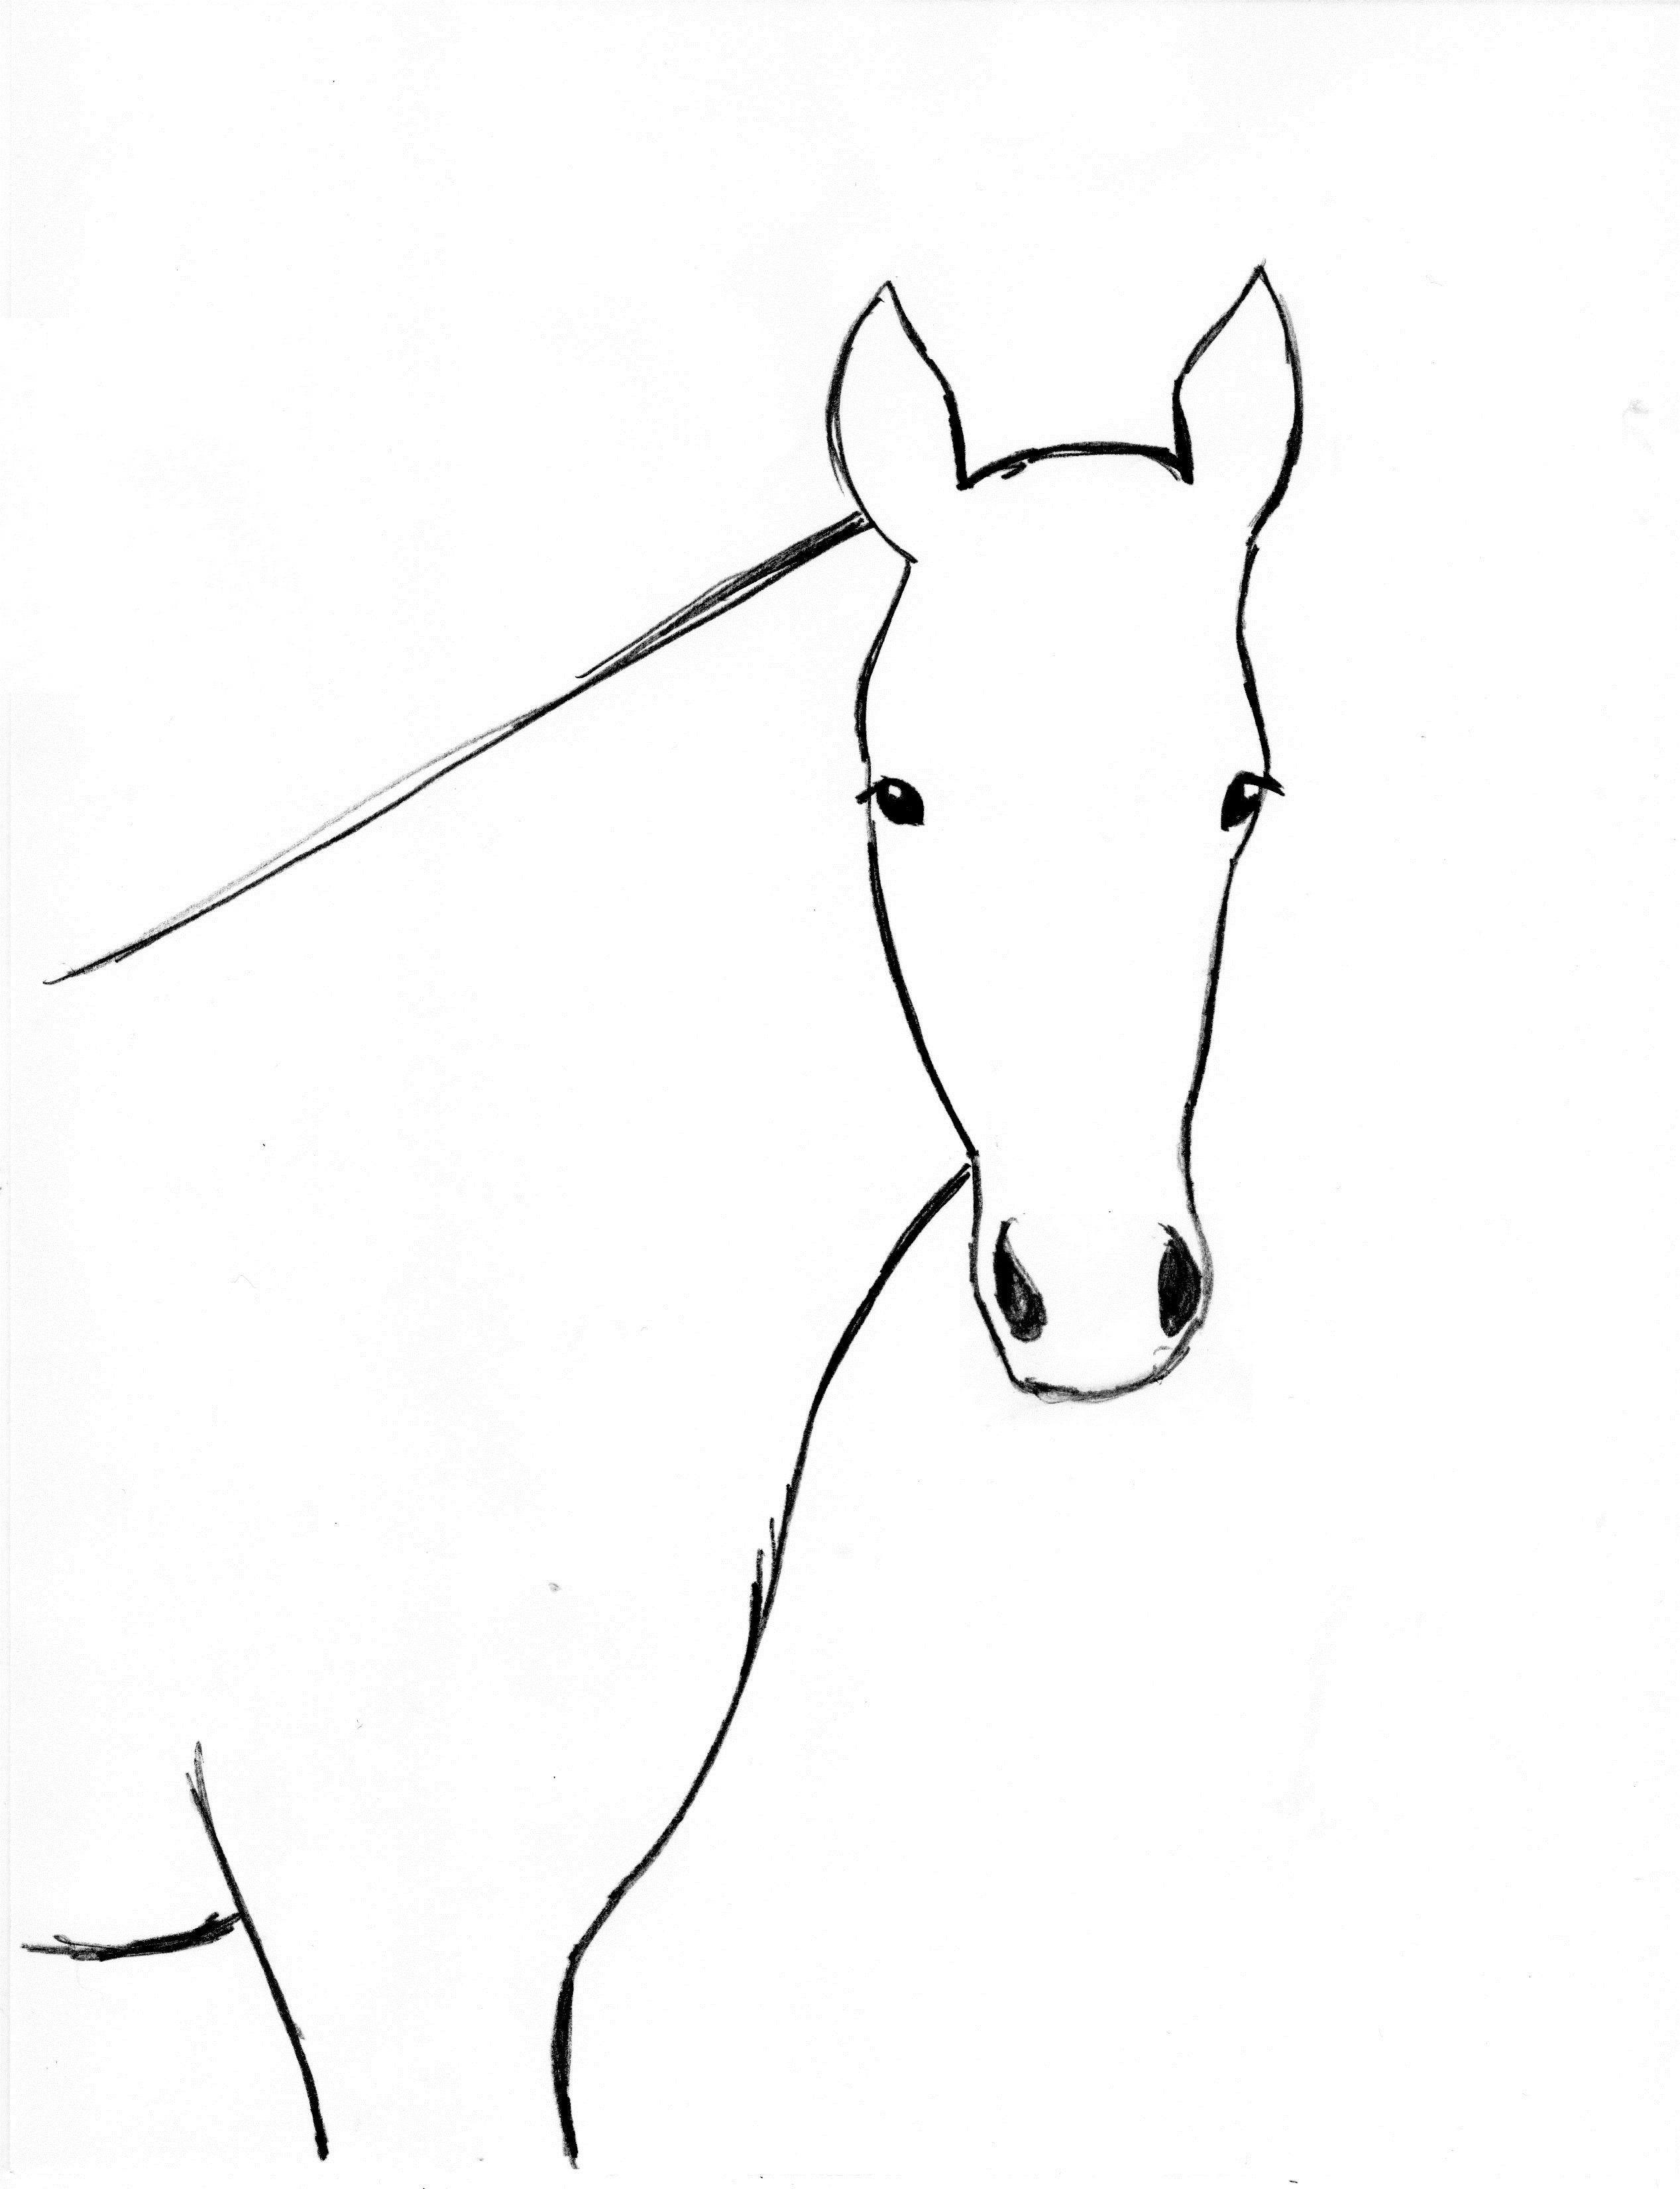
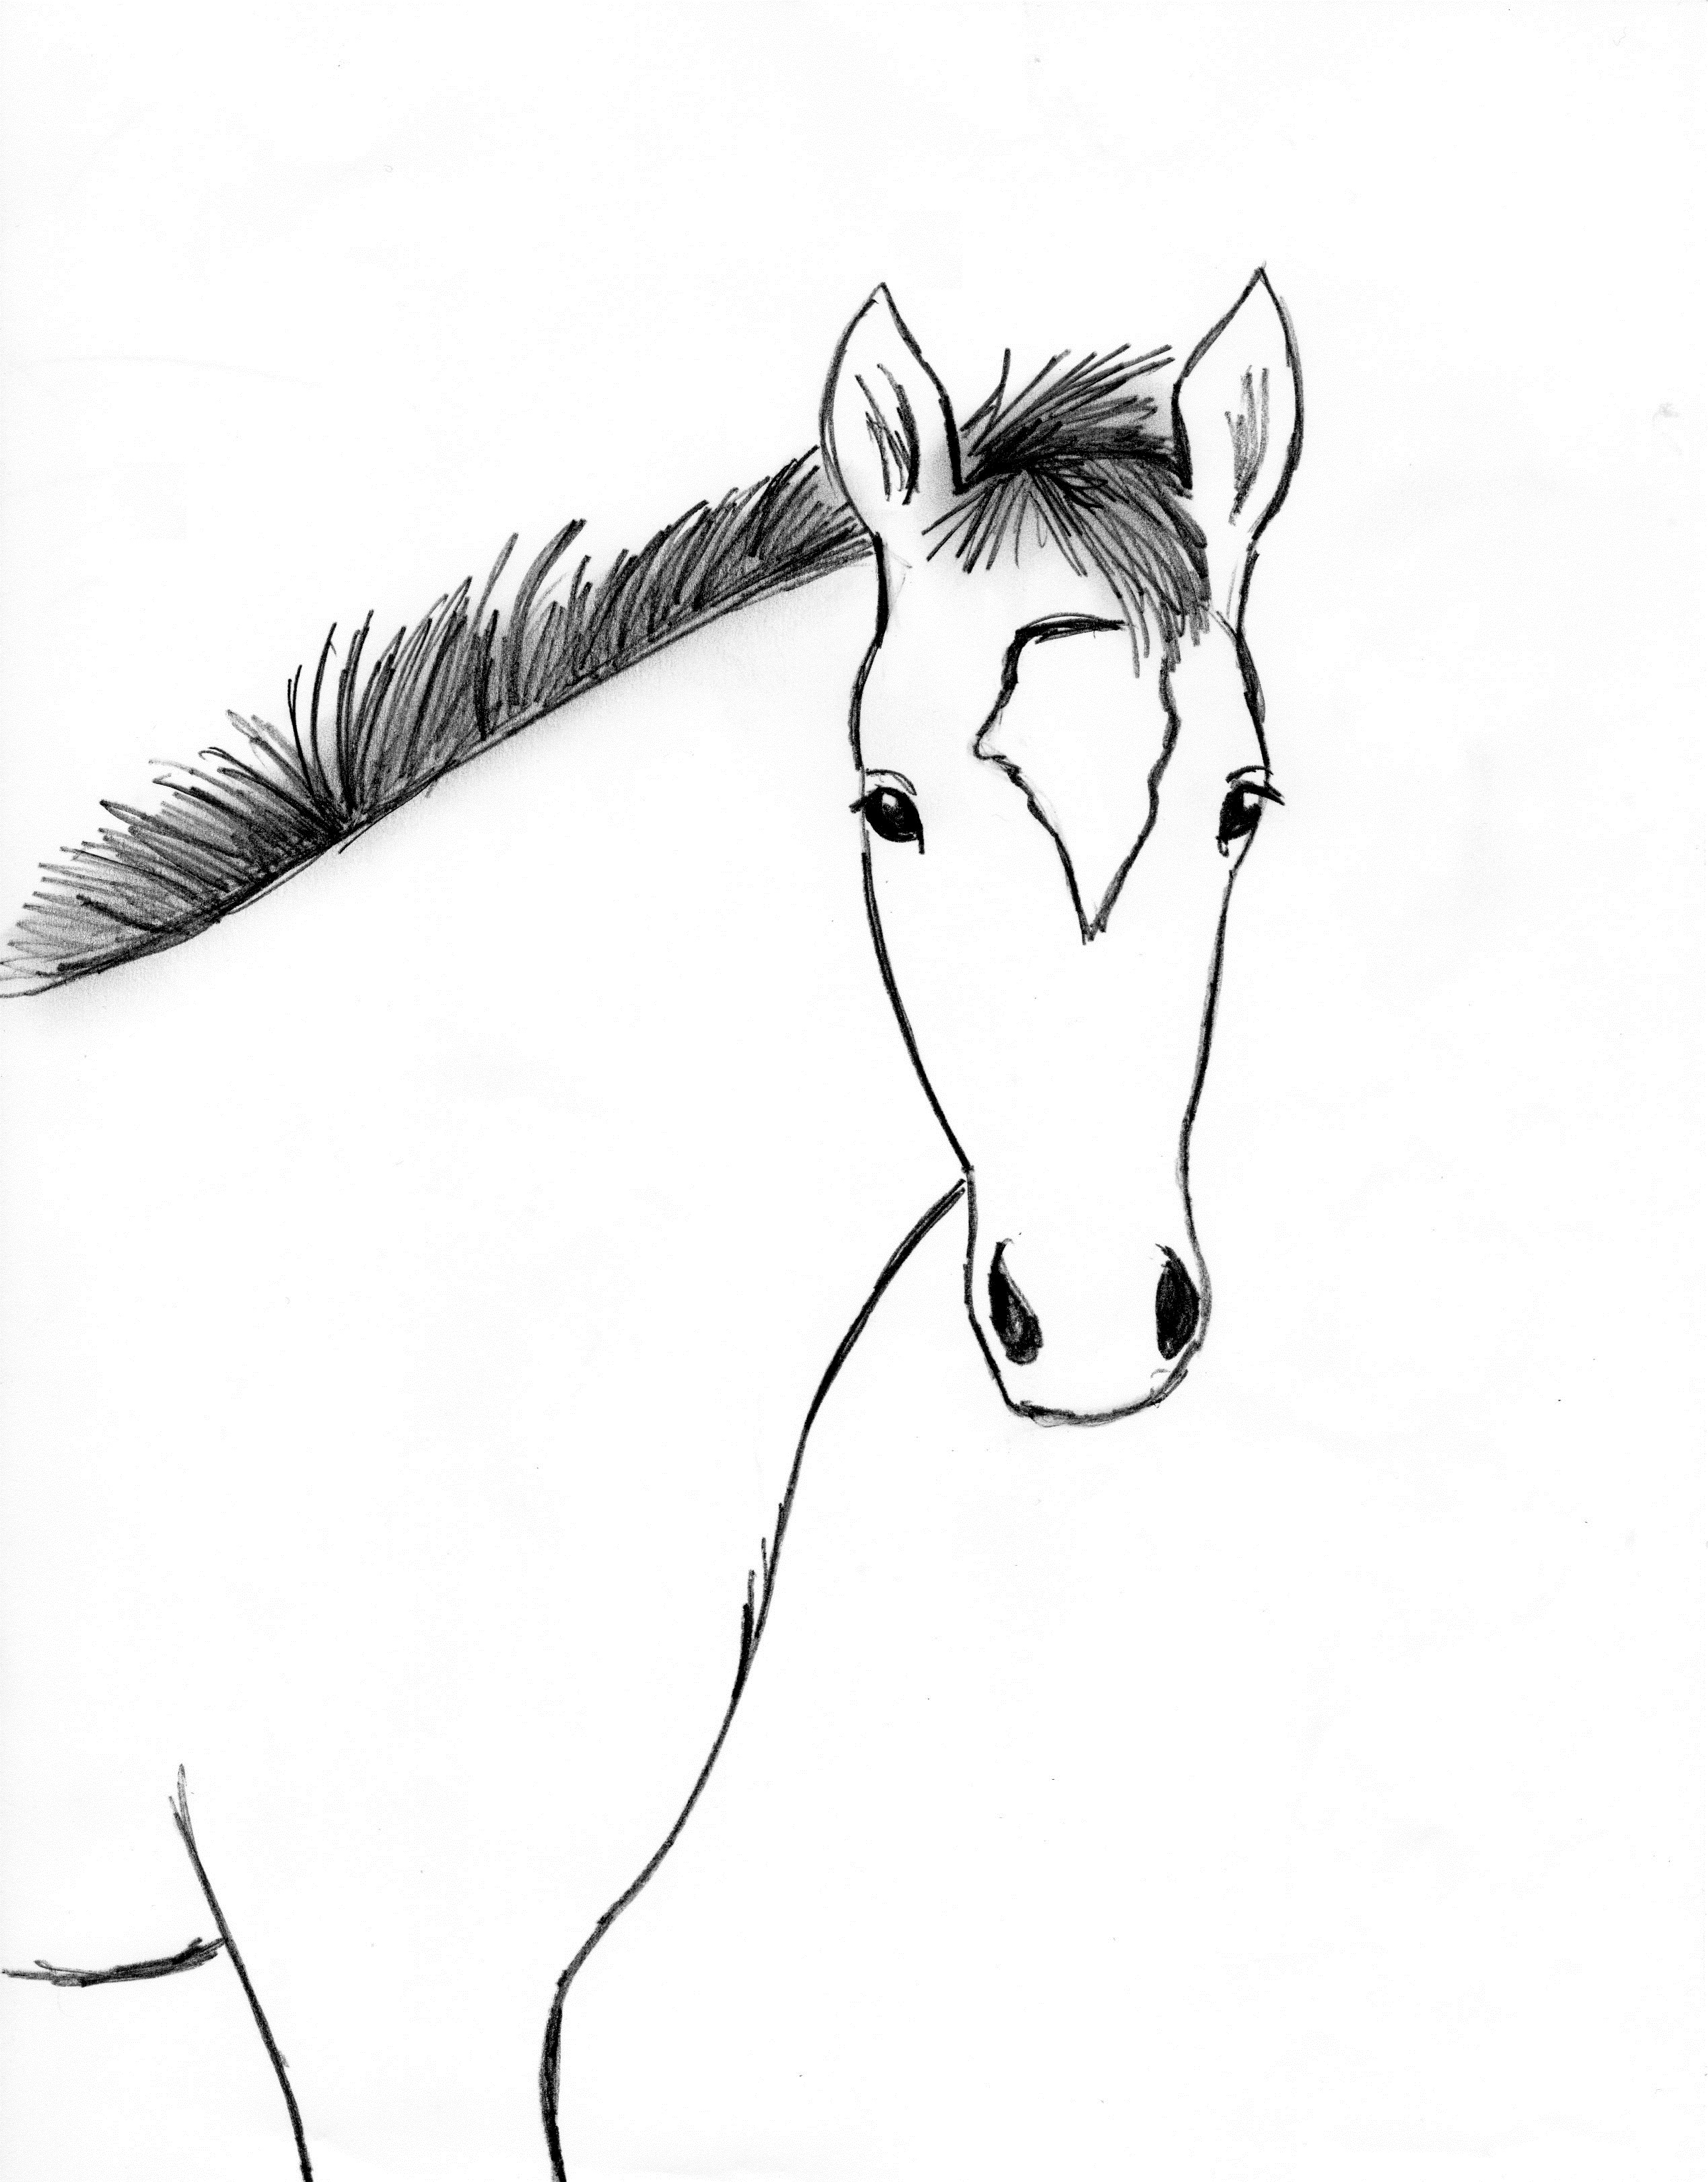
It’s time to give this horse some hair! A colt’s mane is shorter than that of a full-grown horse. To draw this mane, make your lines imitate the hair. These lines are short because the mane is short. The lines go in different directions because the hair of the mane goes in different directions.

To soften the look of the mane, take your finger and rub over it. You are smudging the graphite from the pencil. You still have the definite lines of the mane, but now the spaces between the lines have been filled in with graphite. 
Add the lines to give detail to the inside of the ears. You can also add a small line over each eye to show the eyelids.
Finally, give your foal a blaze on its nose.
That’s it! You’ve drawn this horse!
OVA SLIKA JE LIJEPA