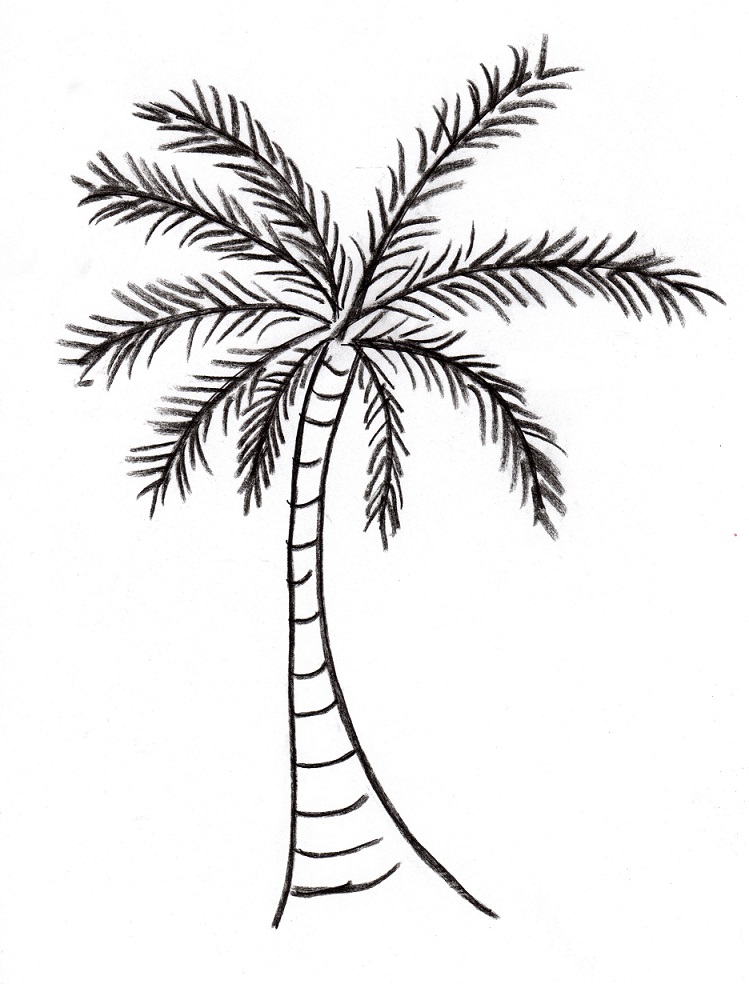
You can create this palm tree drawing in just four easy steps!
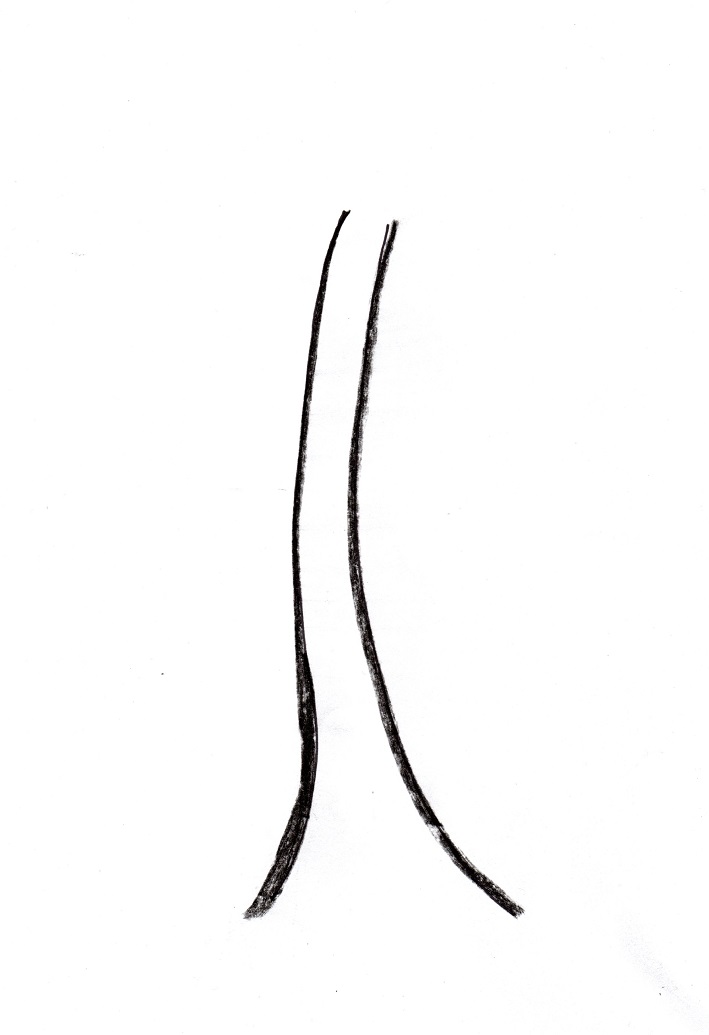
1. To begin, draw the outline of the trunk as in the picture below. These are just curved lines. The curves follow each other at the top, then flare outward at the bottom. This will make the trunk of your tree larger at the base. Don’t worry if your lines aren’t just like the ones below — in nature, all trees look a little different from each other.
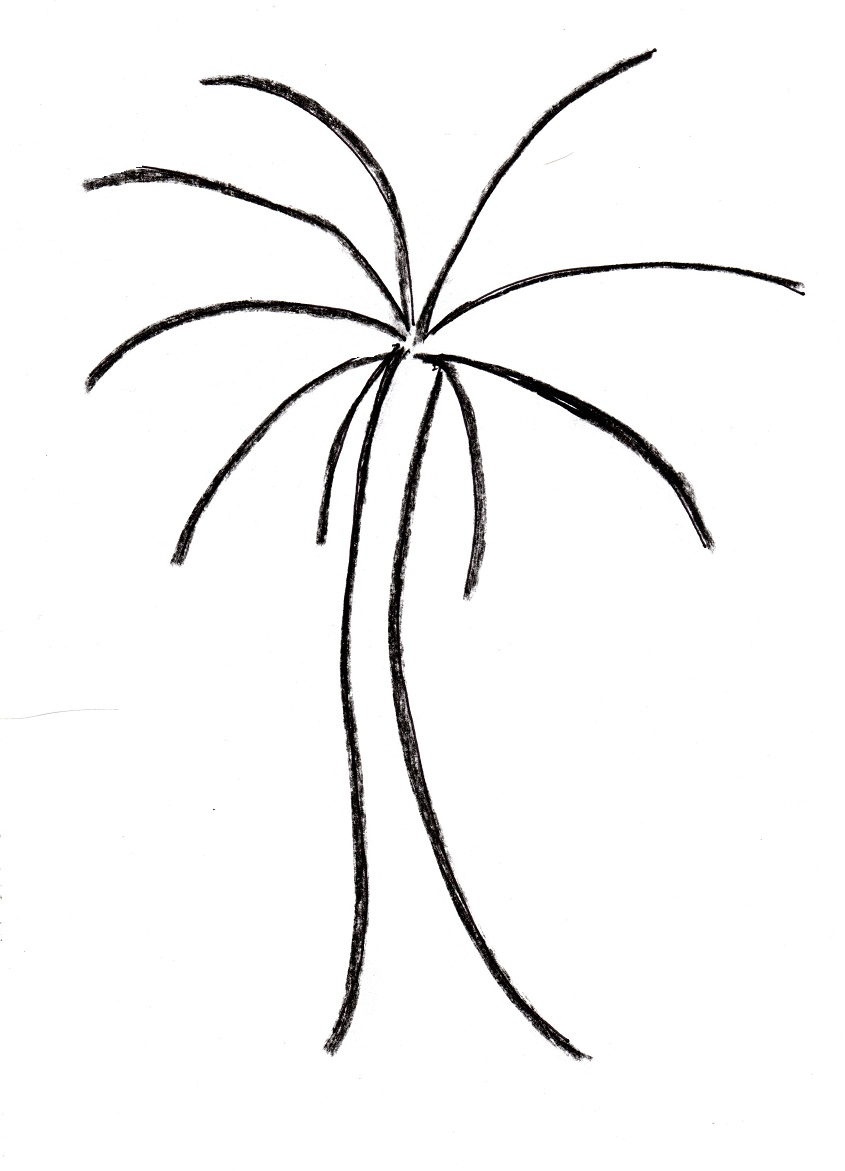
 2. Now you’re going to draw the stems of the palm fronds. To do this, start at the top of the trunk. Draw a curved line outward from the center. Make each of these lines curve downward. If the lines are close to the trunk, they’ll almost be going straight down. Make 8 or 9 stems.
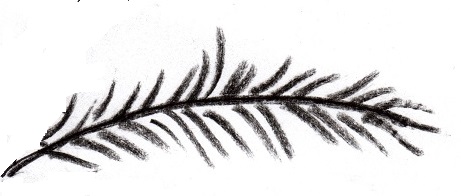
3. Now it’s time to add the leaves to the fronds. Choose one frond to start with. On one side of the stem, begin drawing short diagonal lines towards the end of the stem. Some may be longer than others — some a little more curved than others. When you’ve filled up one side of the stem, repeat with the lower side. Again, make the diagonal lines in the direction of the end of the stem.
If two of your stems are close to each other, you’ll find the diagonal leaves you are drawing will overlap each other. That’s fine — just overlap them! It gives your tree a very natural look.
Repeat for each of the palm fronds.

4. To finish your palm tree, draw curved lines on the trunk. Be sure your curves are facing upward.
That’s it! You completed a palm tree drawing!
its very good
This helped a lot I now can get an A on mt project.
Thank you. We are the Las Palmitas Coyotes, so this is perfect for my 4th graders!
Yay! I always wondered who would be drawing the palm tree! 🙂
Very nicely explained…I am happy. ..wish you could include more topics…thanks
I think it was good because it a
Has steps to follow and I think it great