
Here are a few drawing samples to get you started drawing landscapes in pen and ink.
Supplies You’ll Need
- Drawing paper (I really like using heavier paper, such as smooth bristol or mixed media paper for drawings in ink)
- Pencil
- Eraser
- Pens
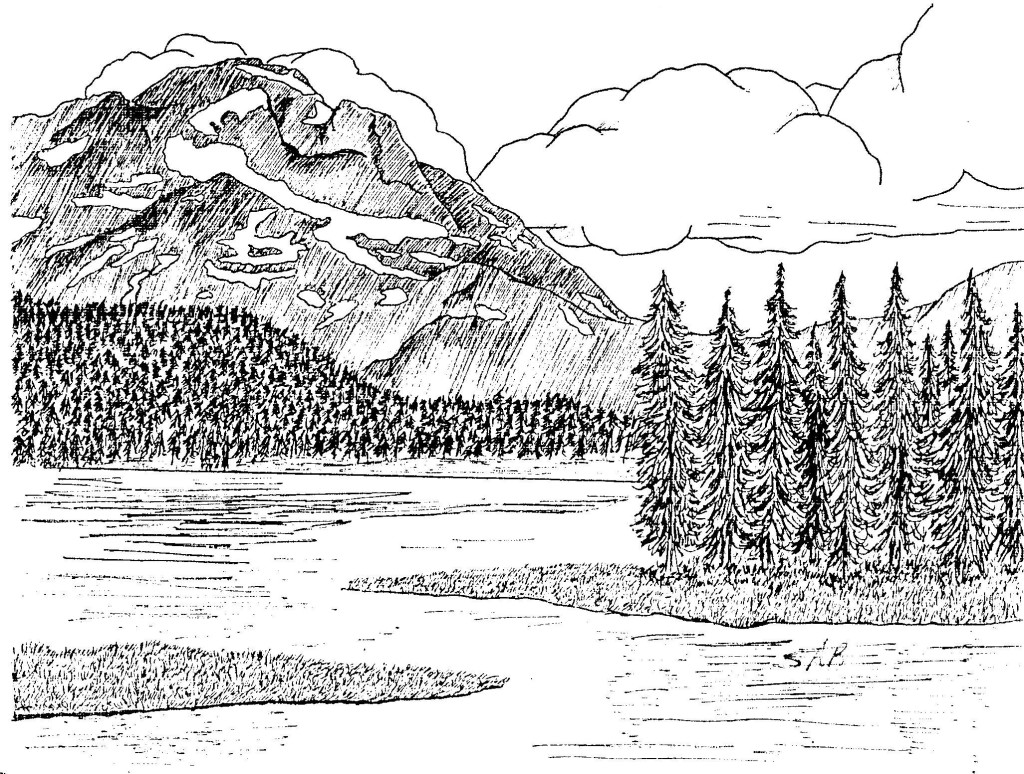
Choose from one of the landscapes pictured below. You can download a PDF of the images HERE.
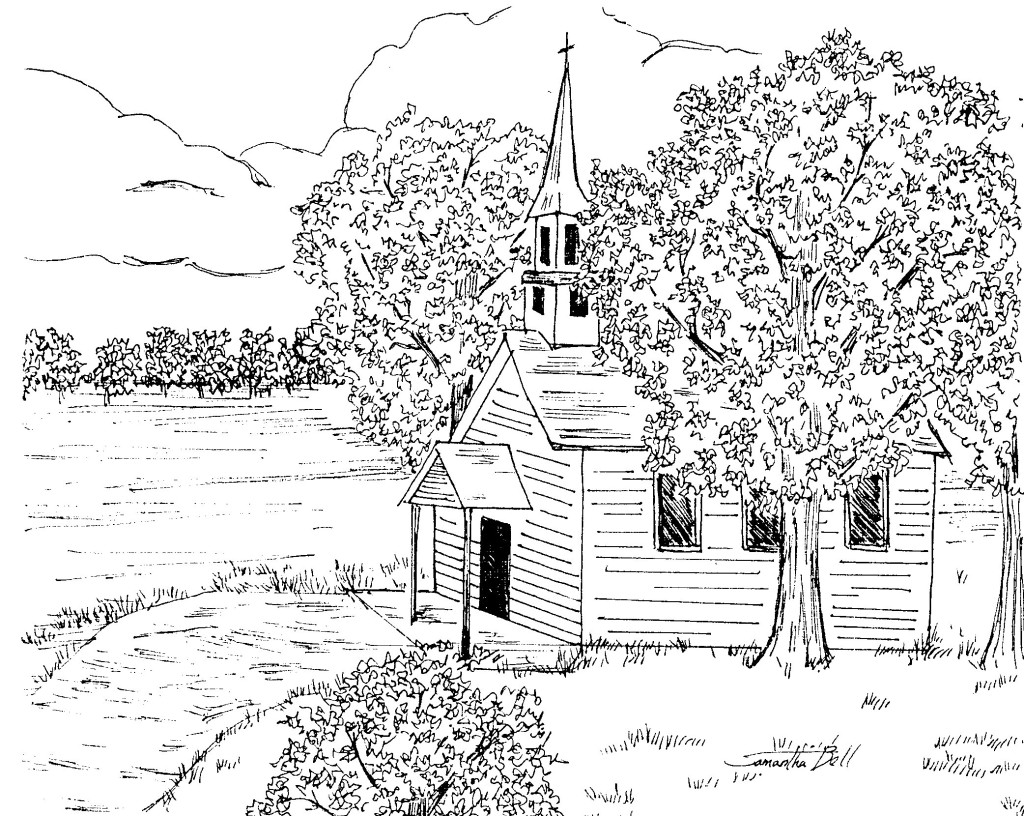
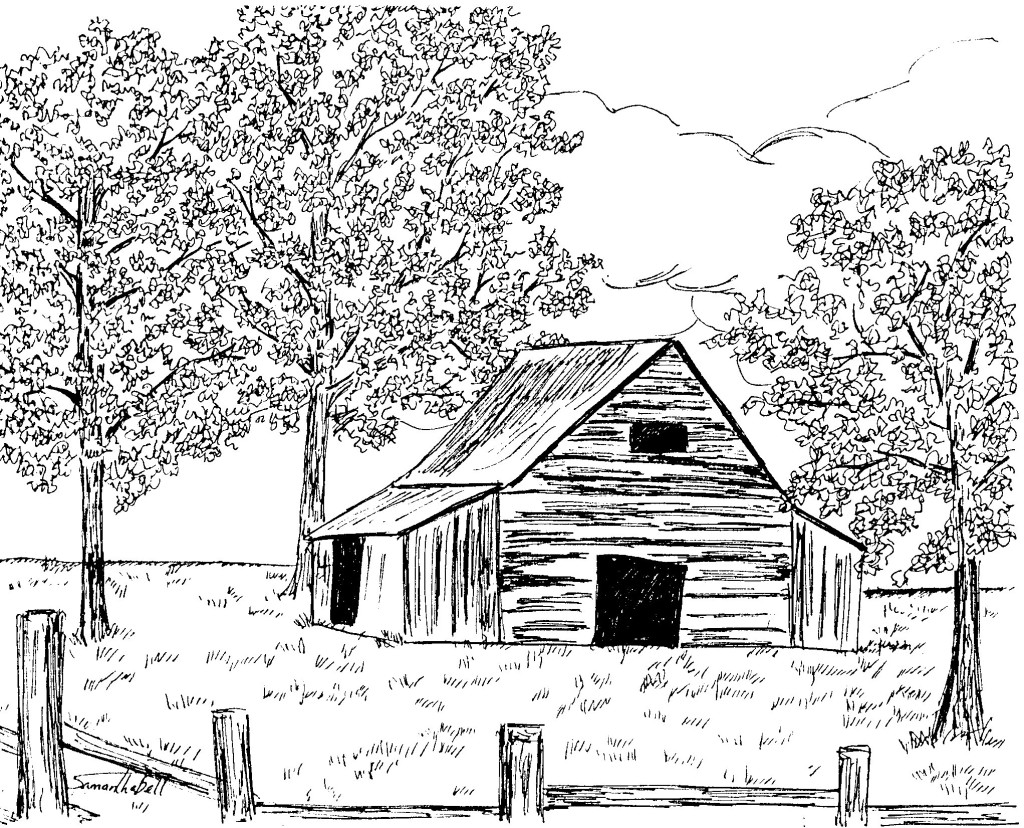
Copy the picture to your paper in pencil. By drawing in pencil first, you can make any changes before applying the ink.
Notice that on the two pictures which include buildings (church and barn), the trees have a lot of leaves; you don’t need to draw these in pencil. You can just use the pen itself for that part. The same is true for the grass and pine trees in the mountain scene – for the trees on the hill, just add them in with the pen; for the larger ones in front, you can draw a line for the trunk, then add the needles in with a pen.
Go over your drawing in pen. Trace the parts you’ve drawn in pencil, then go back and add the leaves/needles of the trees. For the trees in the scenes with the church and barn, I used the scumbling technique. The mountain was filled in by hatching.
Erase any stray pencil lines and sign your work.
Landscapes are beautiful in pen and ink. After you complete your drawing, try making a copy of it and reduce the size, such as a card size. The details will look amazing!
Please note: Only family-friendly comments will be published.