The best way to improve your drawing skills is to practice. One common drawing exercise is creating a contour hand drawing. For this project, you’ll be drawing the contour of your own hand, then adding in a little creativity.
Here’s how to do it:
1. Consider the position of your hand in the final drawing. What do you want it to look like? Will it show a the palm of your hand, the back of your hand, or a fist? Form the desired shape with your non-drawing hand.
2. Place your hand on the table or hold it up in front of you. Think about drawing the contour of your hand – the outside edges that you see. Don’t worry about shading at this point; right now you’re just trying to get the shape, curves, and lines of your hand on the paper.
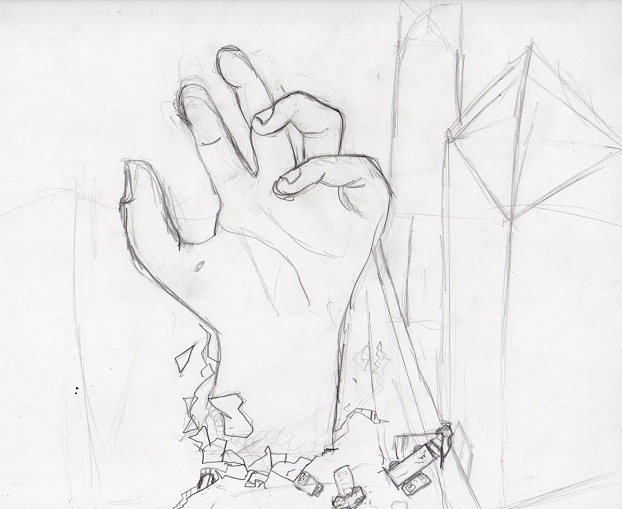
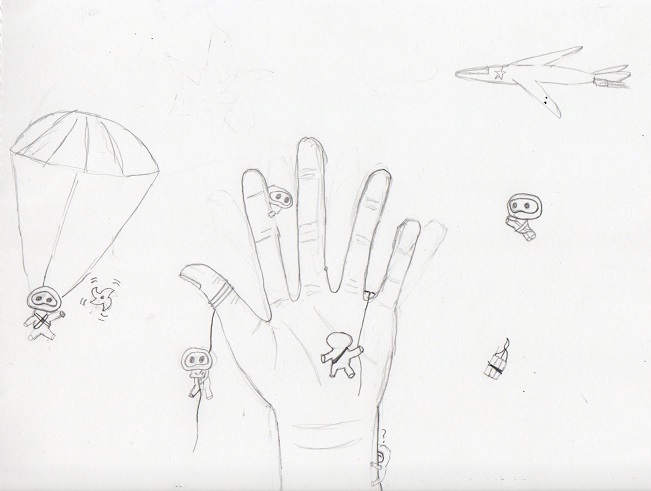
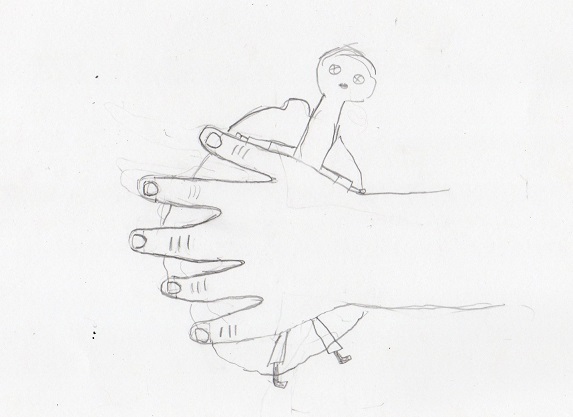
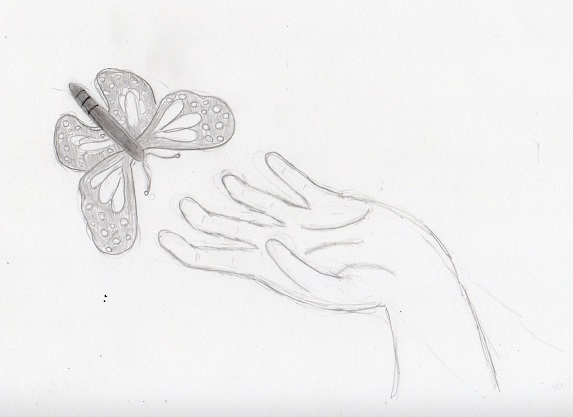
3. Once you are satisfied with the drawing of the hand, continue with the rest of the piece! Here are some ideas from some of the young artists in my class. You can leave the artwork as a line drawing, or you can add shading or color.

This is a fun project for any age! The younger the child, the simpler the shape of the hand should be. I’ve even had five and six-year-olds try it by tracing their hand. In that case, the lesson wasn’t about practicing seeing the lines, but rather about being creative and enjoyng the process.