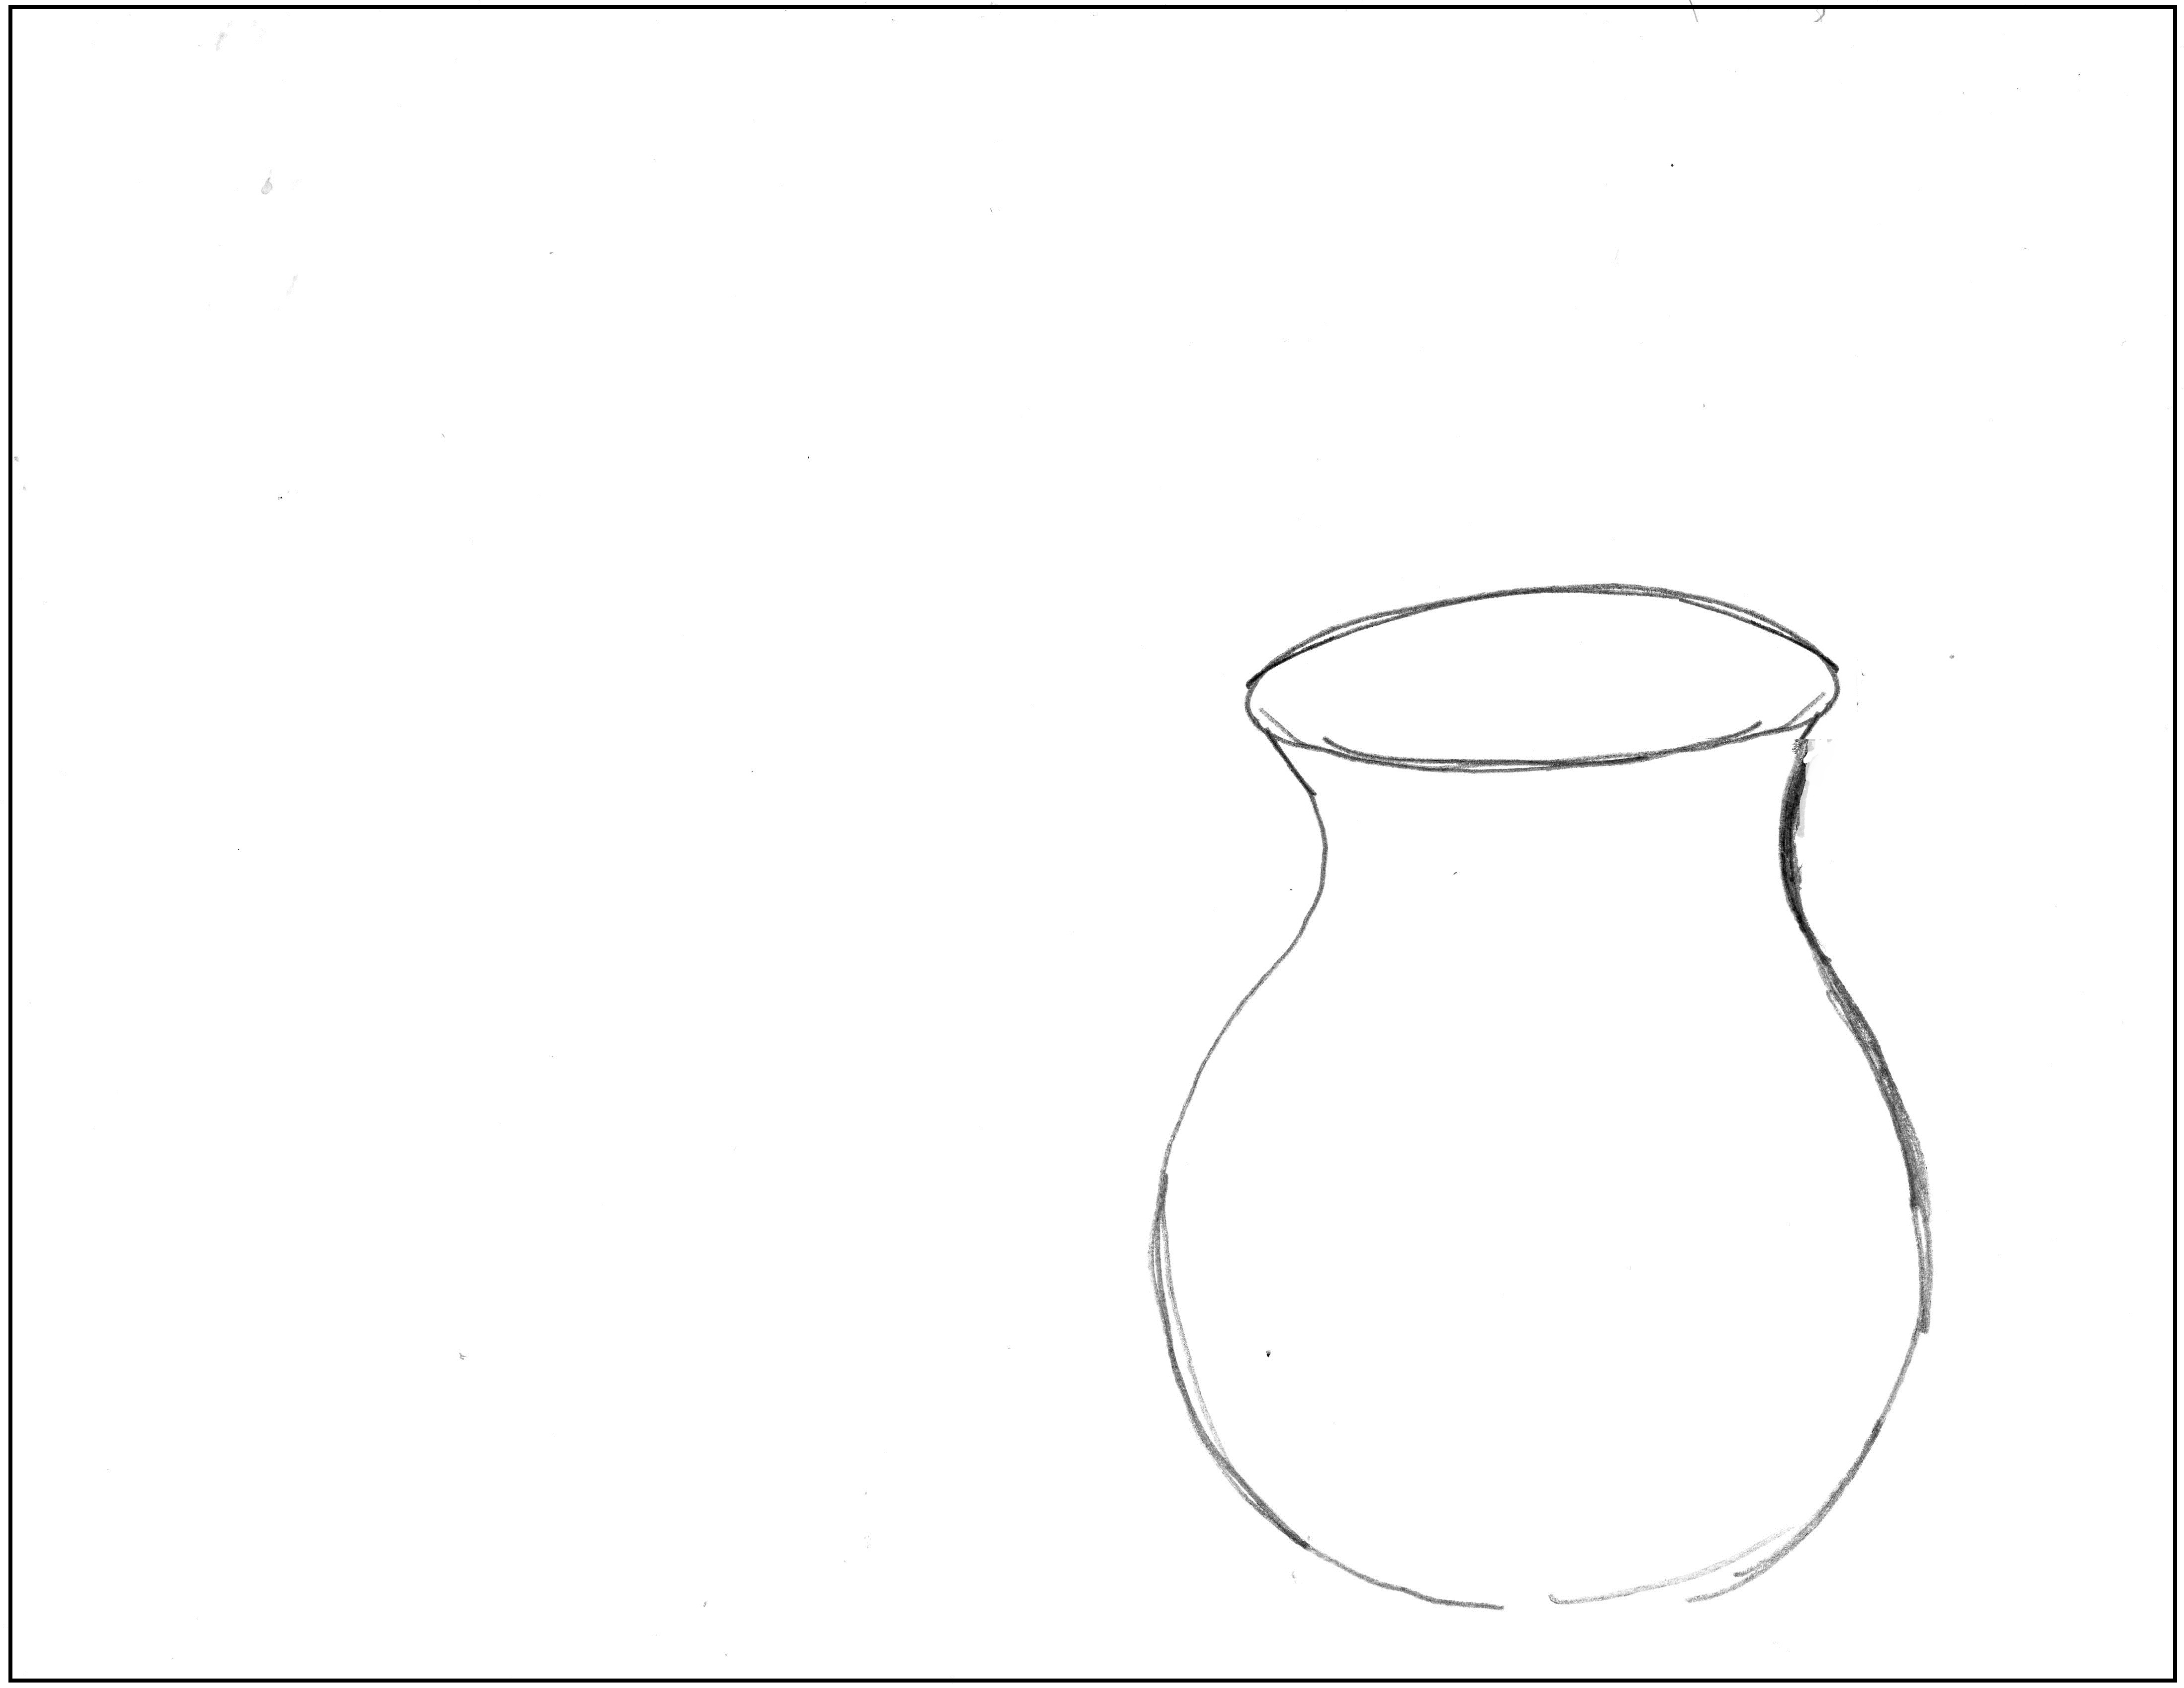
This step by step is an illustration of Aesop’s fable, The Crow and the Pitcher. To download a PDF to use as a reference, click here.
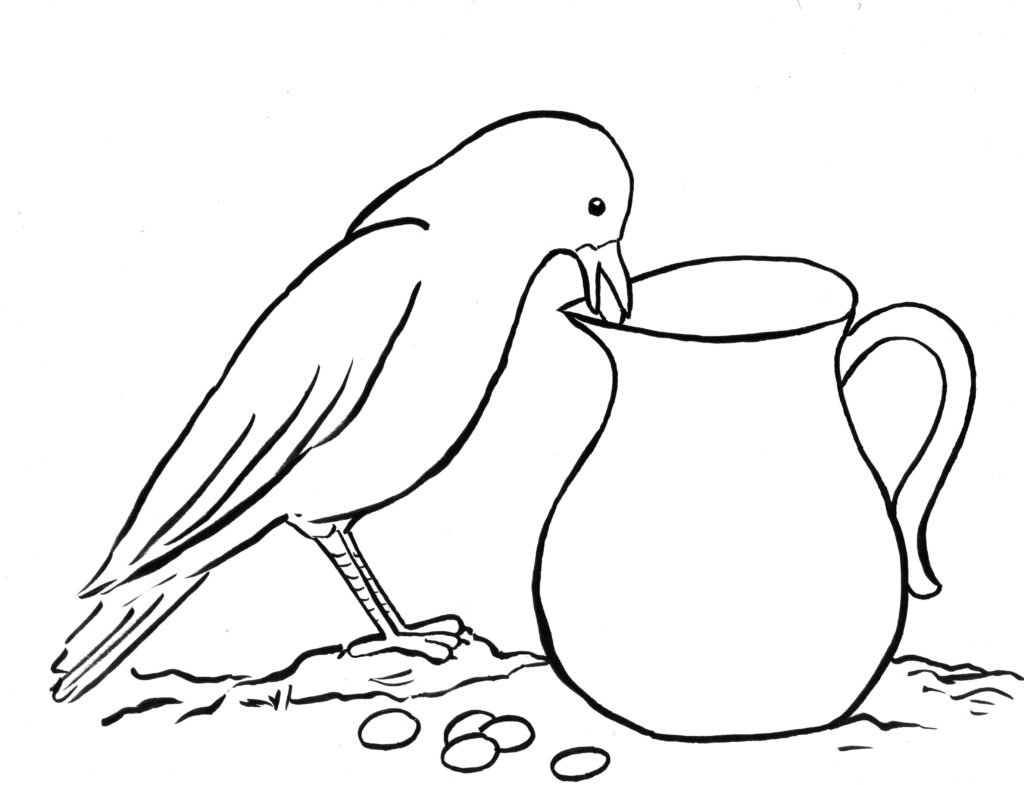
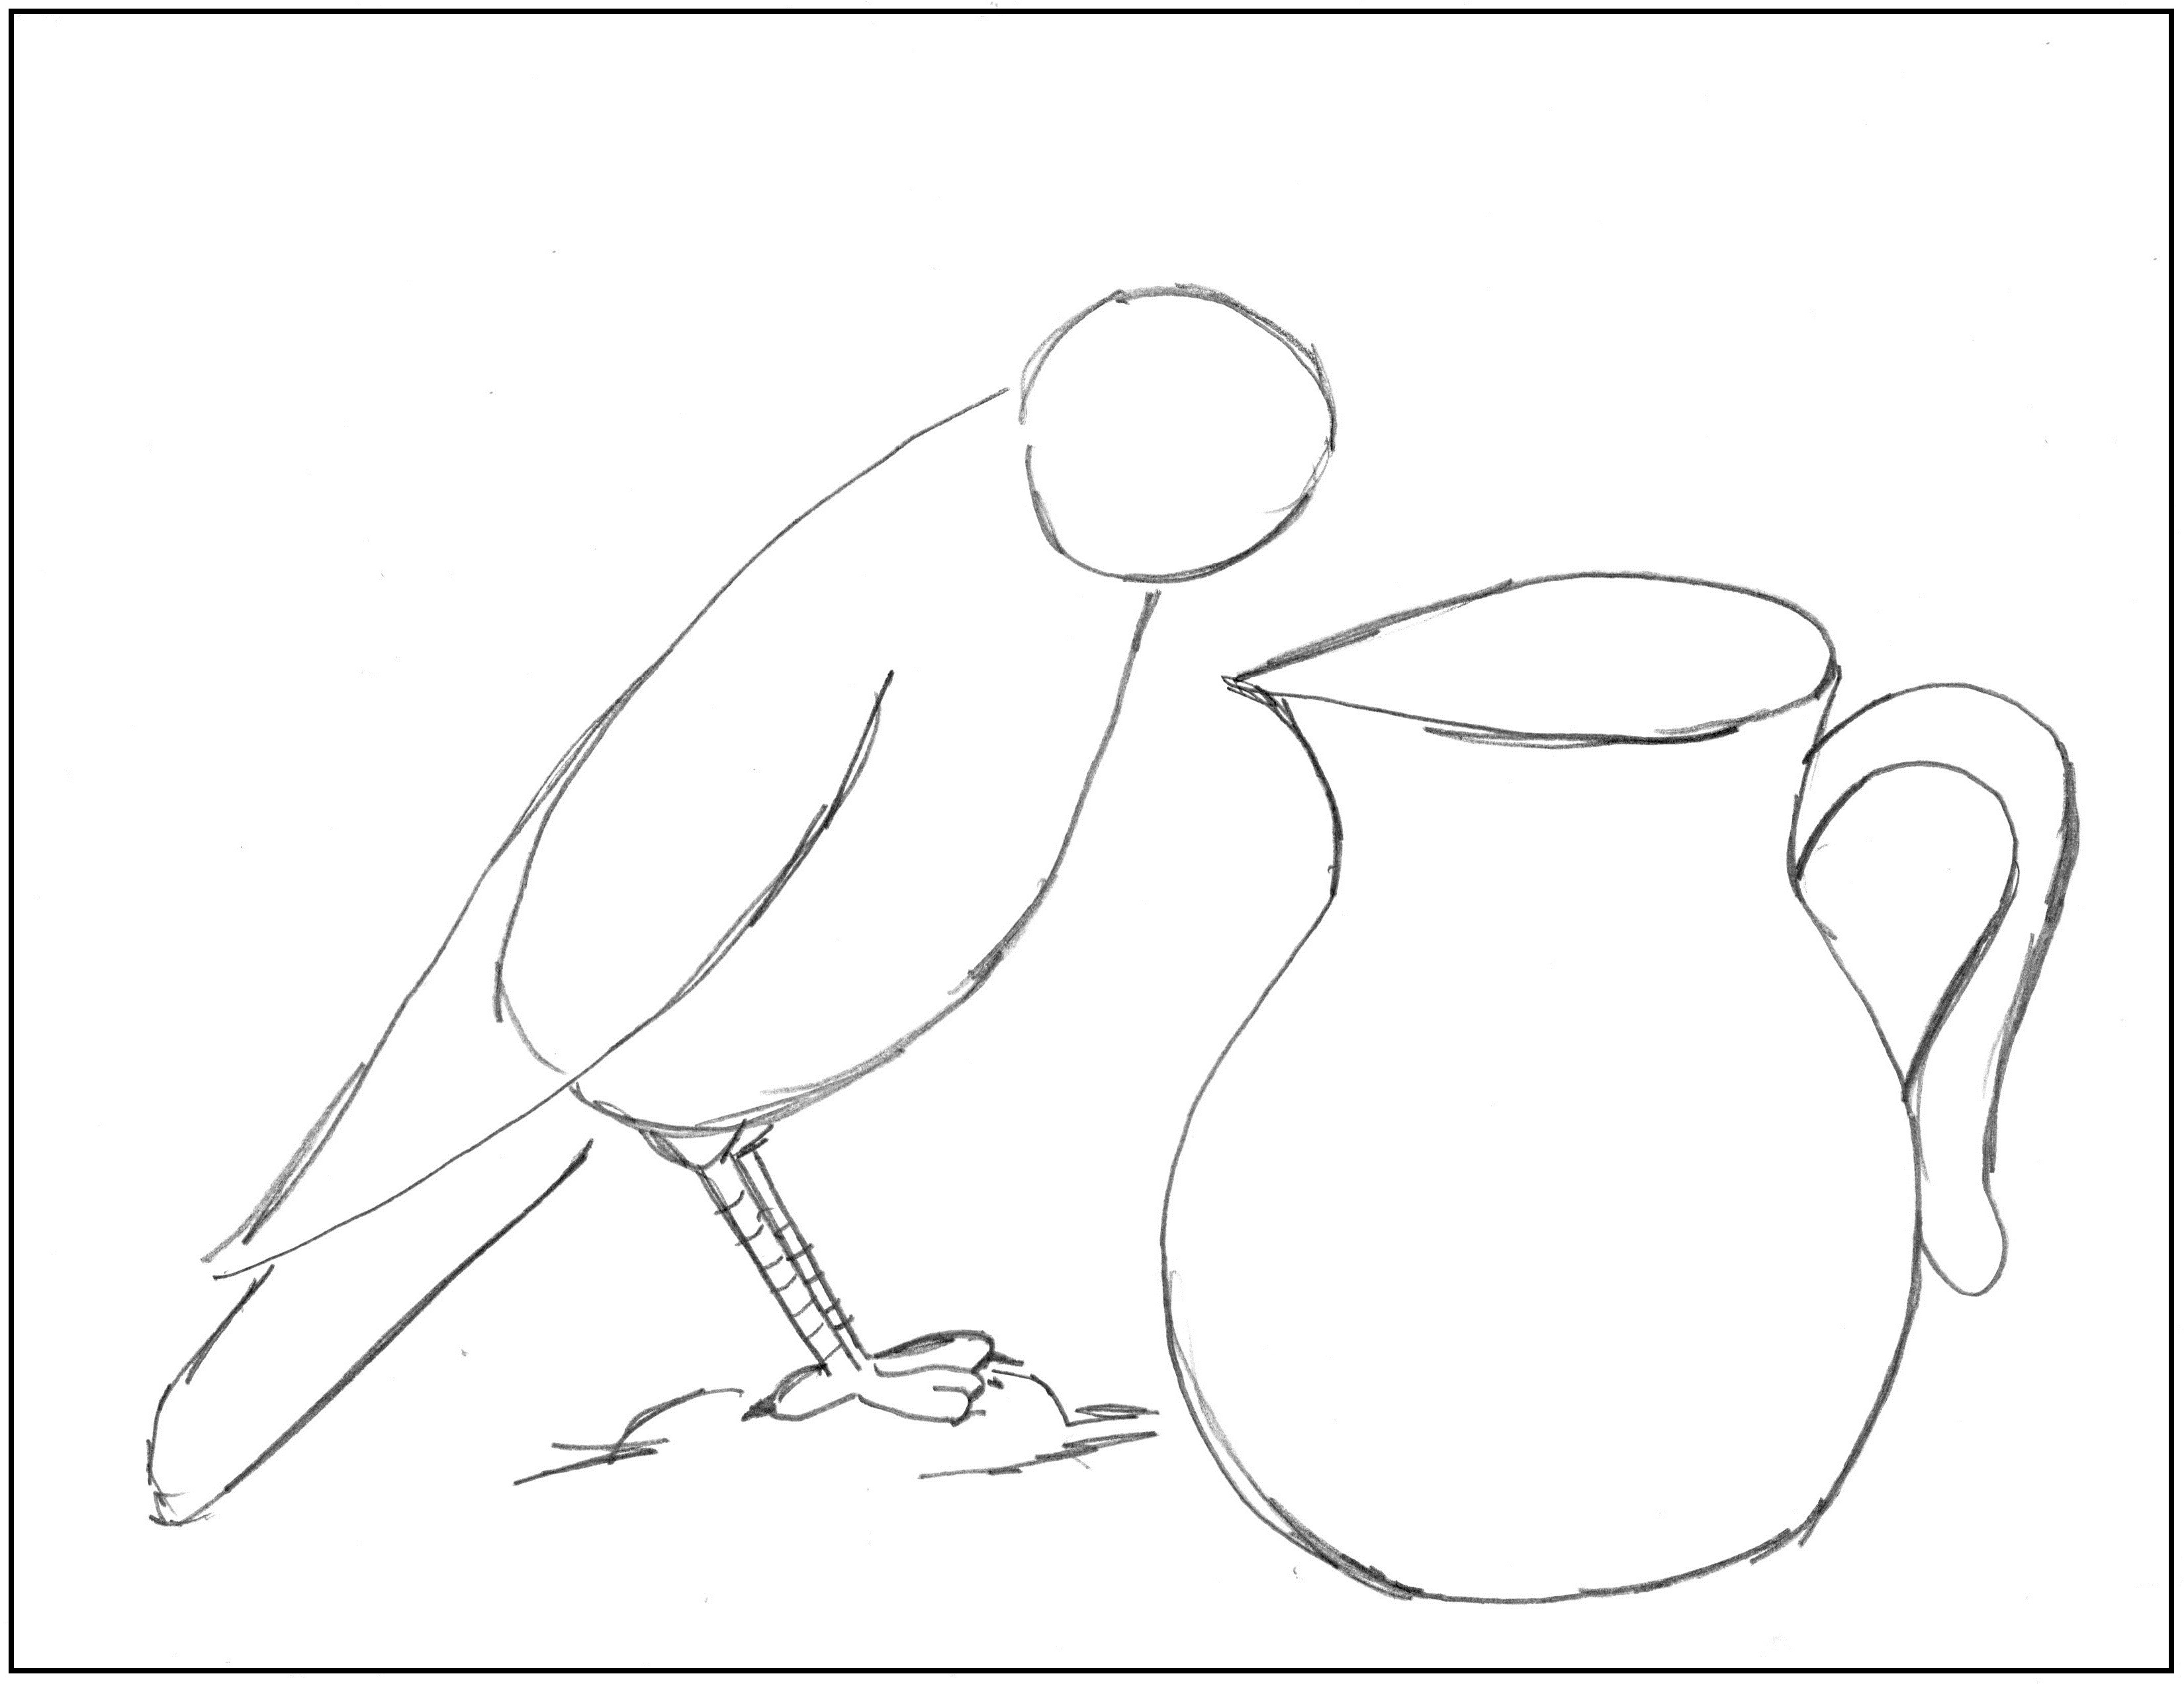
- Begin with the top of the pitcher. Notice that it is a thin oval. Place the oval on the right side of your paper, about half-way down.
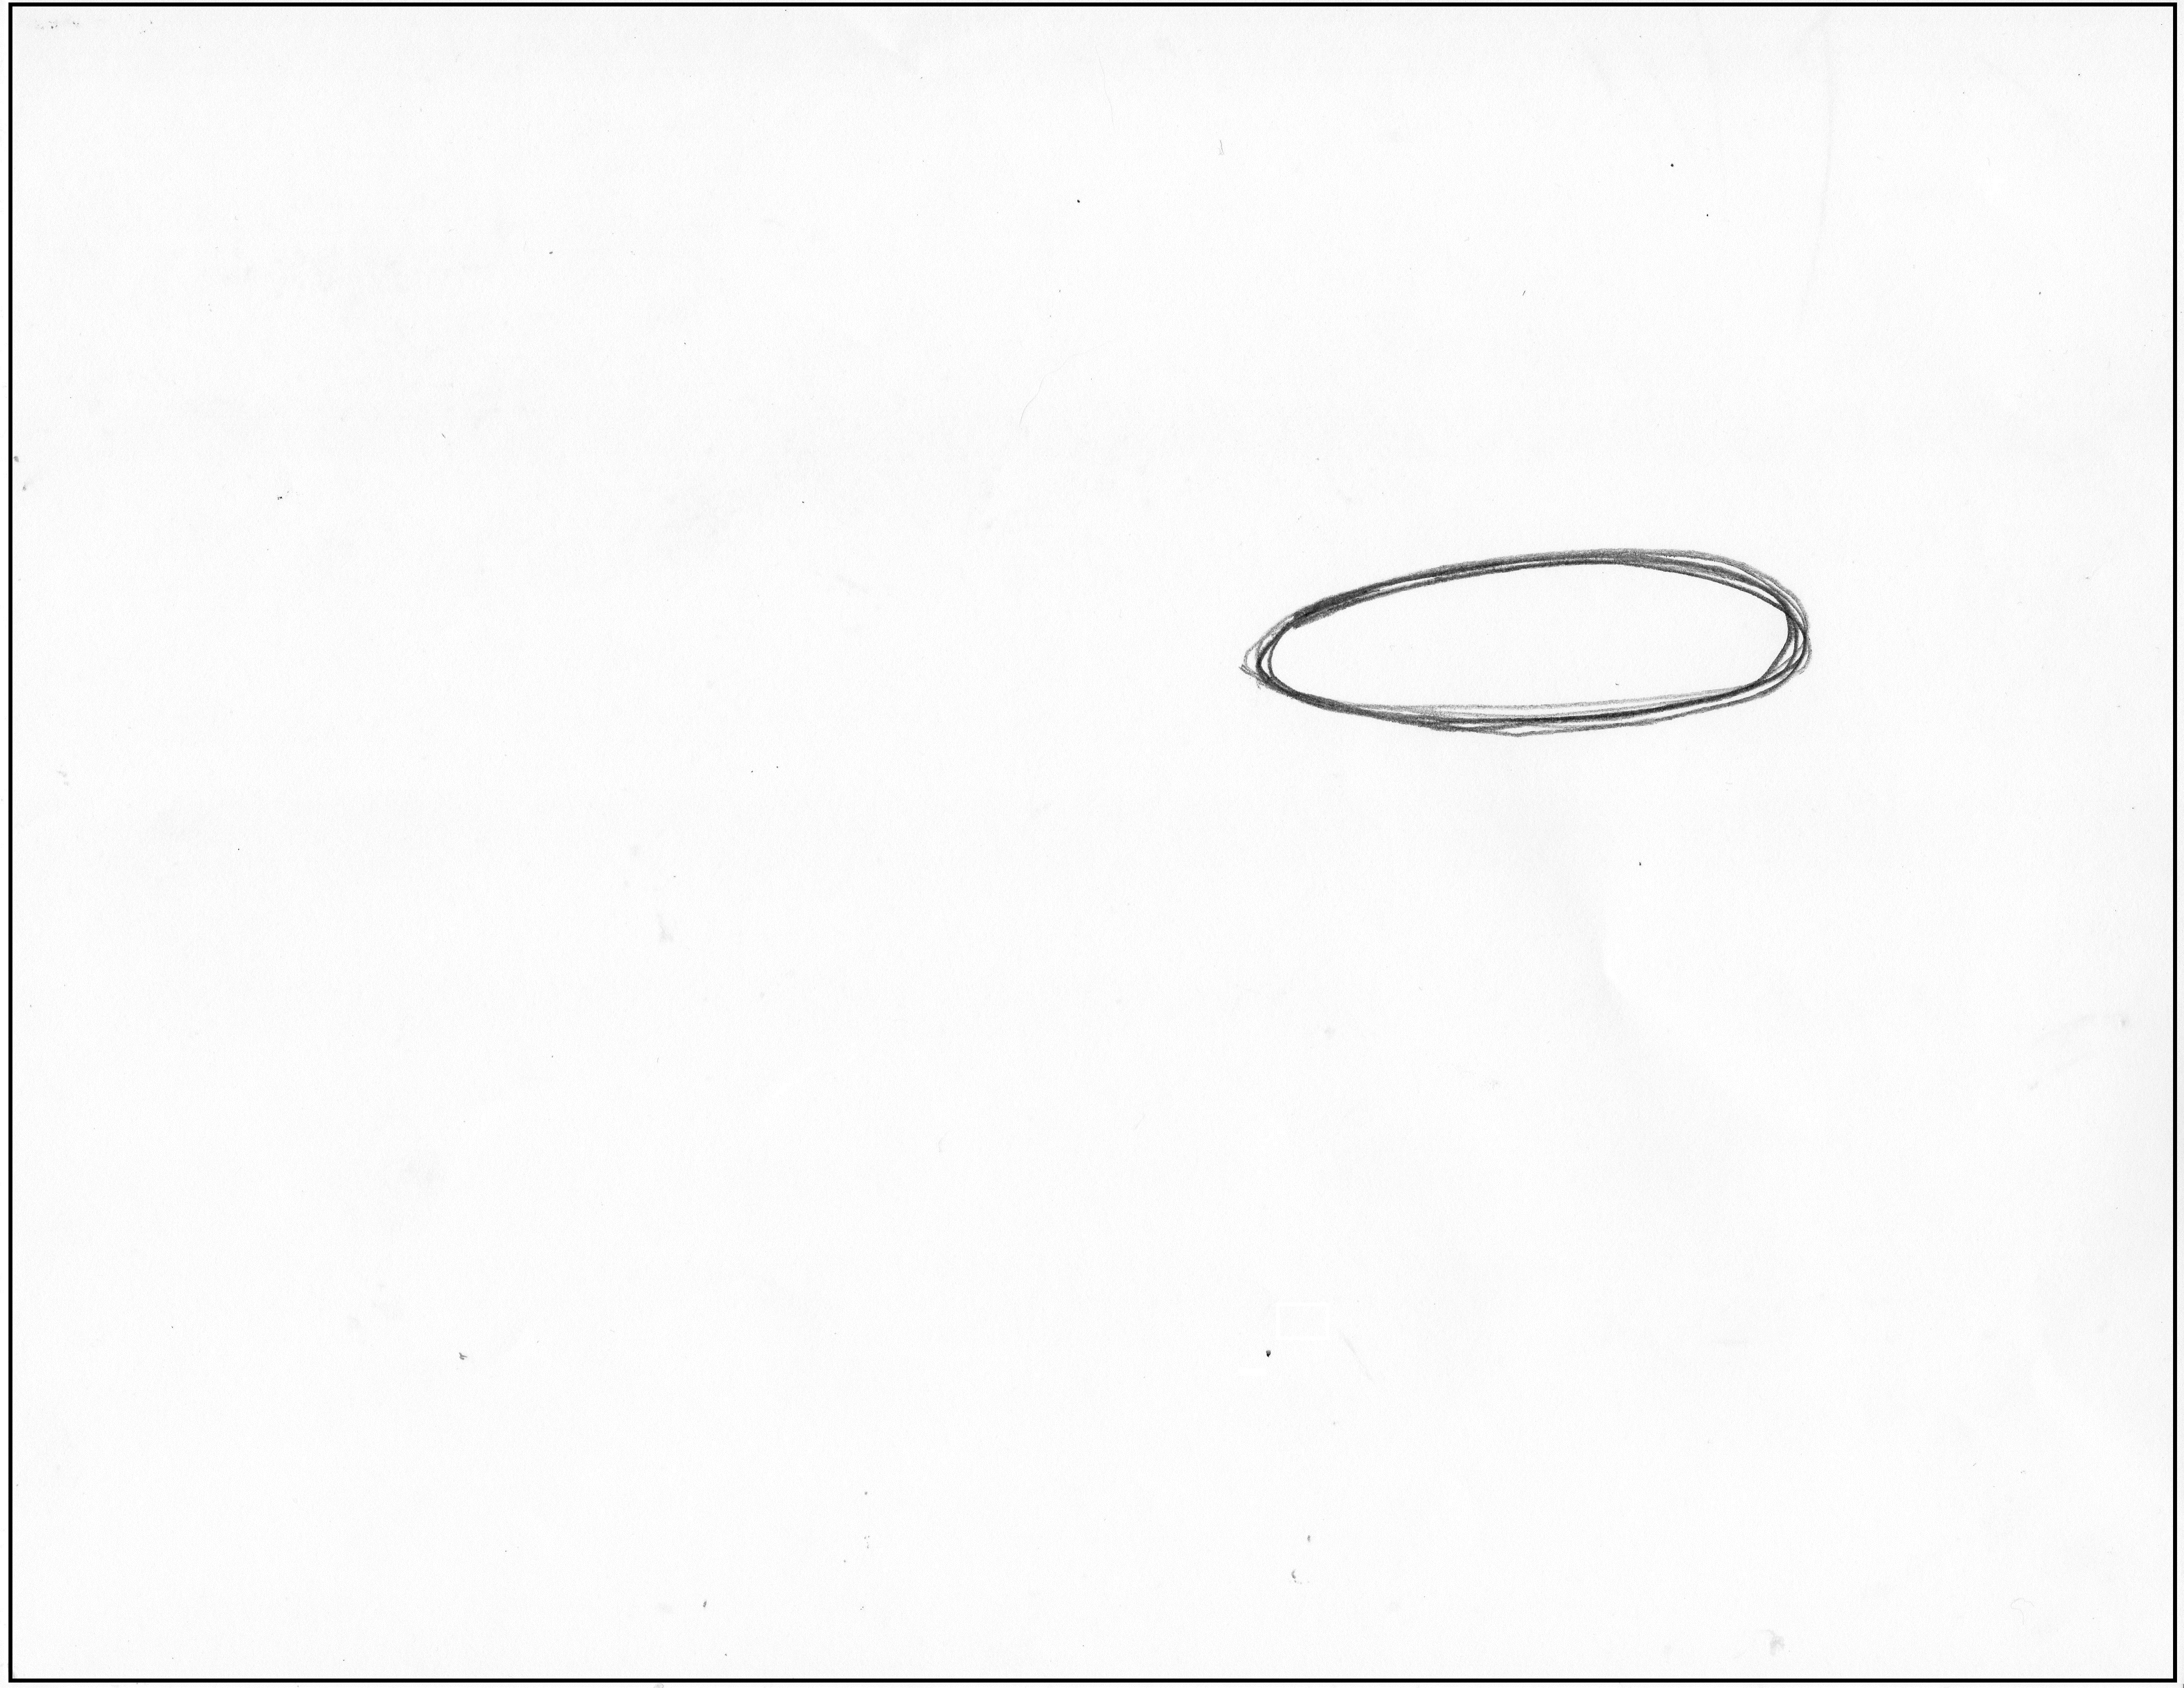
2. Next, draw one side of the pitcher.
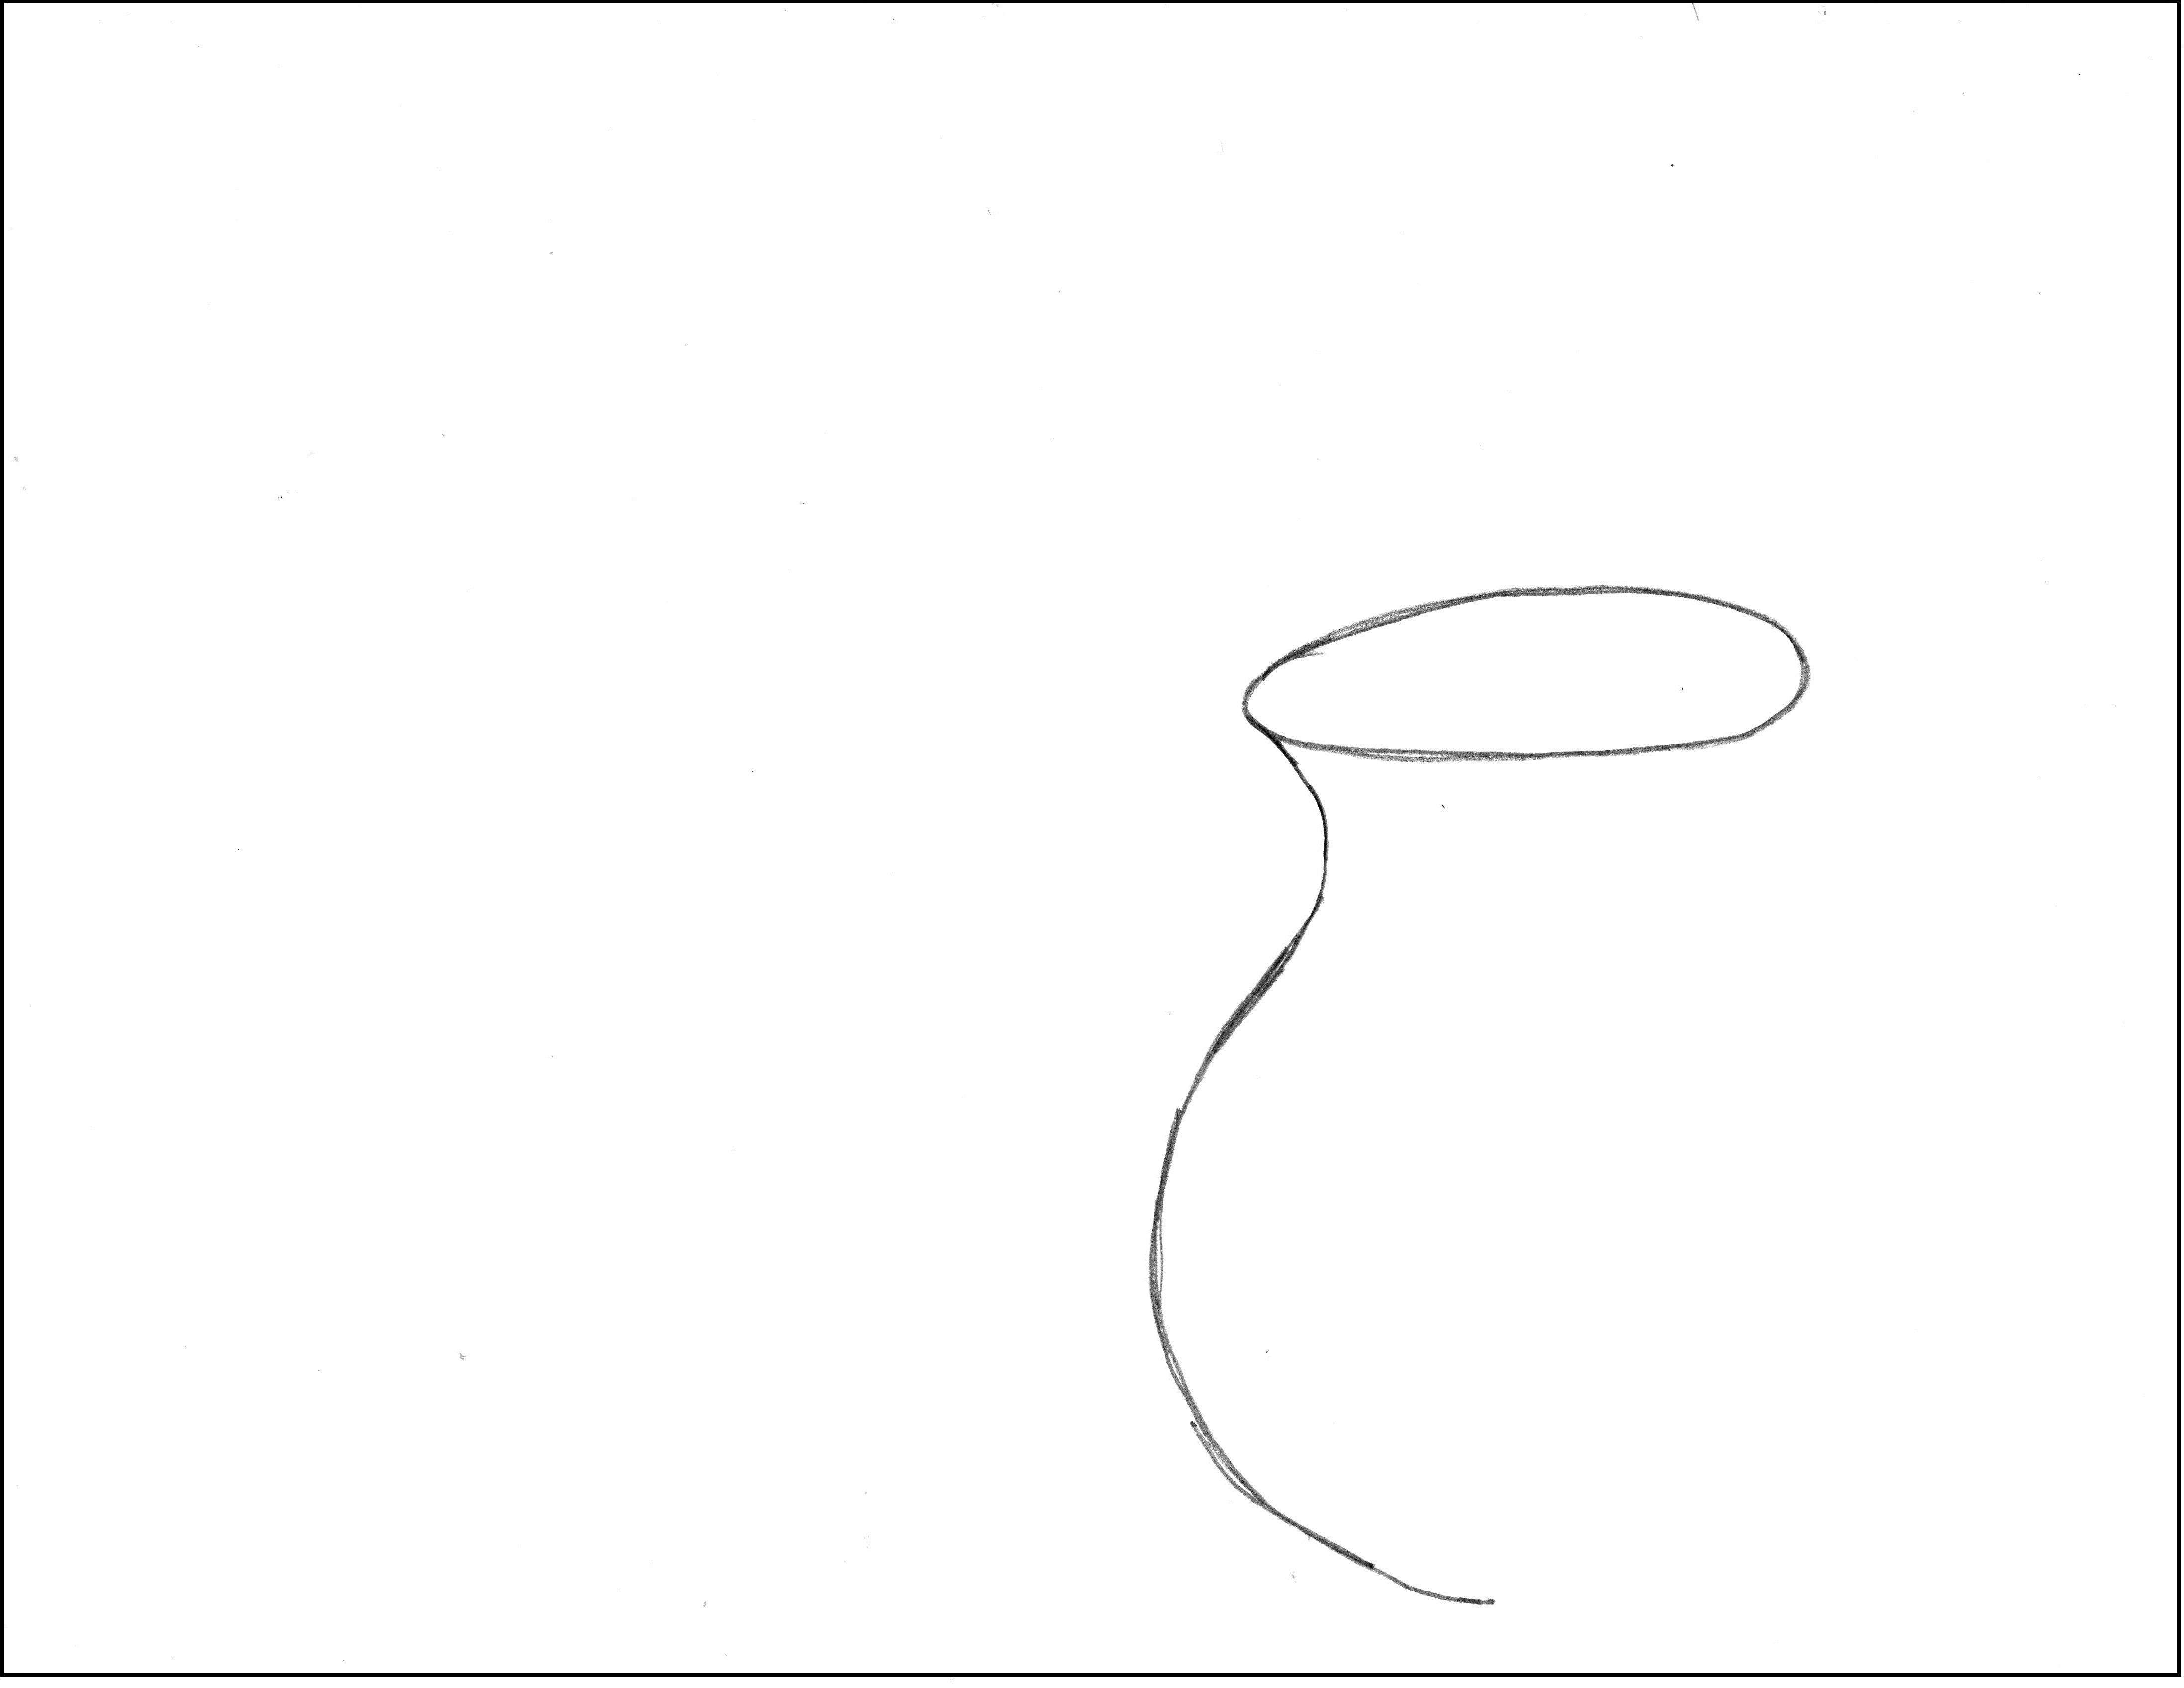
3. Draw the other side of the pitcher. This pitcher is symmetrical (the same on both sides) except for the handle, so draw the second side as a mirror image of the first.
4. Add the handle.
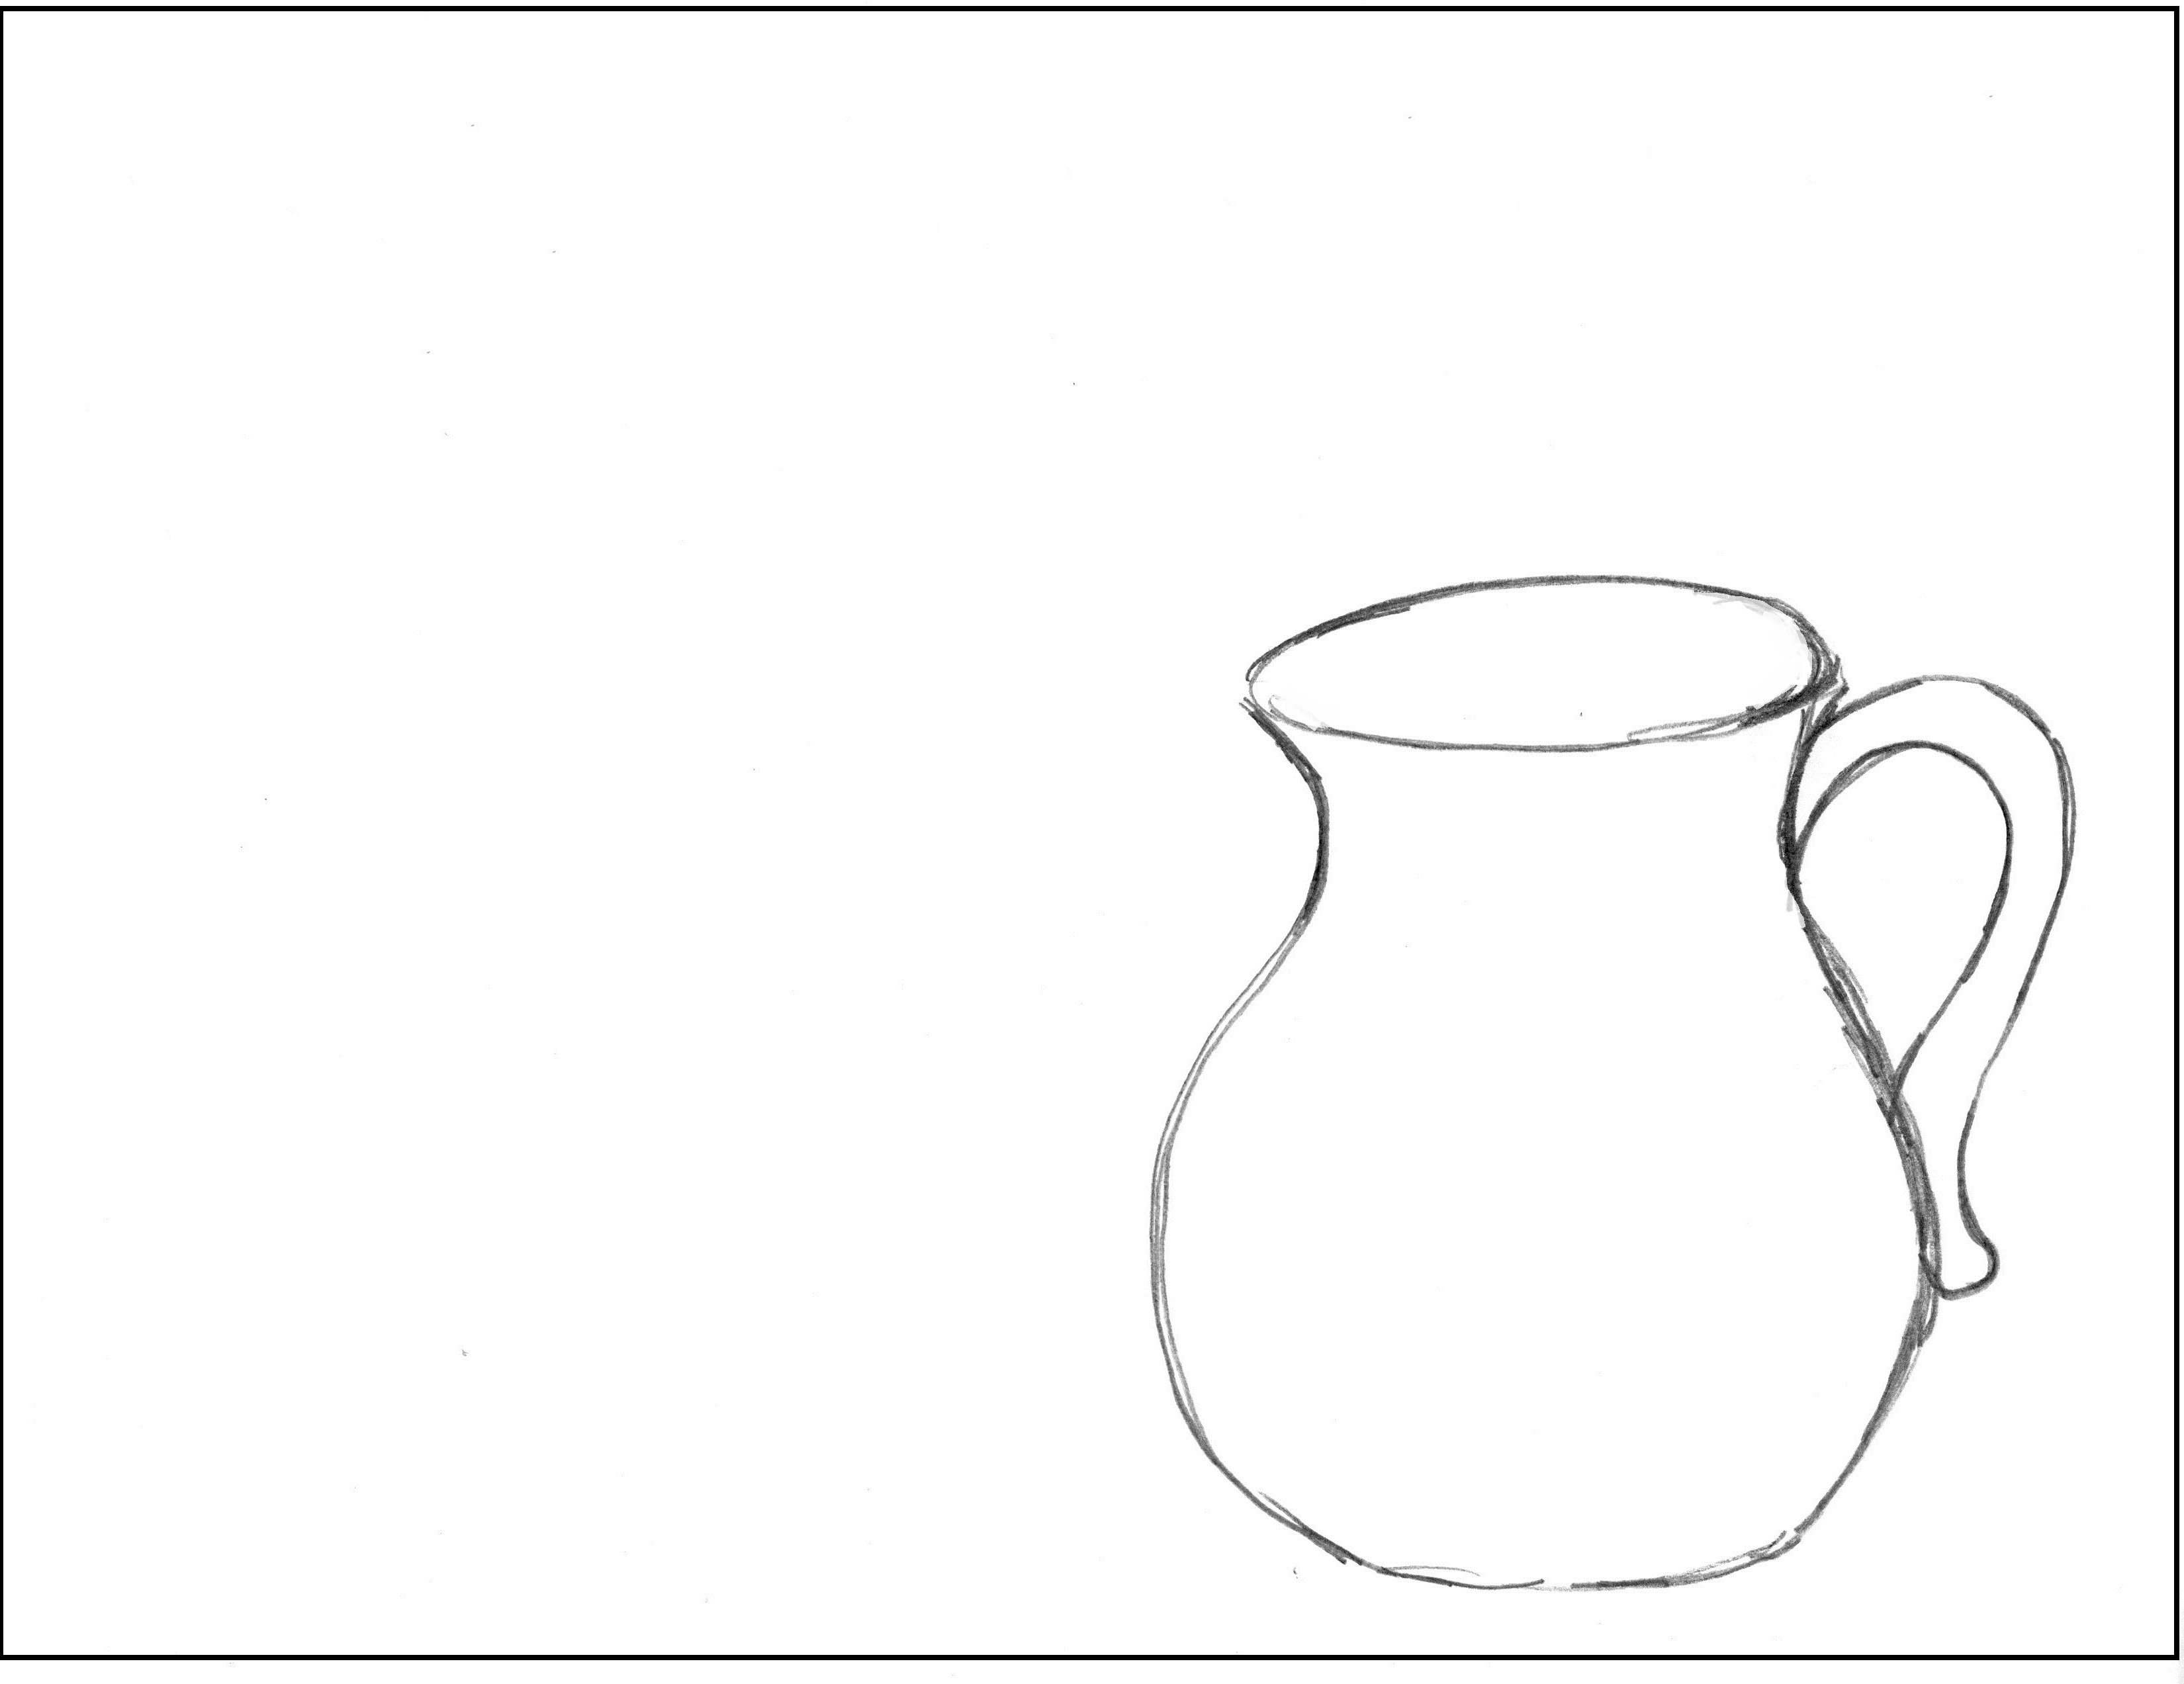
5. Add the pouring spout.

6. Next, sketch in where the crow will go. You can start with an oval for its body and a circle for the head.
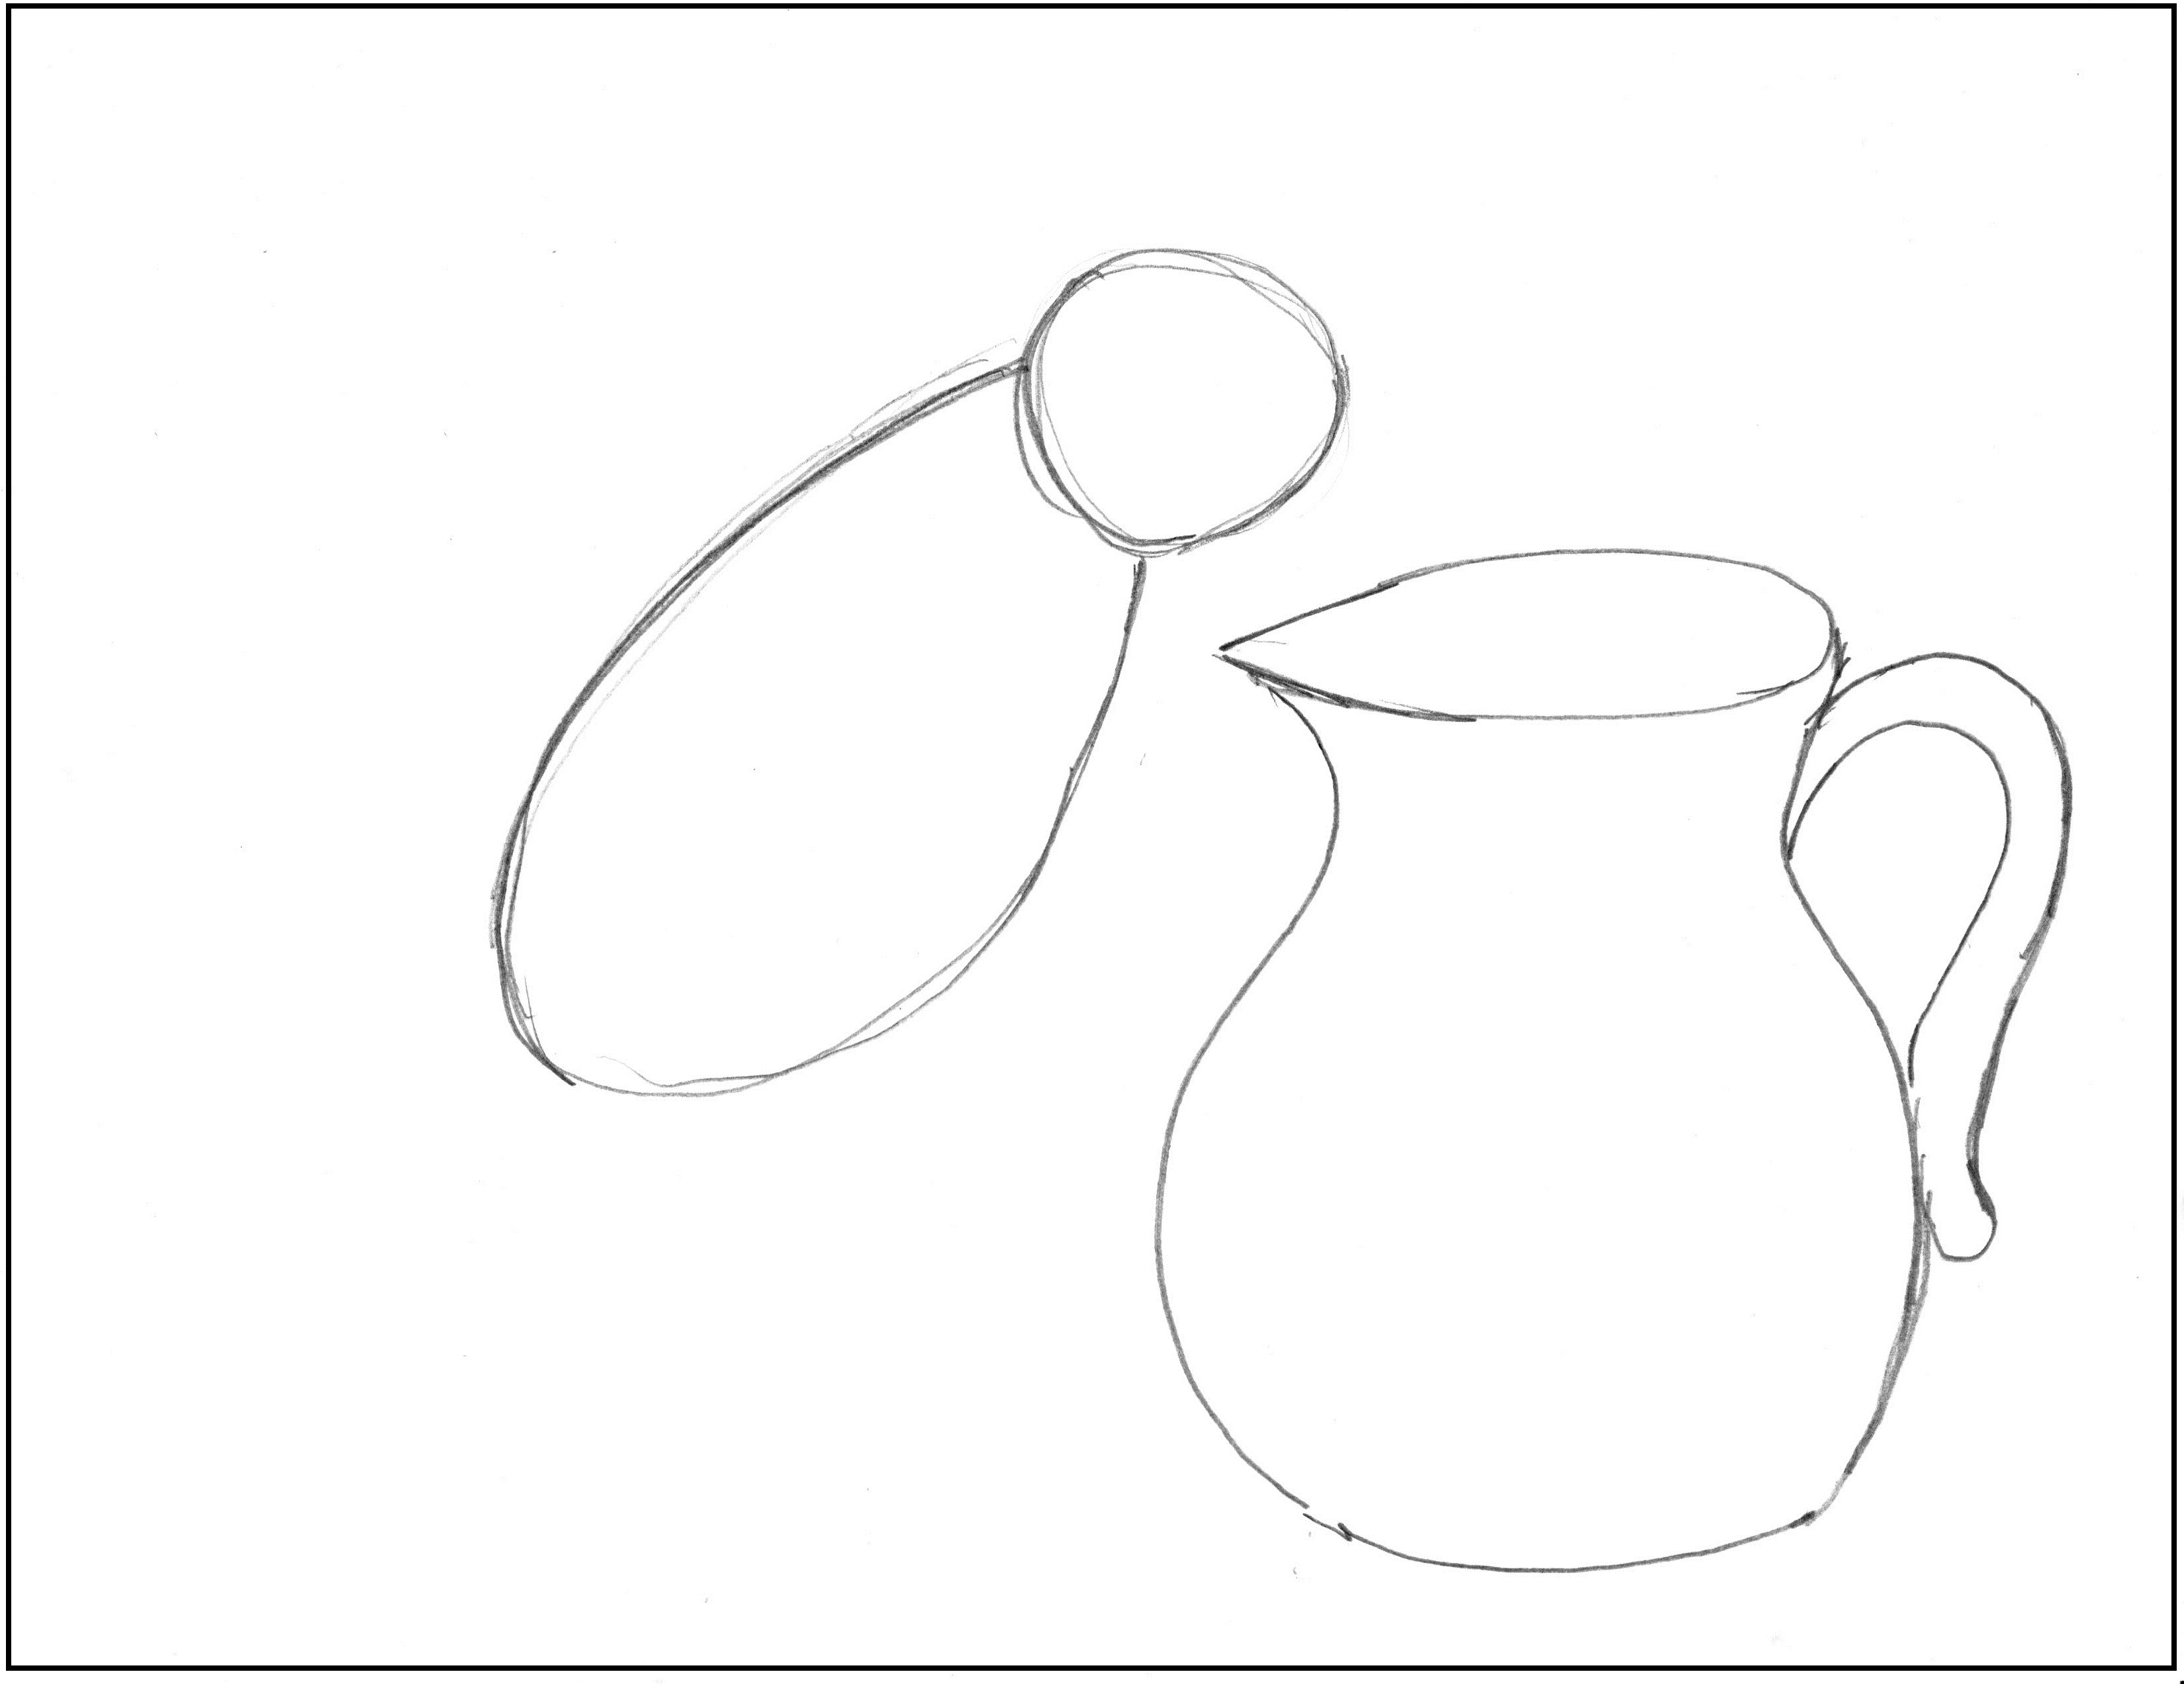
7. Add lines to place the wing and tail.
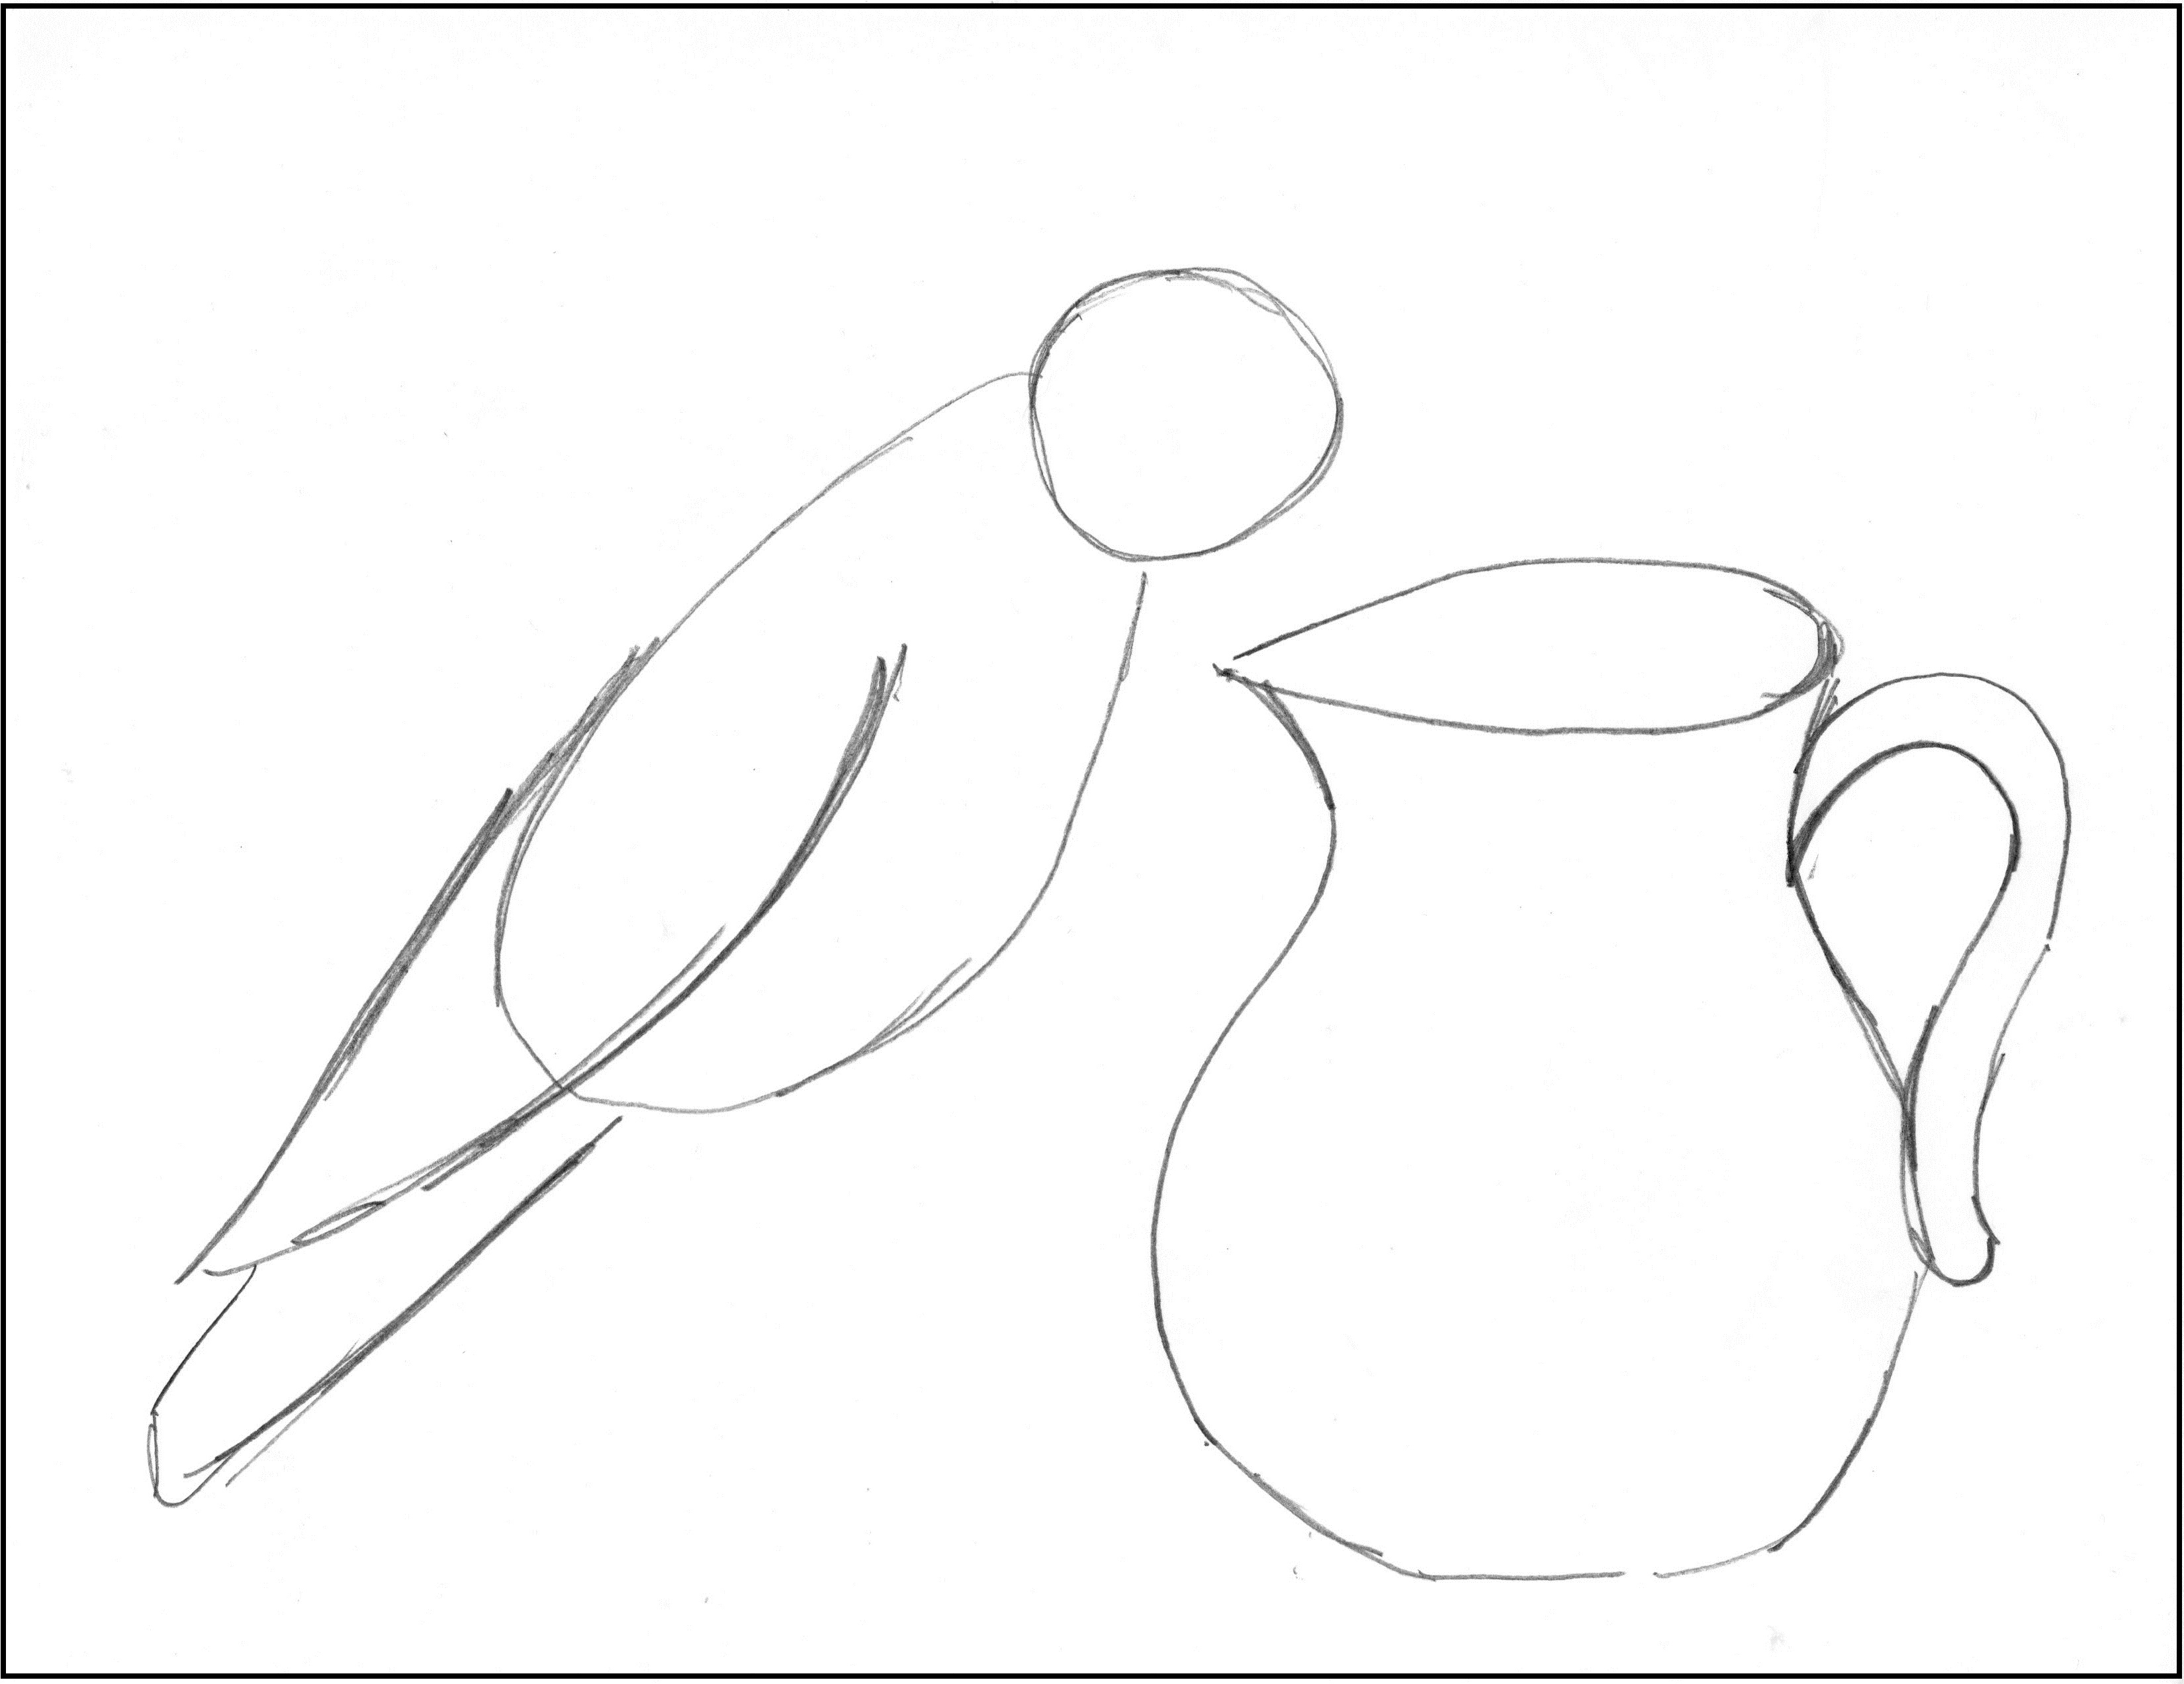
Notice the tail comes down almost as far as the bottom of the pitcher.
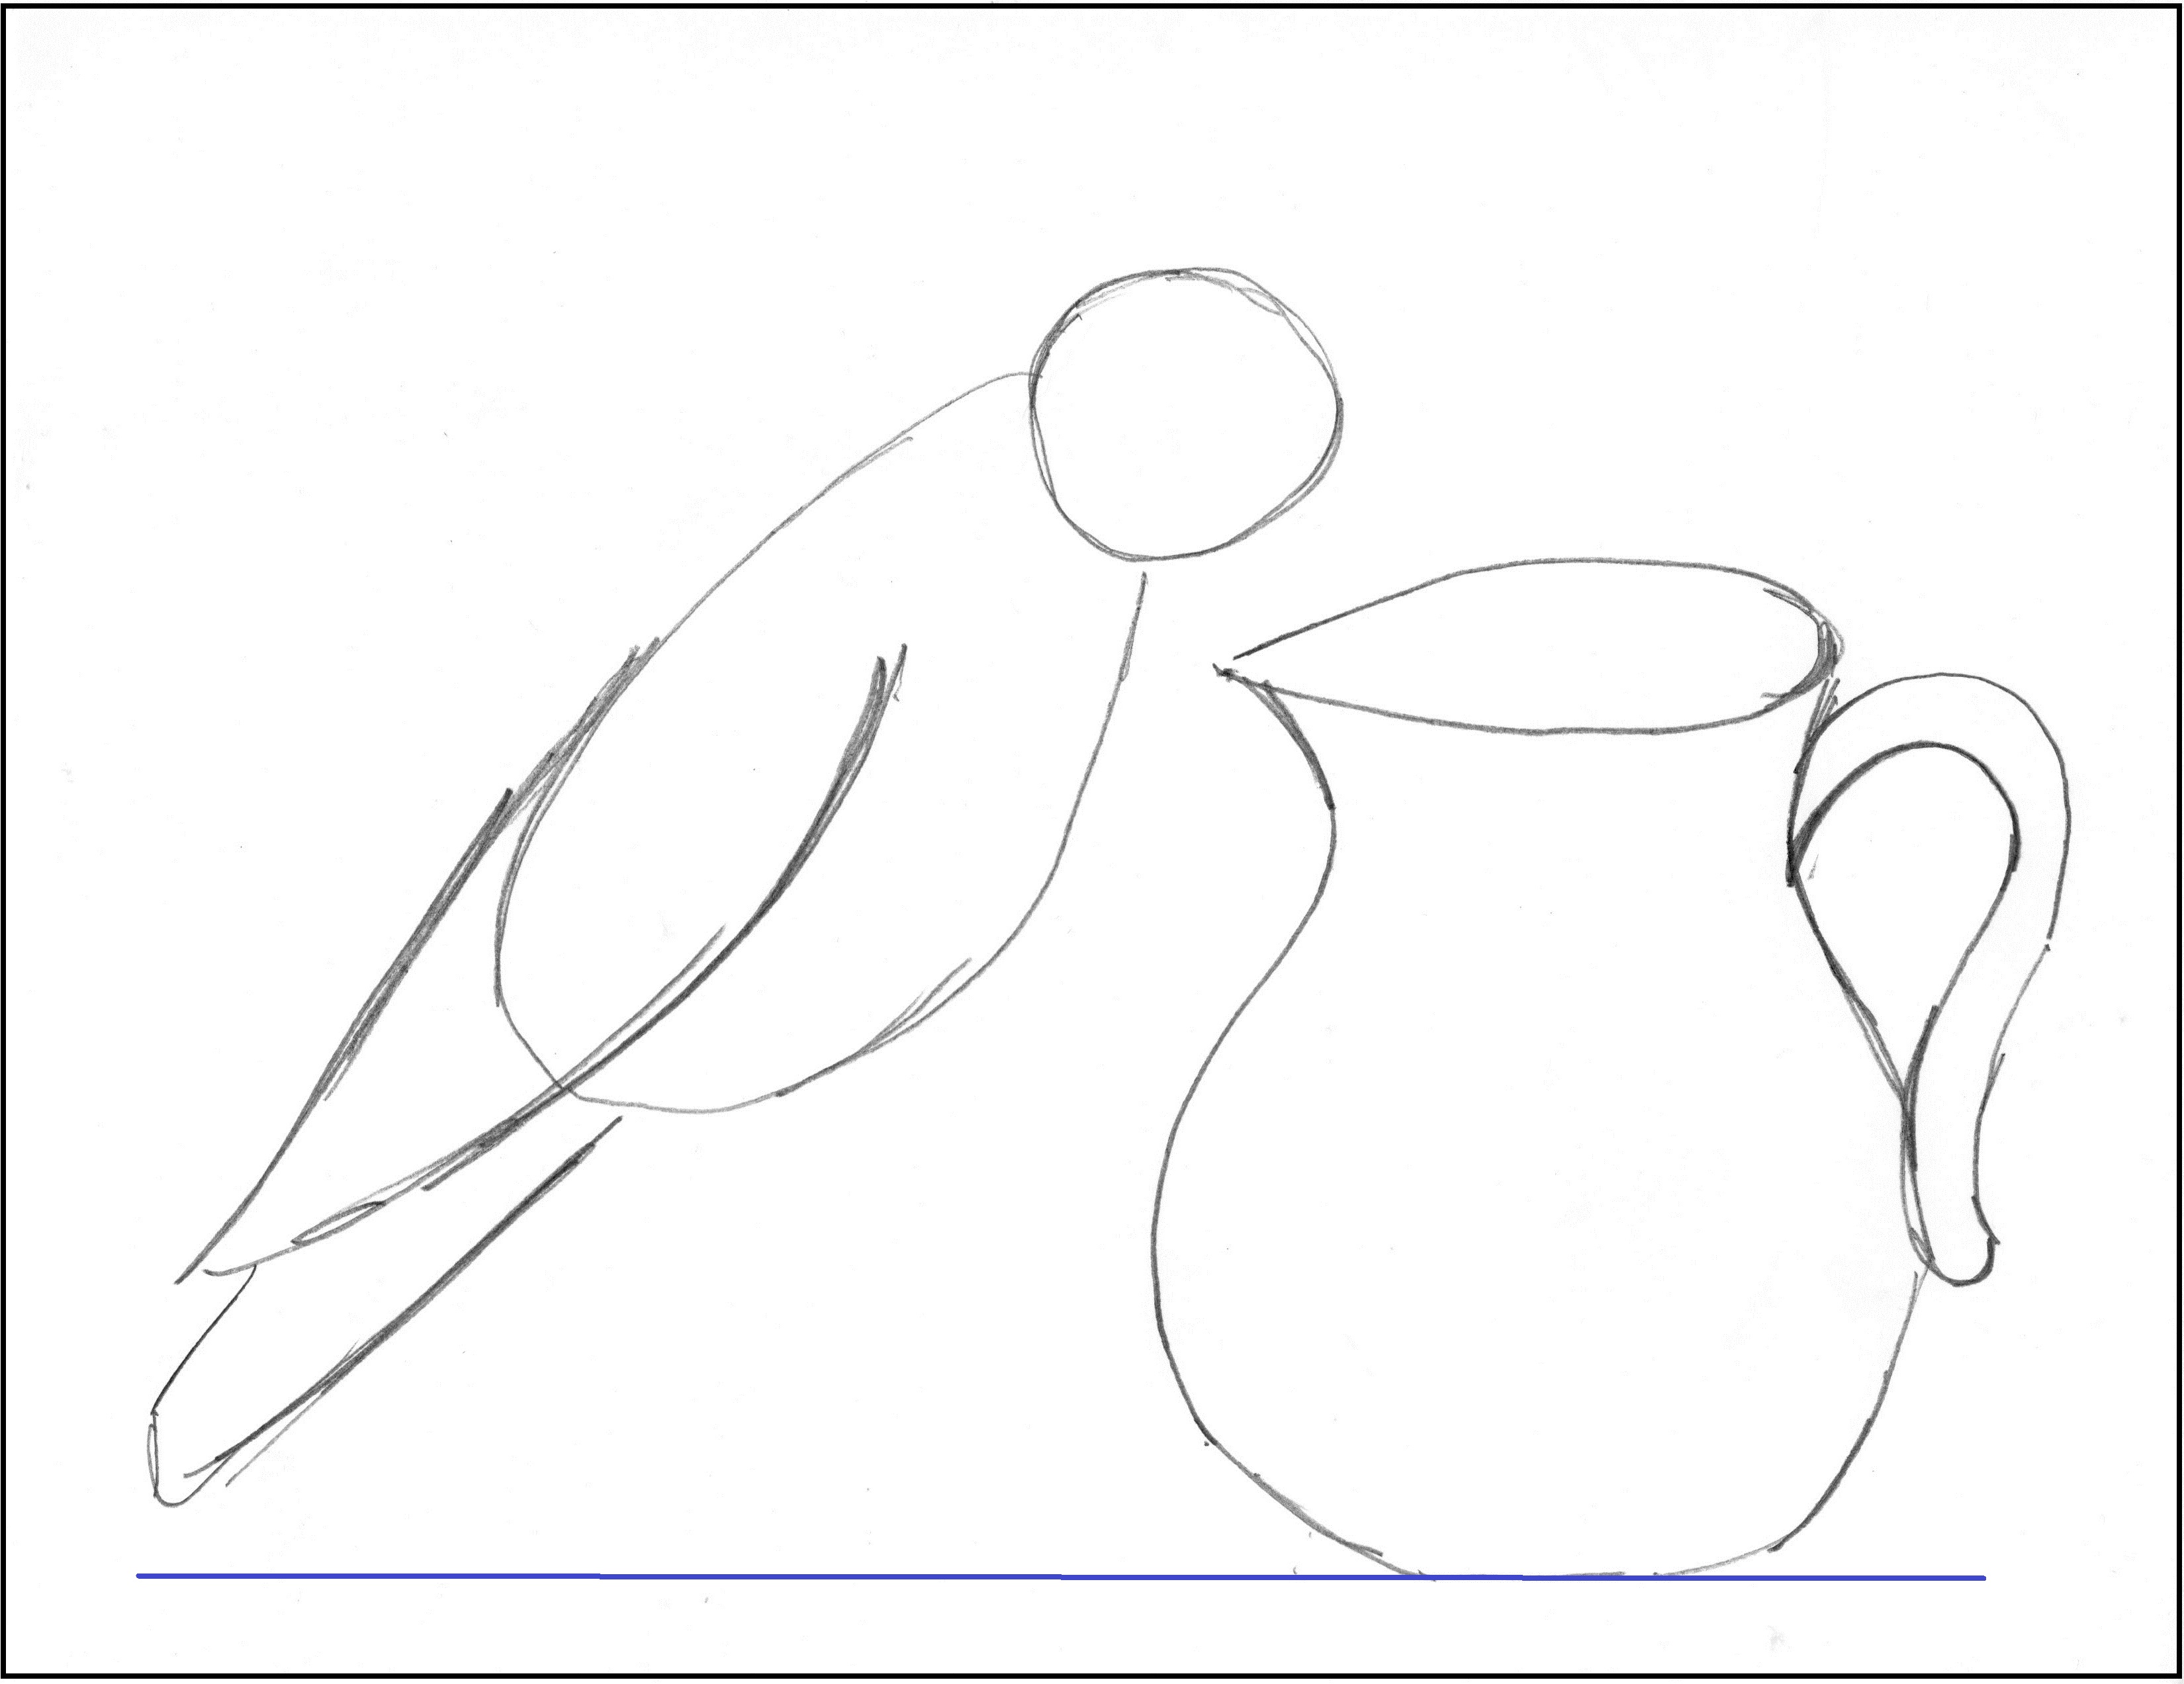
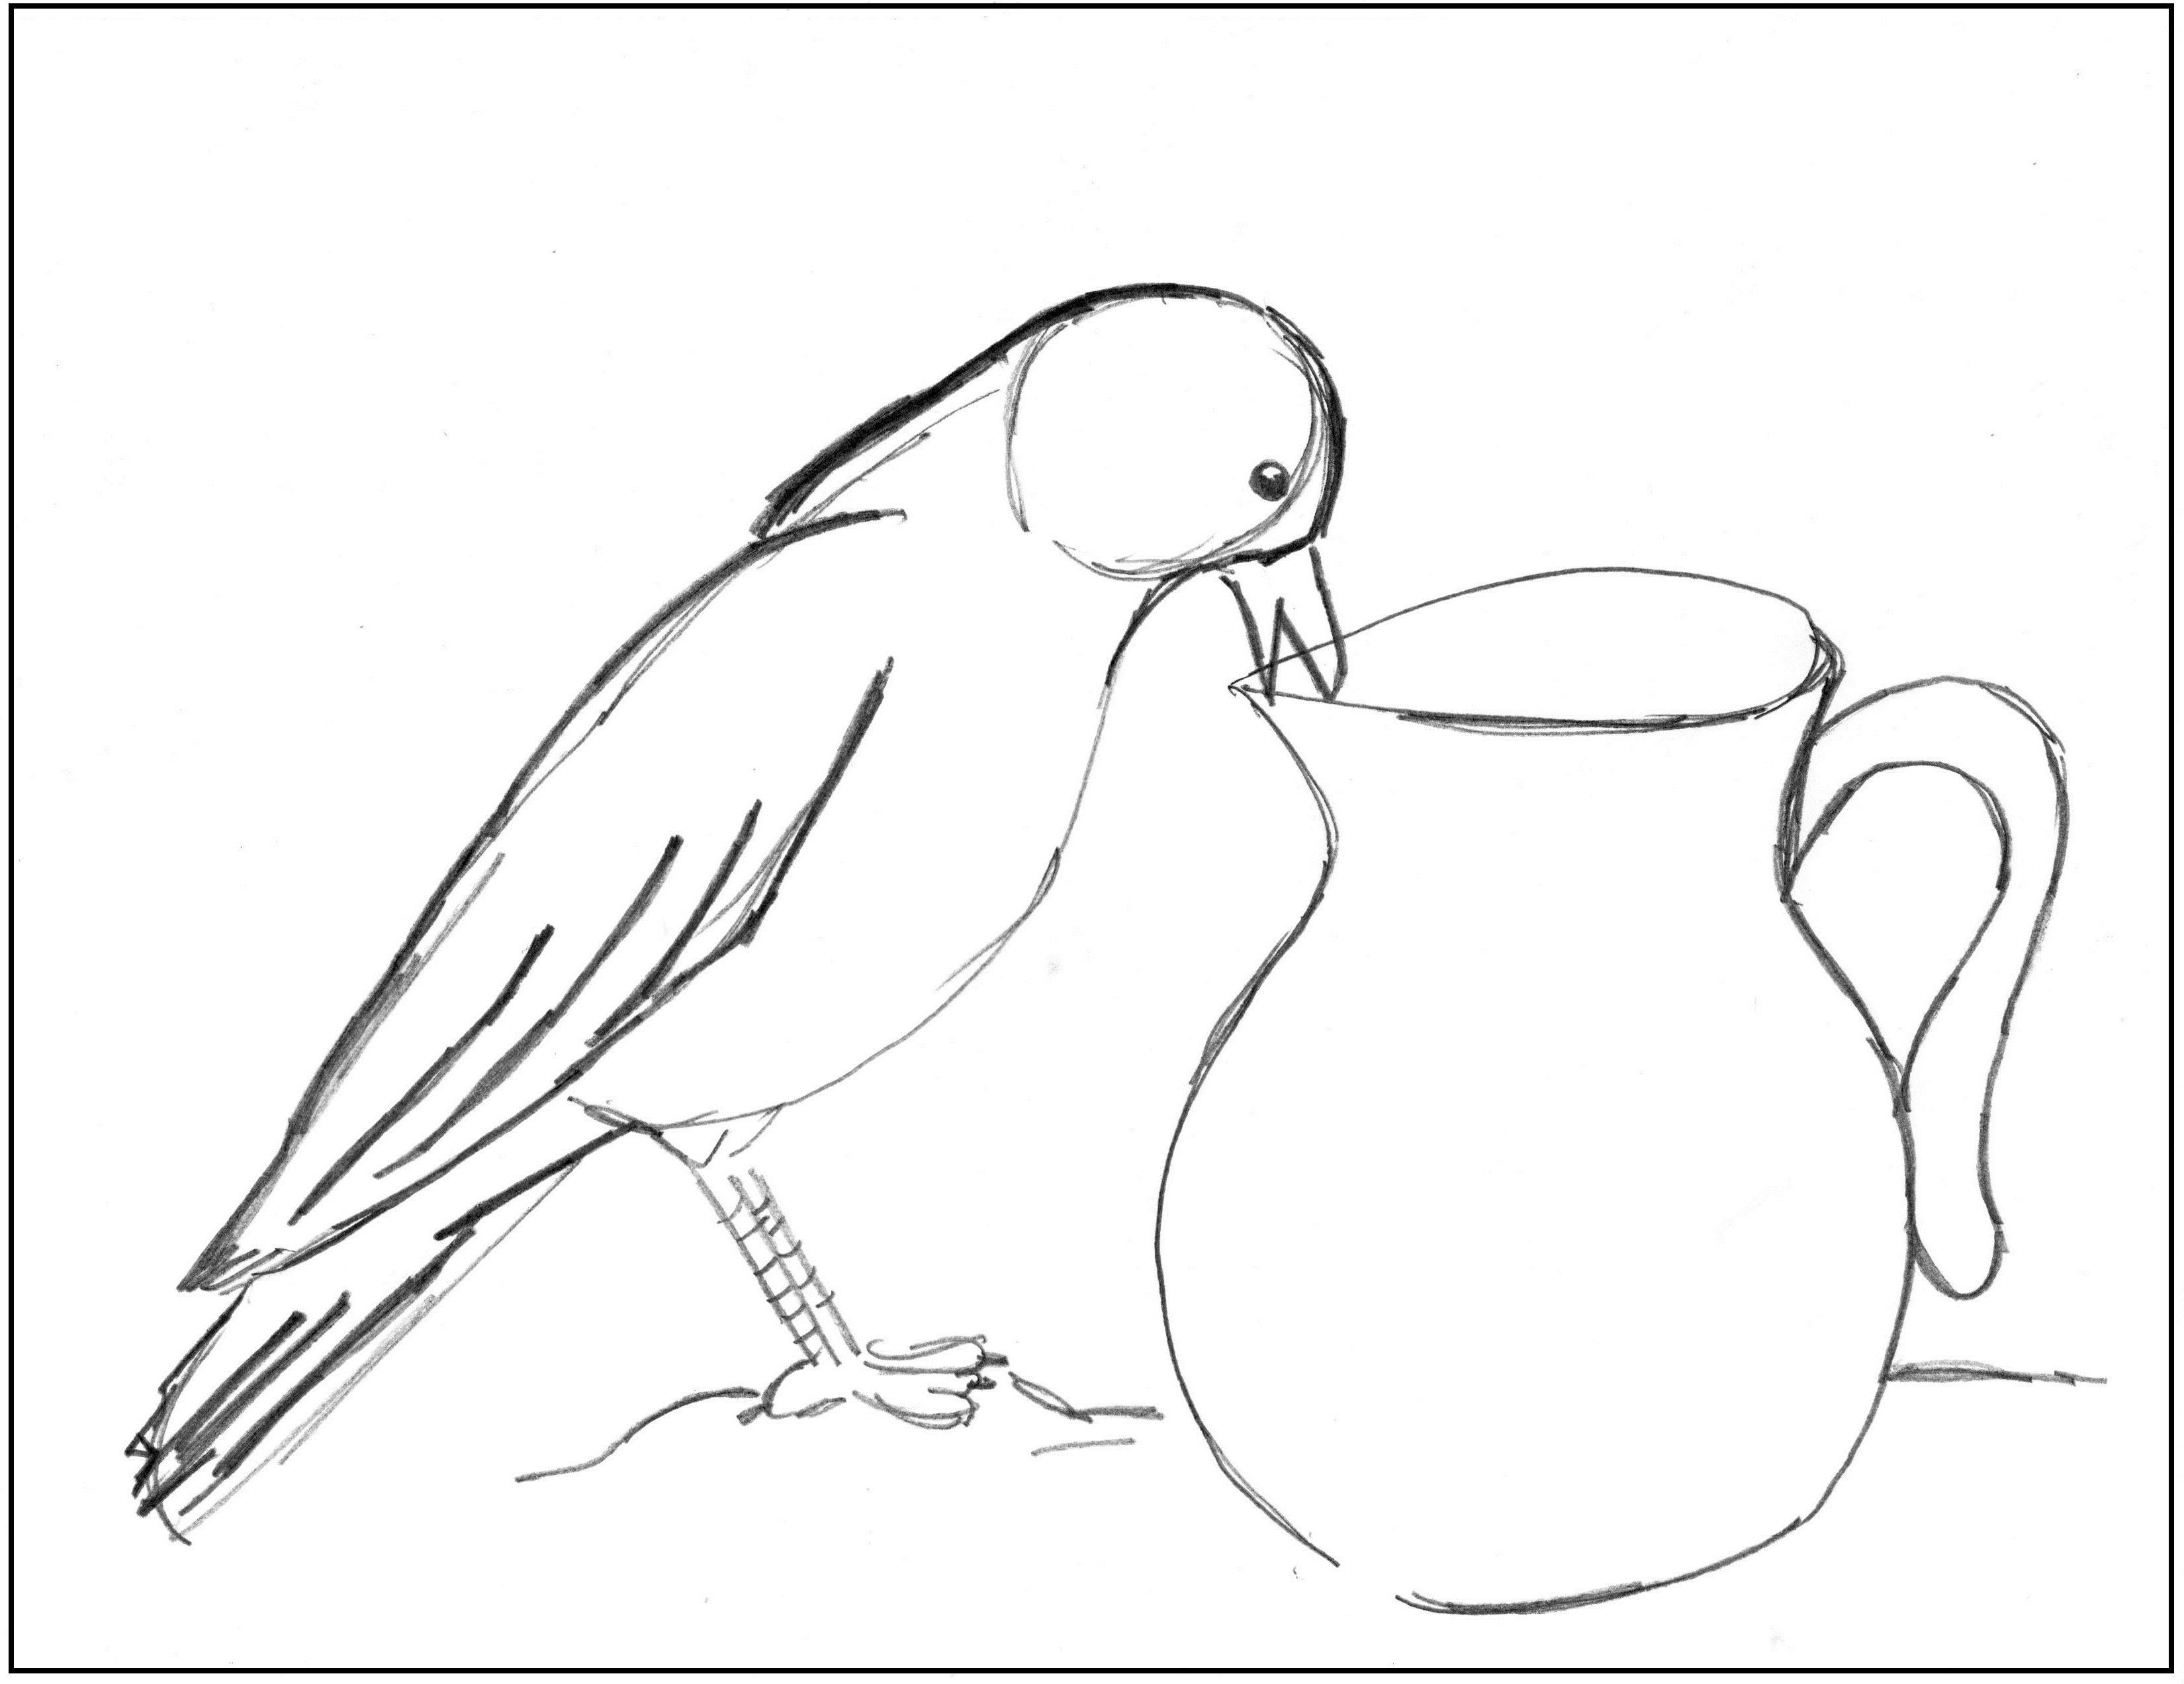
8. Time to start adding the feet. Begin with the outside leg. Although crows have three toes in the front, in this picture we can only see two of them. You can add a small rock for your bird to stand on too.

9. Add the second foot behind the first. All you can see of this foot is a line for the leg and one of the toes. You can give the legs more definition by adding some small lines across them.
10. You’re almost done! Use the shapes you drew for the crow as guidelines. Add more exact lines for the body of the crow, paying close attention to where they curve.
Add the lines for the wing feathers and tail feathers.
Add the beak and the eye. Notice that the eye is even with the upper part of the beak.
The eye is colored in except for a small white spot. This spot is called the catchlight. This is the place where light is reflecting off the eye.
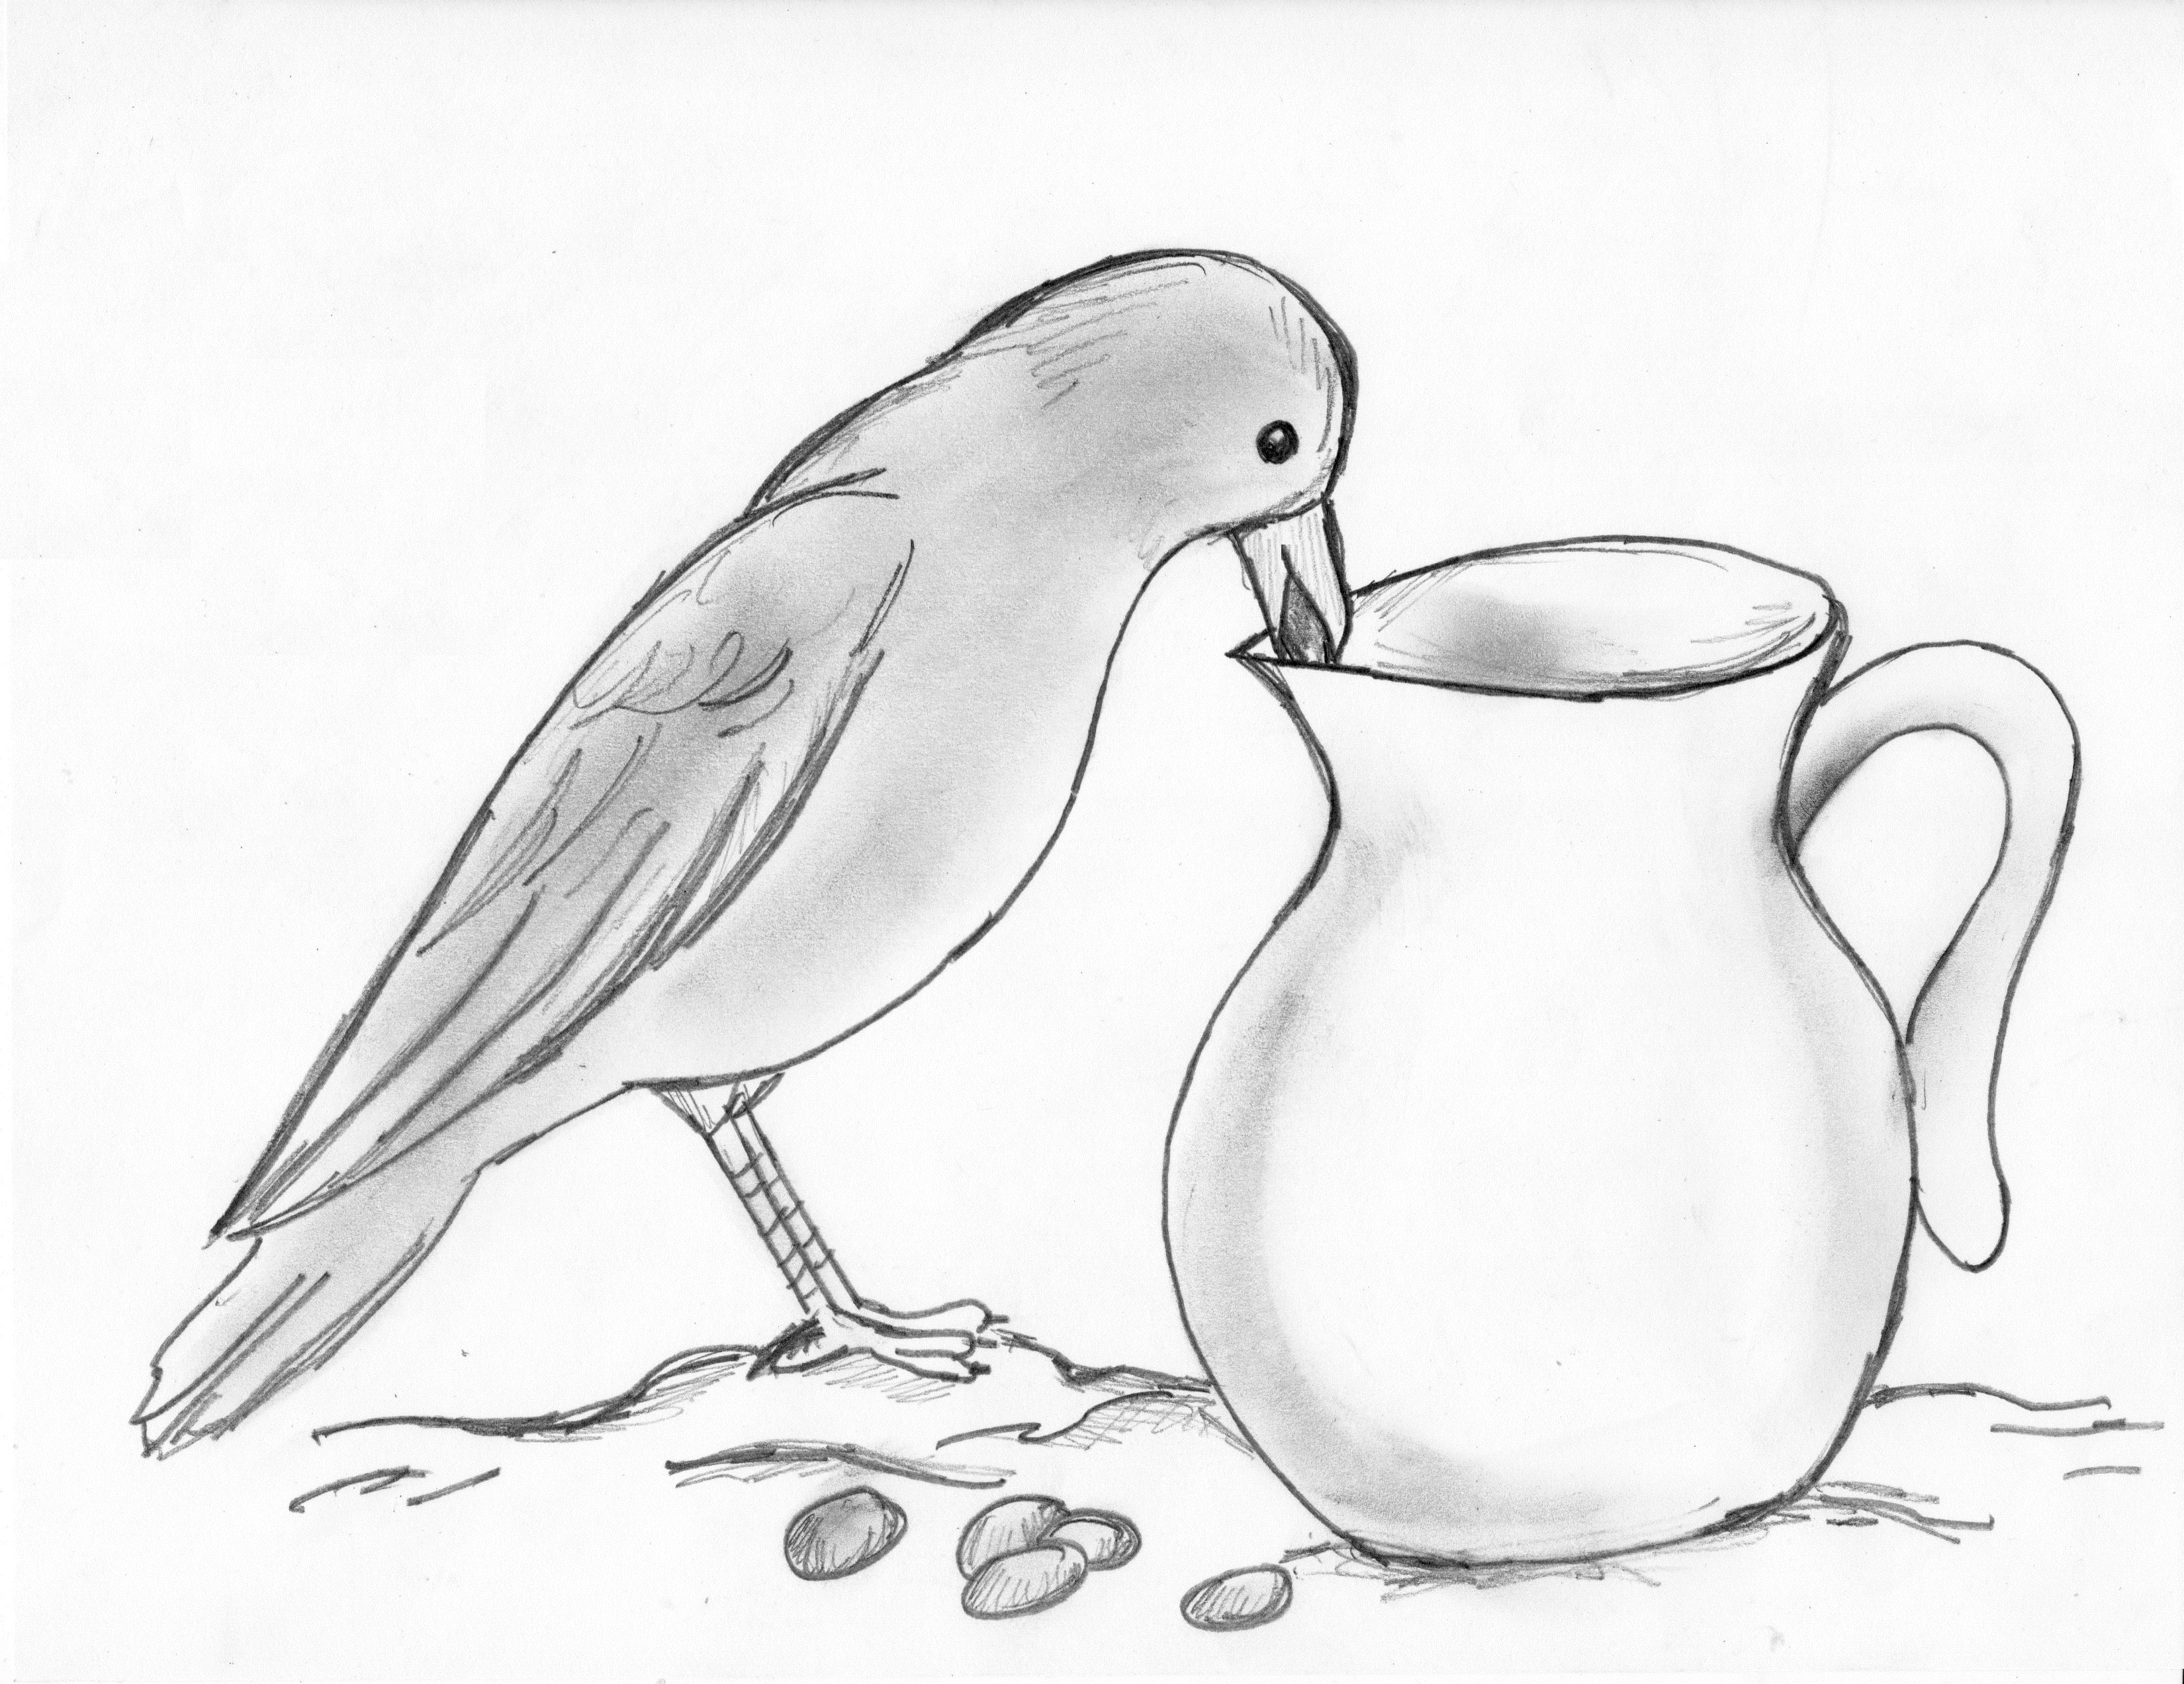
11. To finish, erase the guidelines (the shapes) you drew in the beginning.
Draw a pebble in the bird’s mouth.
Draw a few pebbles on the ground.
You can also add some shading to your drawing.
Thx. This helped me a lot
Good
v nice