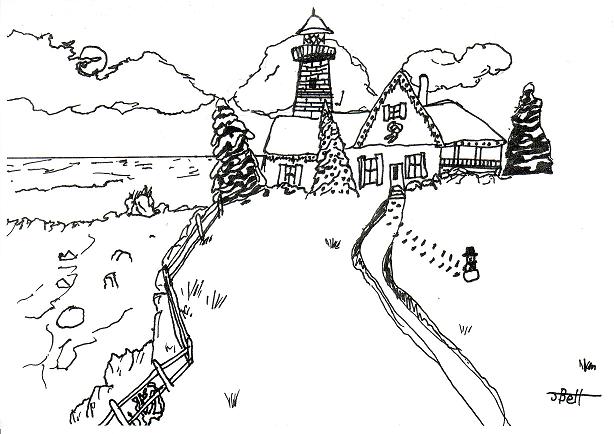
Winter Scene by John, age 10
By drawing Christmas cards in pen and ink, you can create your own original holiday greeting! Creating your own cards is a easy way to share your artwork with friends and family. This is also a great way to showcase your child’s artwork.
Supplies:
- White paper (cardstock or heavy drawing paper)
- Fine-tipped black pen
- Pencil
- Eraser
- Reference picture
- Scissors
- Access to a copier or printer
- Markers or colored pencils (optional)
Drawing the Card
I like using some sort of reference picture when I draw, even if the final product will be cartoony or whimsical. When drawing Christmas cards, use holiday themes, such as snowmen, Christmas trees, wildlife, winter landscapes, or nativity scenes. You can save the Christmas cards you receive every year for just this purpose – you don’t copy them, but they will give you ideas for your own cards.
Before you begin drawing Christmas cards, decide on the size of the finished card you want to send. I like using an 8 ½” x 11” paper folded in half. You can find envelopes for this size at some office stores in boxes of 100 (I’ve found them before at Office Depot). Once you’ve chosen the finished size of the front of the card, multiply each of the dimensions by two to determine the size of paper you should use. For example, if the front of your card will have a drawing 3” x 5”, cut a piece of paper 6” x 10”. If it will be 4 ¼” x 5 ½”, use an 8 ½” x 11” paper.
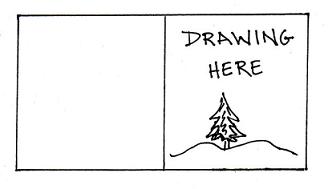
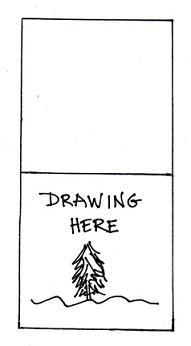
Now fold your paper in half. If your card will open from right to left, your drawing will be on the RIGHT side of the paper; if it opens from the top, your drawing will be on the LOWER HALF of the paper. (See below.)
With your reference picture in hand, lightly draw your picture, being sure to include all details the final artwork will have. Use the eraser to make any changes.
Once you are satisfied with your drawing, use the fine-tipped ink pen to trace over your work. If you make a mistake, don’t worry – you can either fix it by changing it with ink or use a little White-Out. The White-Out won’t show up when you make copies later.
Give the ink a few minutes to dry, then erase any stray pencil marks that still may be showing. Remember to sign your work in ink.
Making Copies
If you have a copier, great! If not, just take your work to your local copy shop (don’t fold it yet). Make copies of the artwork on any color paper you like (I like it on plain white or cream), as many as you need for your Christmas greetings. If for some reason your drawing is larger than you wanted it to be, simply reduce it with the copier, then make copies of the reduced-size drawing.
Folding the Cards
Next, use a ruler to decide where the paper should be folded. Instead of drawing a line, I usually just draw a few dots — one near each edge and one in the middle.
Now, line up one edge of the ruler with the dots. Use the sharp point on a pair of scissors to score the paper. Now you can easily and cleanly fold it in half.
Adding Color
You may add color to all or small sections of your picture with markers, colored pencils, or even watercolors.