Eagle Drawing Step by Step

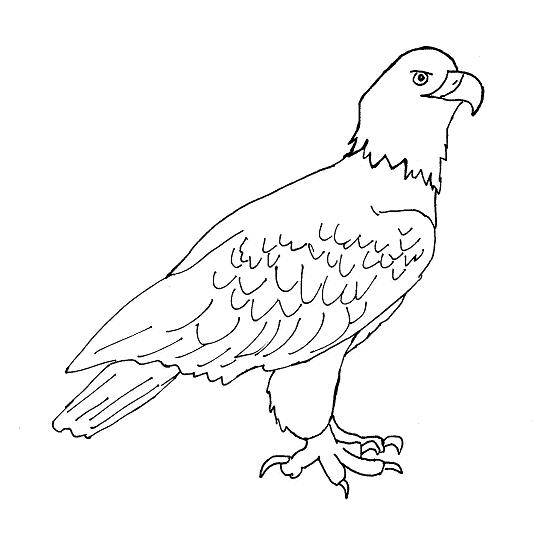
With this step by step page, you’ll be creating the eagle drawing above.

Begin by sketching LIGHTLY the largest shape you see — the oval that forms his body. Make sure it is properly positioned on your paper — not too close to the top, bottom, or side edges that it will run off. Draw this shape in lightly, as it is only a guide — you will be erasing many of these lines later.
eagle-drawing2

Continue by drawing in the other basic shapes you see. These include an oval for his wing, and oval for his tail, and another oval for his head and neck. Be sure to check these shapes for the correct proportion. For example, make sure the head is not too large for the body.


eagle-drawing3


Now begin adding the details by following the “shape” of the lines. Notice where the lines are straight, where they curve, and where they connect to each other. Draw in the beak, the legs, and the feet.

eagle-drawing4


More details here. Add the eye, the feathers, and the claws, again paying special attention as to where the lines connect with each other.

eagle-drawing5

You’re just about finished! Now go back and erase the light, rough sketch marks you used as guidelines.

*NOTE: If you are working on this drawing with a chid under eight years old, he or she may have difficulty grasping the concept of sketching in the basic shapes first. Instead, try just drawing the solid lines, paying attention to their shape and how they connect.

eagle-drawing1

Please note: Only family-friendly comments will be published.

Leave a Reply

Your email address will not be published. Required fields are marked *

This site uses Akismet to reduce spam. Learn how your comment data is processed.