One of my favorite types of art media are watercolors. Using watercolors is a great way to introduce a child to painting — they are fun and easy to clean up. It’s also a good media to try if you want to paint but you have a limited amount of space or time. Easy to set up, interrupt, pick up again, and even travel with, these paints provide a great deal of flexibility.
Watercolors differ from other paints in that they are transparent. When light meets the paint, it actually travels through the paint to the white paper beneath, then bounces back from the paper. Some have compared this to the same effect you would get with stained glass. Opaque paints, such as acrylics or oils, block the paper from the light, and the light bounces directly off the paint to your eye. For this reason, you can achieve some wonderful effects with watercolor that you can’t with other types of paint.
There is a large variety of supplies to choose from, so look for ones that will best fit your needs and budget. If you are purchasing supplies for yourself or an older child (age 9 or up), buy the best you can afford. Although you may save money by buying the cheapest, your results won’t be as good. For example, you’ll find that cheap paper tears easily; too much rubbing or too much water can cause cheap paper to fall apart. The same holds true in regards to the brushes and paints you use.
Remember how frustrating it is to try to fry an egg in a saucepan or tighten a screw with the wrong size screwdriver? Maybe not, but I have to admit, I’ve tried both. Anyway, it can be equally frustrating to try to paint a picture with the wrong kind of brush or the wrong color of paint. Use good tools to do a good job.
Below is a list of what you will need to begin painting with watercolors:
BASIC BRUSHES
PAPER
PAINTS
PALETTE
Other Watercolor Supplies
Of course, you will need the most basic of watercolor supplies: water! Designate an old cup or jar to be your water container. Find one with a sturdy base that won’t tip over easily (a coffee mug, a canning jar, a cool whip container); if it spills on your painting, it will be difficult to recover your work.
OPTIONAL SUPPLIES include:
A drawing pencil and eraser
An old toothbrush for spattering the paint
A spray bottle to re-wet the paper or create various patterns
A jar of masking fluid (also known as liquid frisket) for covering areas you want to remain white. When applied, it dries fairly quickly, becoming gummy-like (much like rubber cement glue). You can paint over it, then rub it off to reveal the white areas. This comes in handy when you have a lighter front subject and a large background area to paint — you can block out the subject and create a smooth background wash by going right over it.
Your almost ready to begin! The last thing you’ll need is a paper towel or an old dish cloth to clean your brush on and remove excess water.
To see how I set up my area to paint with watercolors, click here. For all watercolor lessons, look on this page.
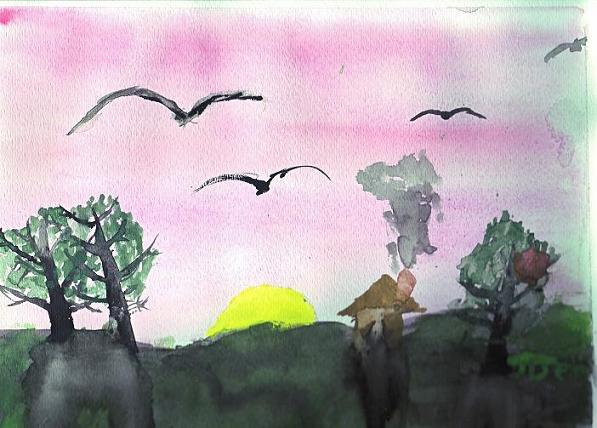
Watercolor by John, age 9