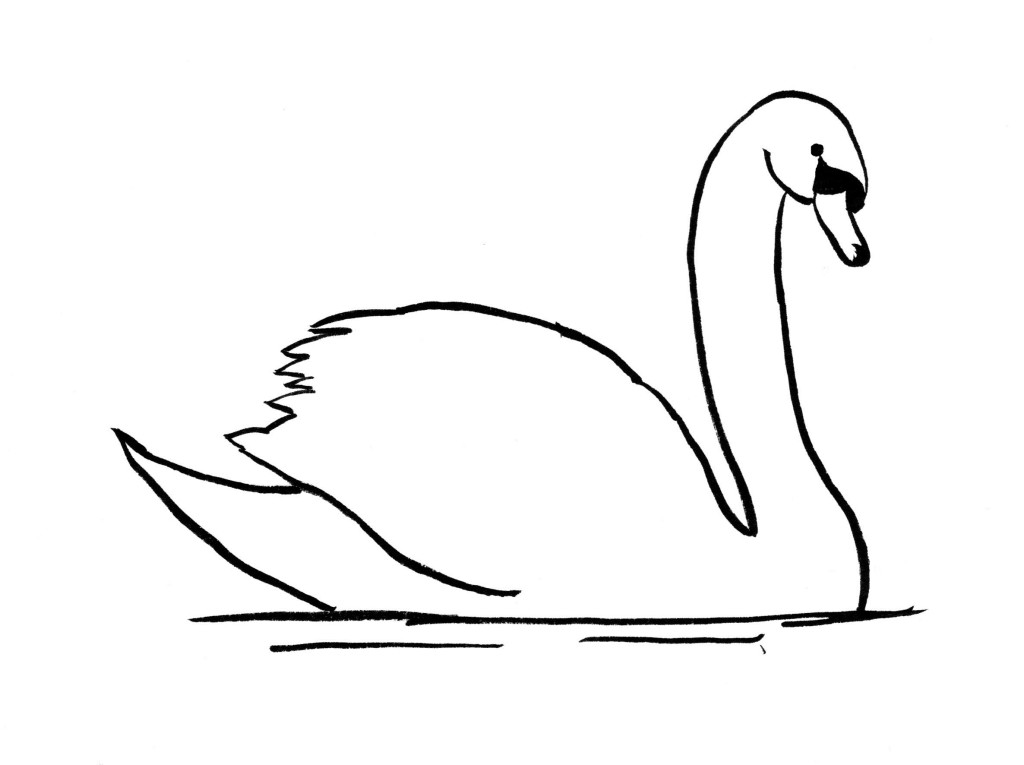
Follow these step by step directions to create your own swan drawing.
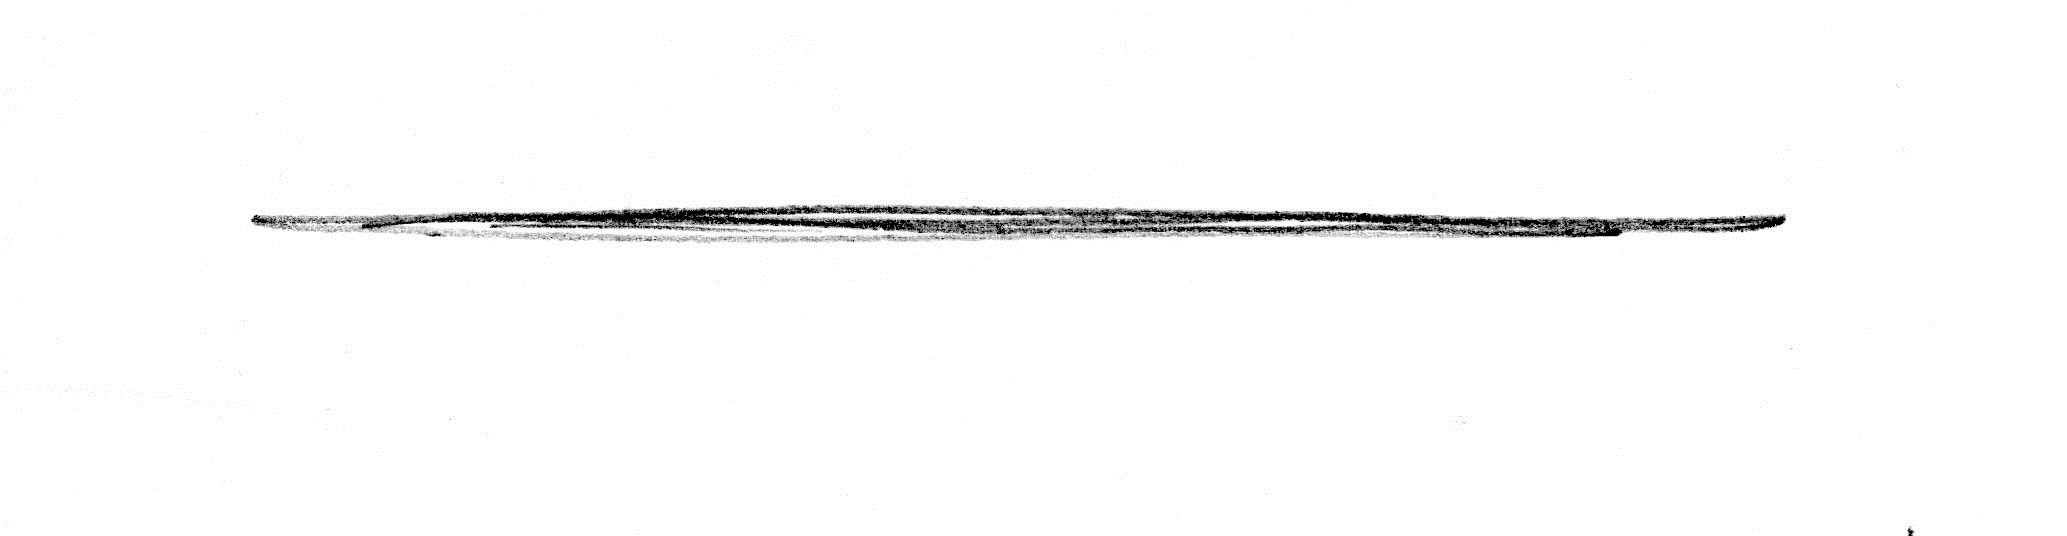
- Begin by drawing a straight horizontal line on your paper. This will be the surface of the water.
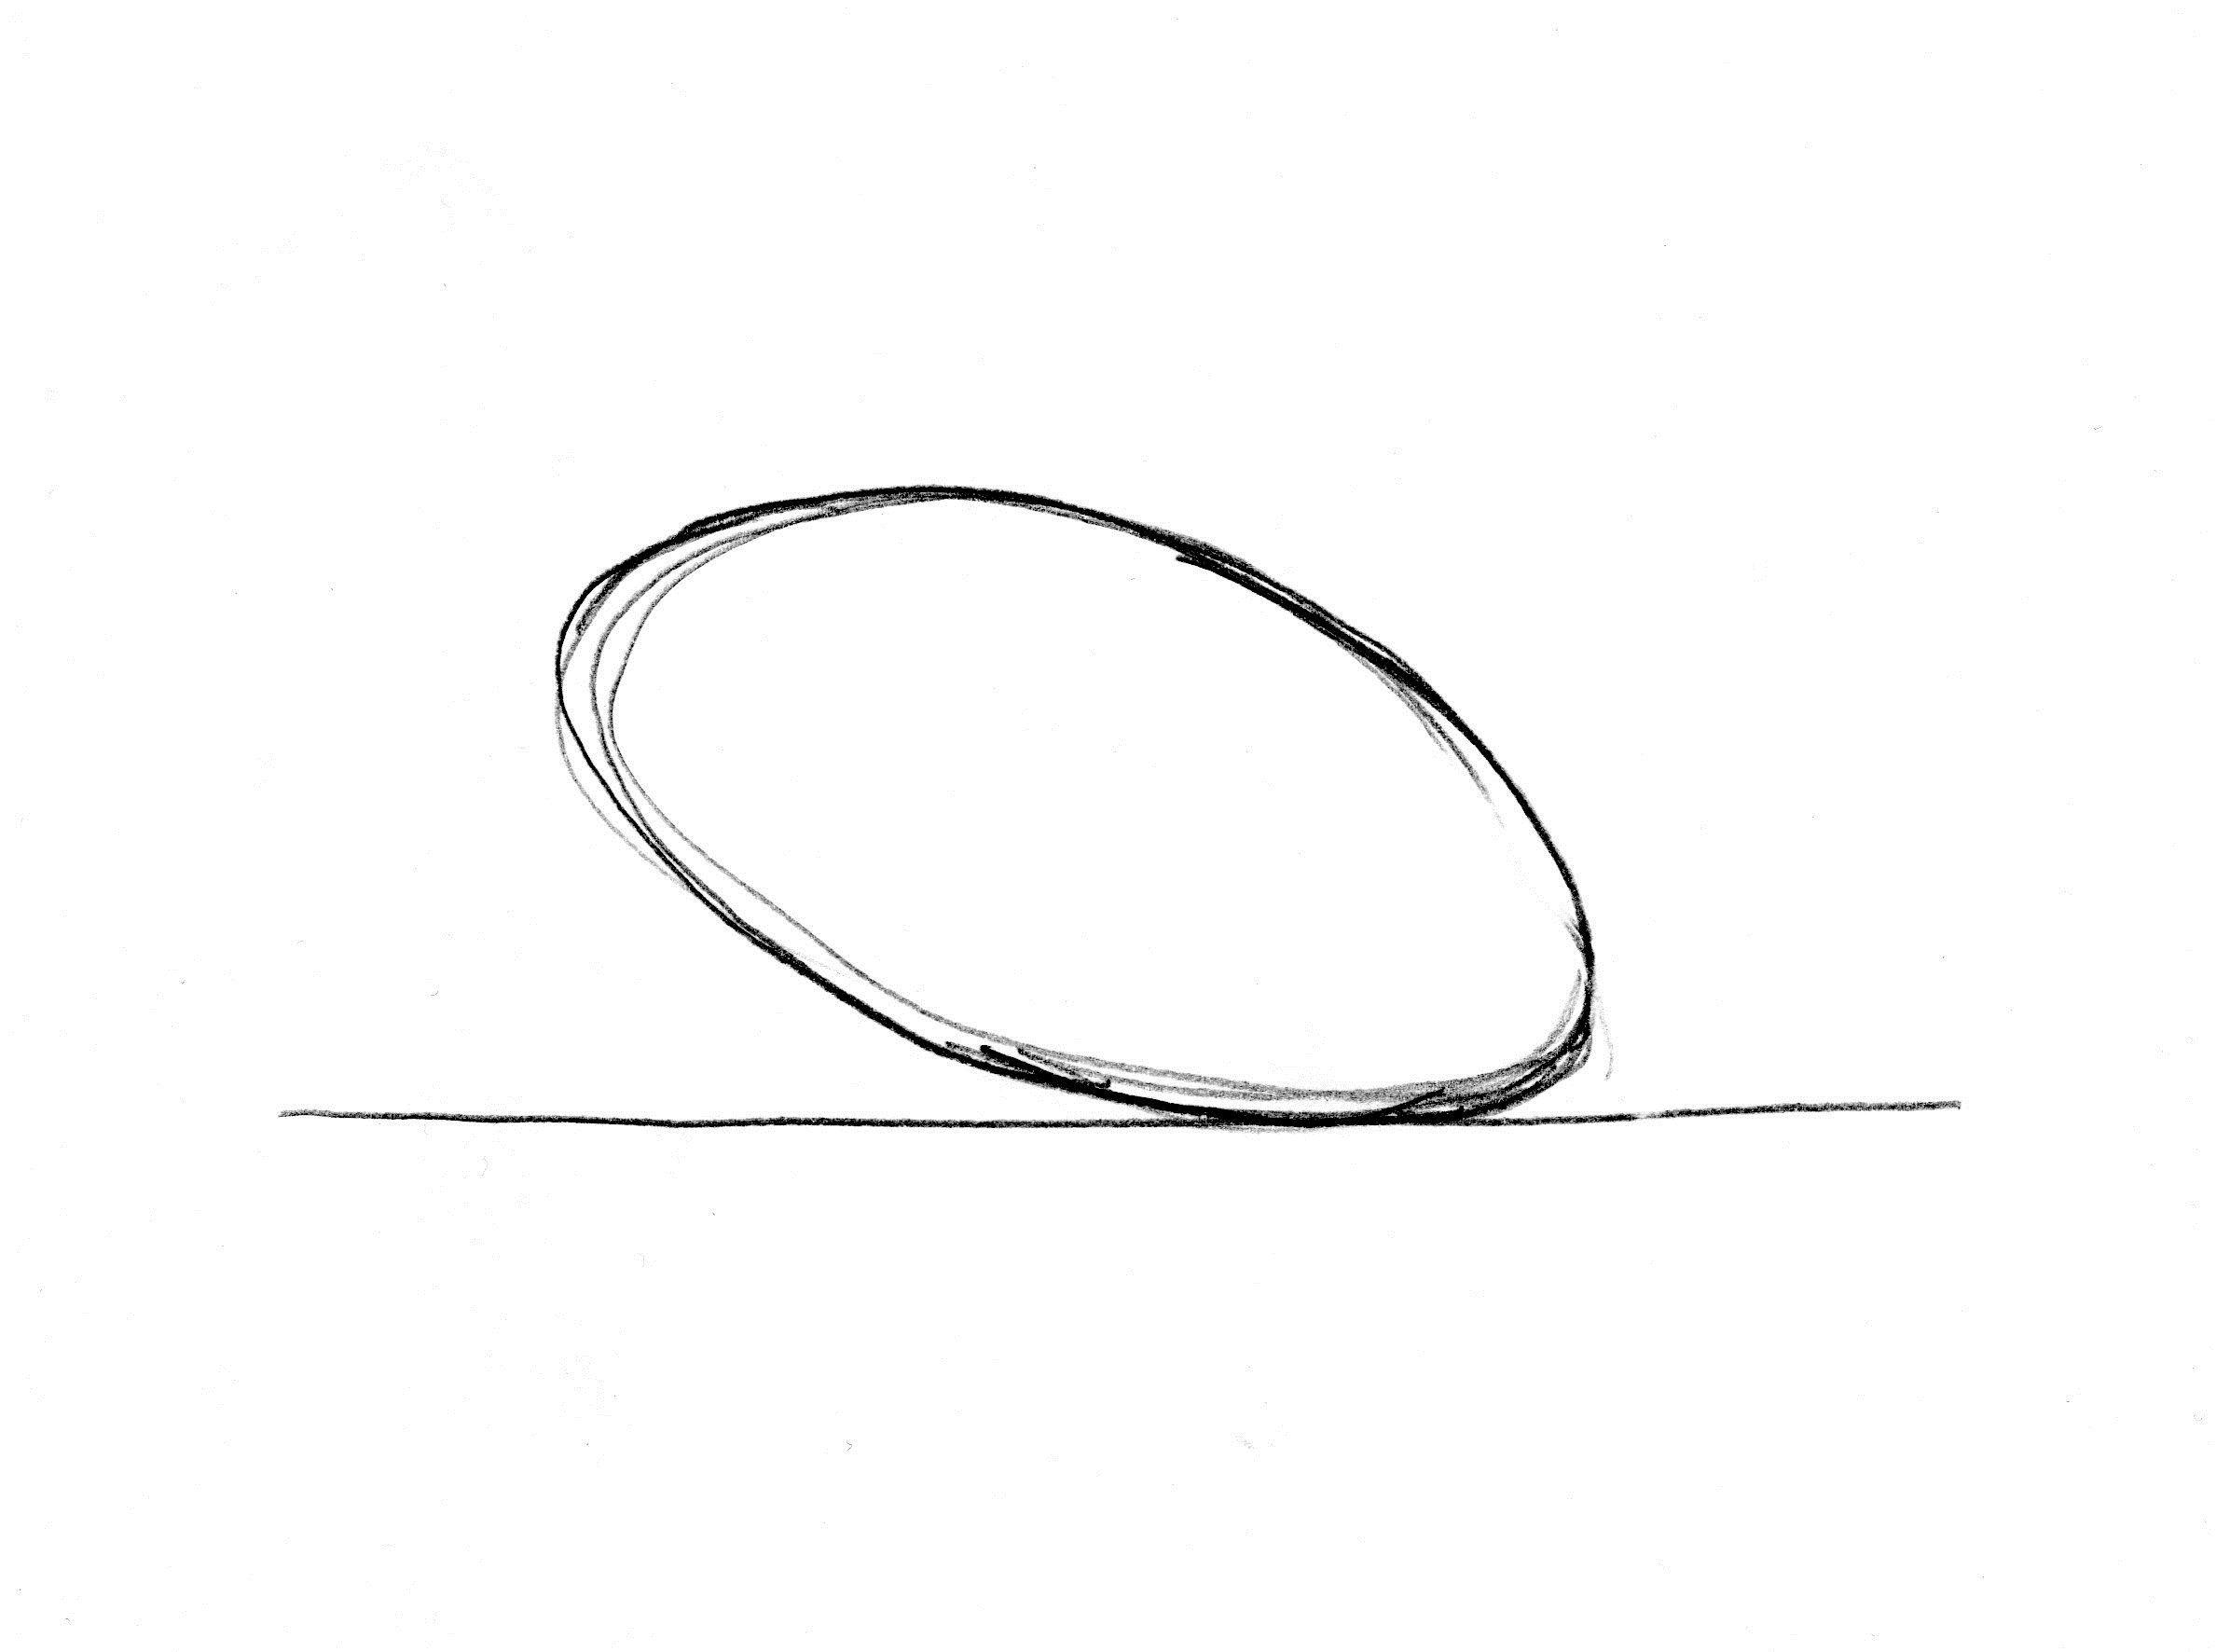
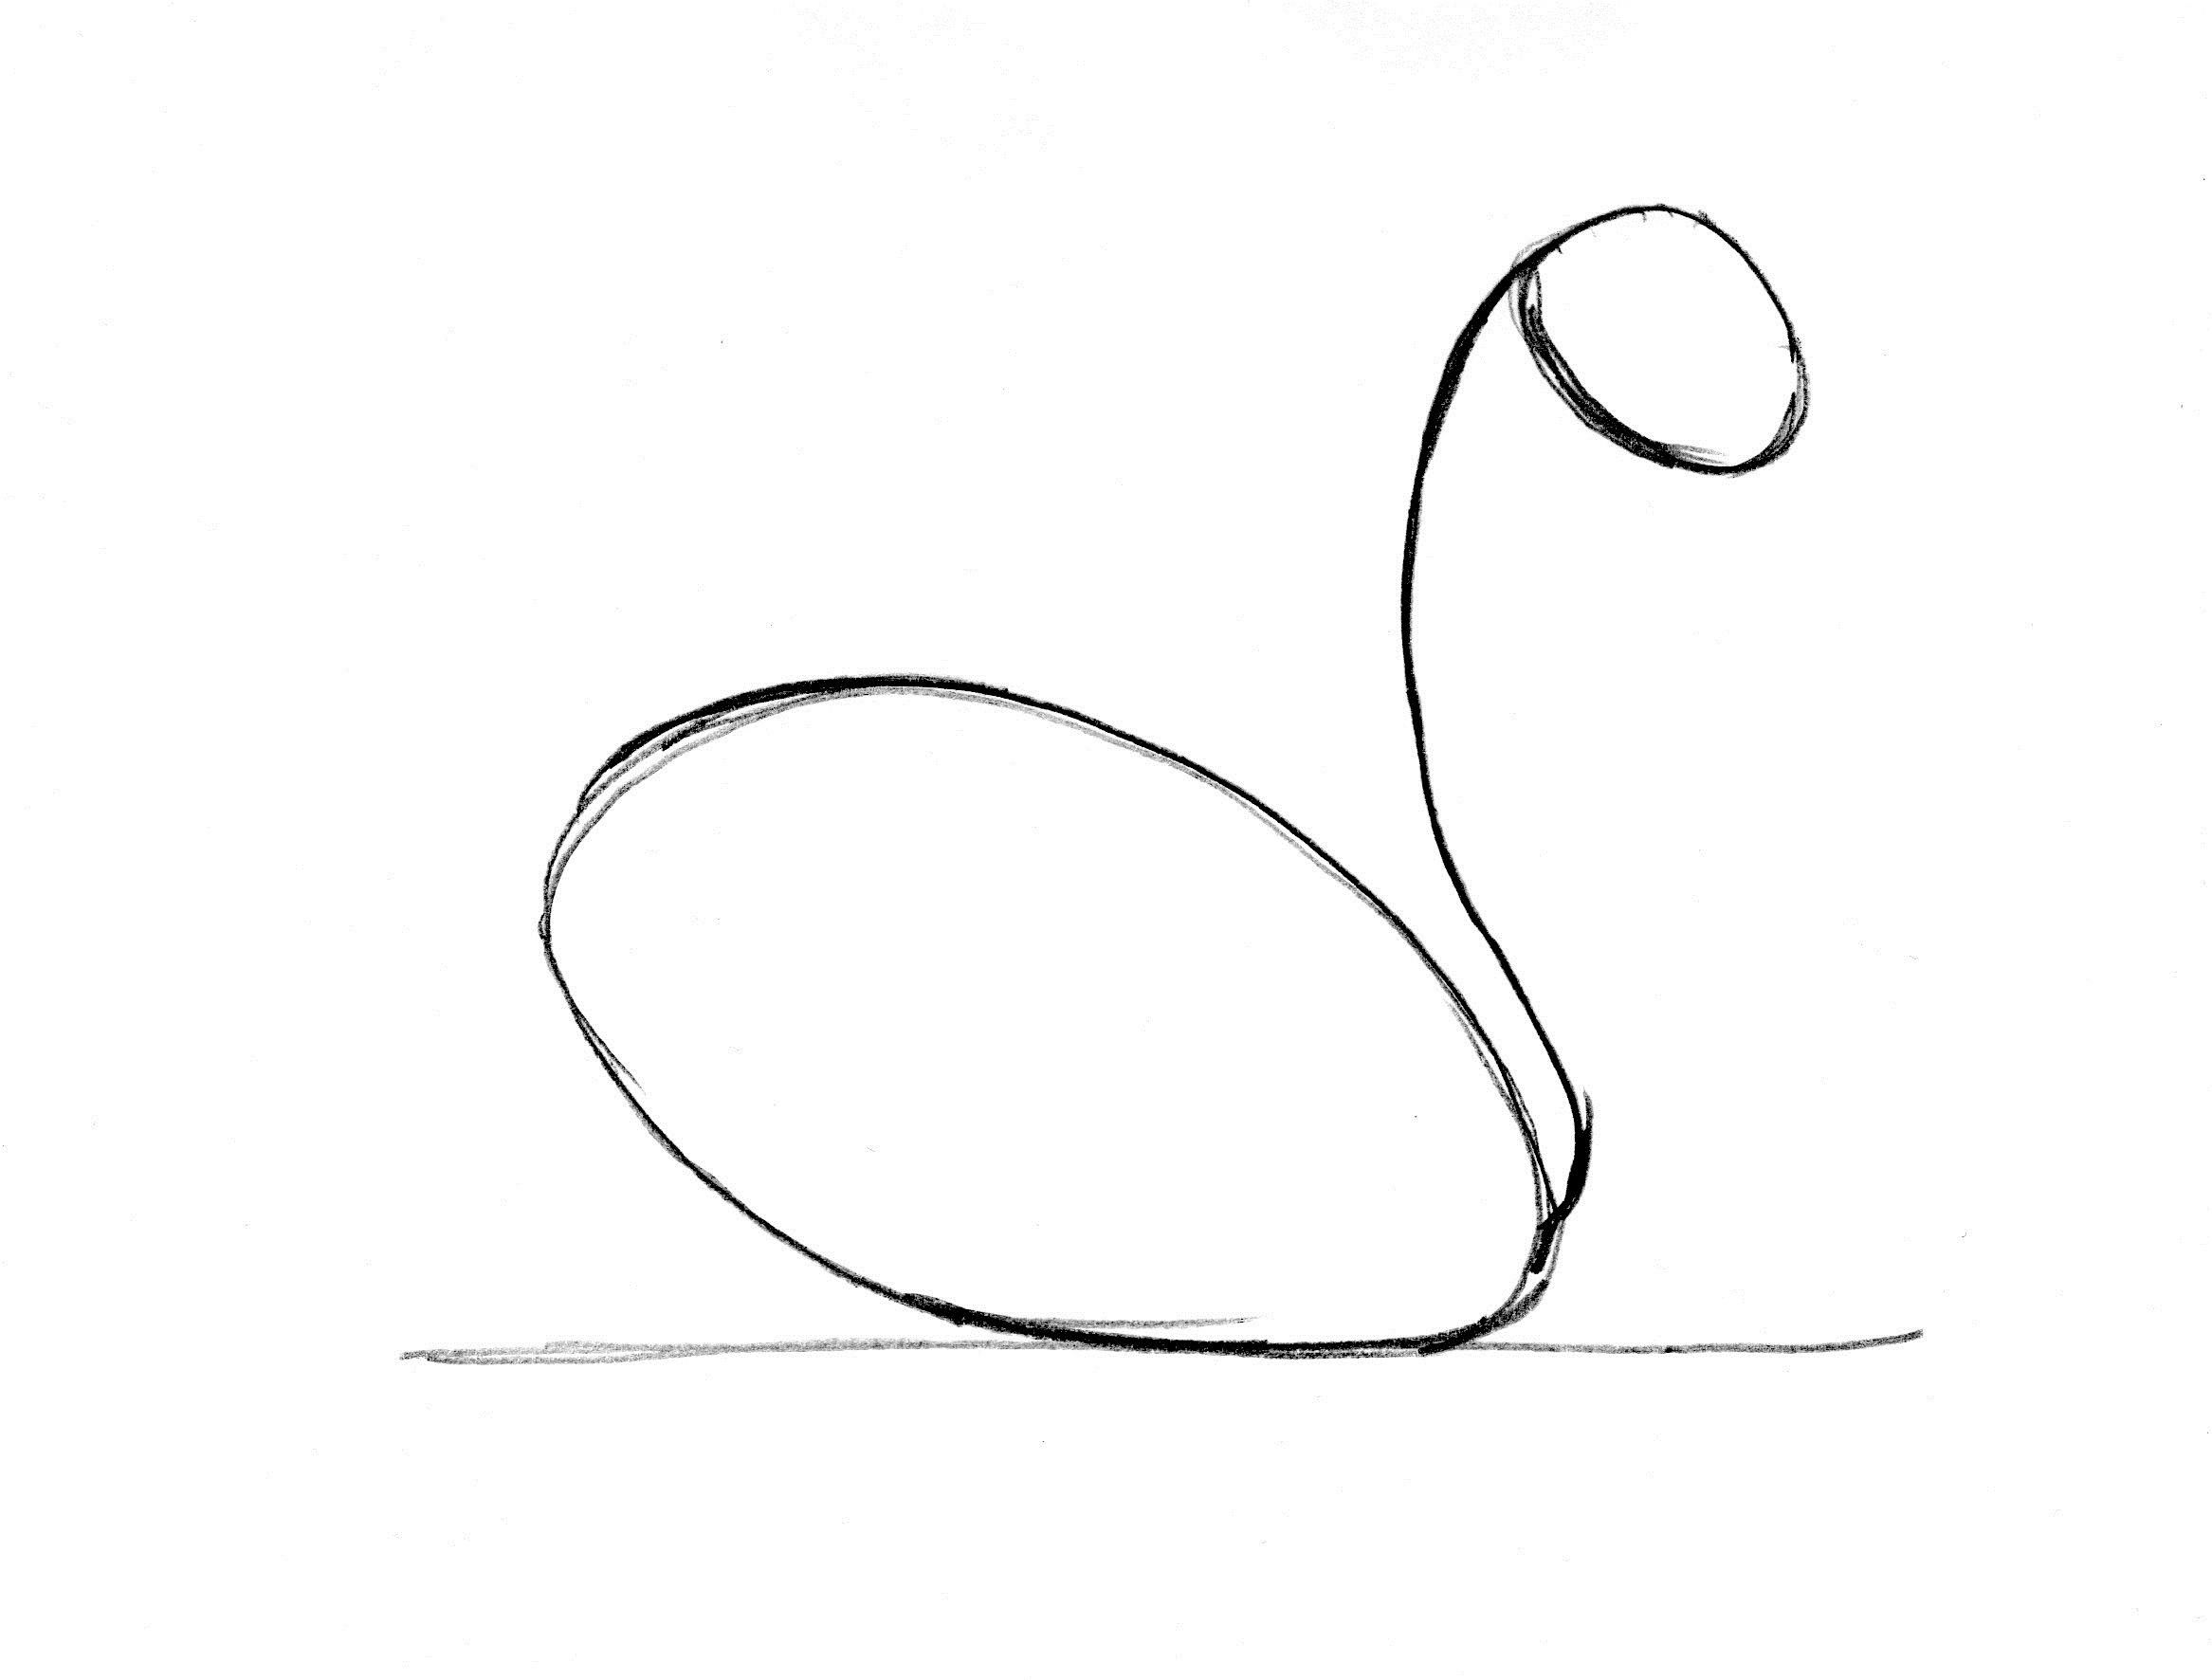
2. Draw an oval, or an egg shape, for the swans body. Make part of the oval touch the line. Remember to draw this oval lightly, as you’ll be erasing some of these lines later.
3. Add a curved line for the back of the neck and top of the head. Notice where the line begins. Start the line on the far right side of the oval, then curve it at the top like a fish hook.
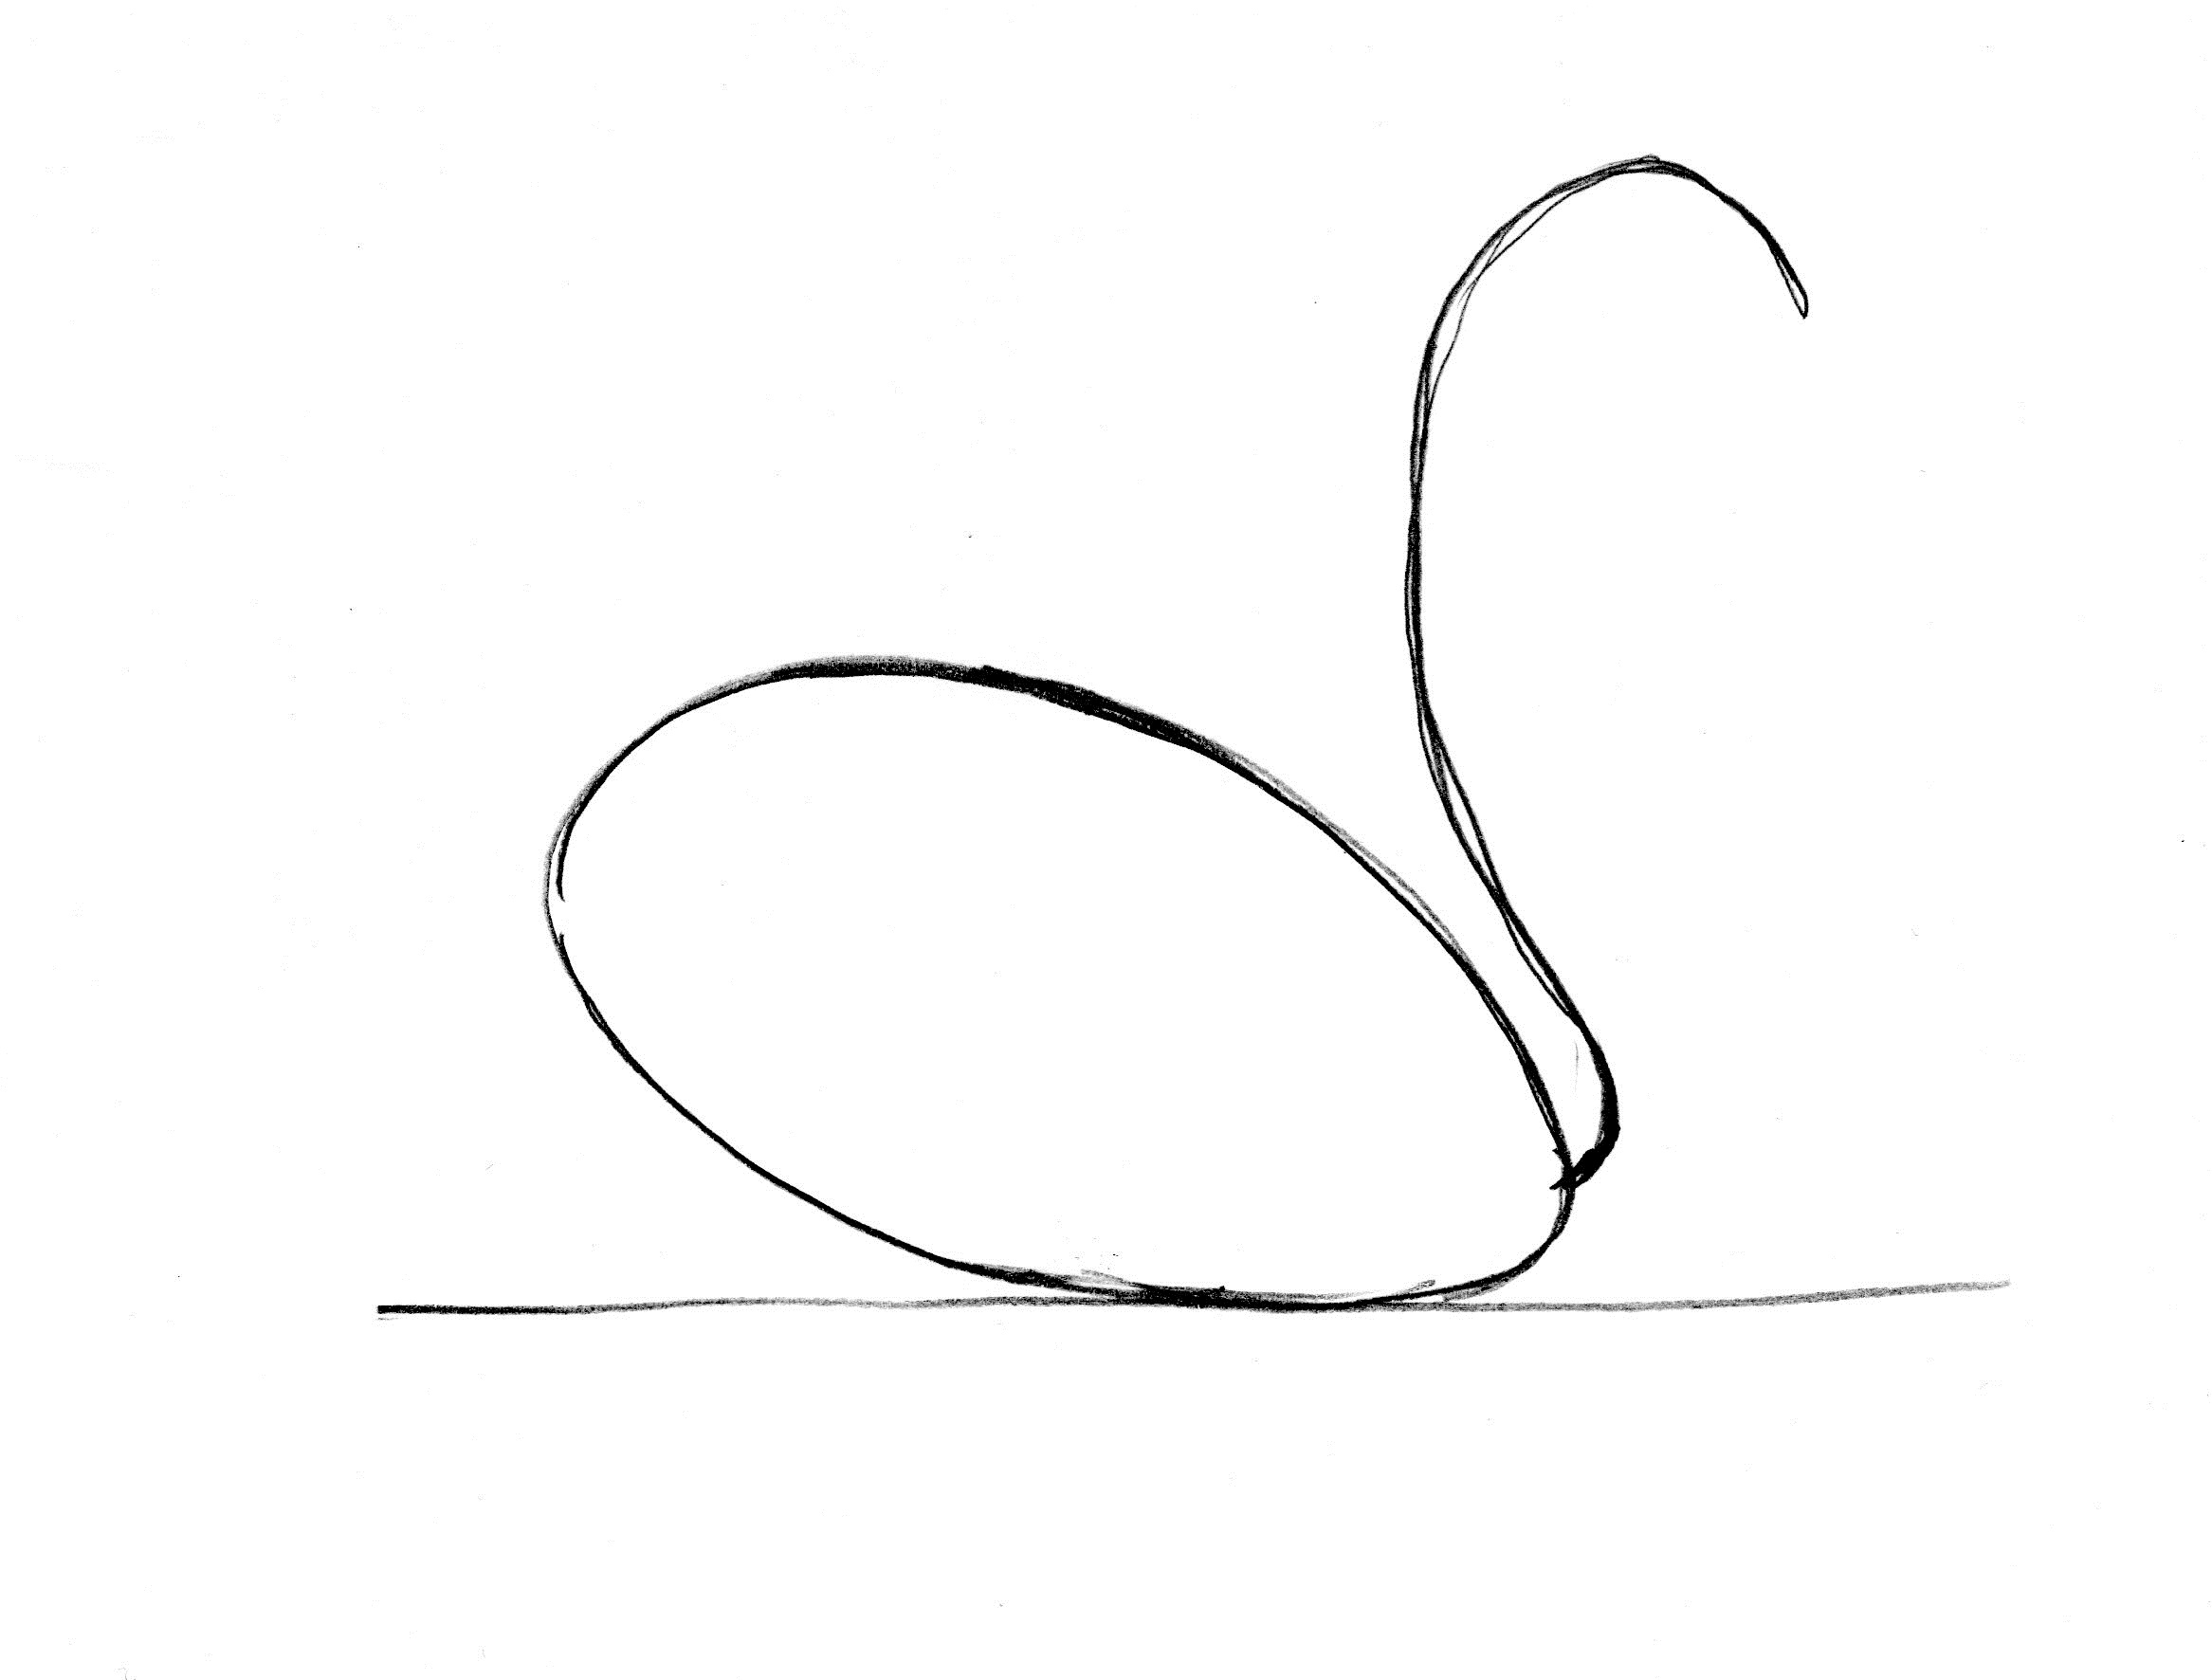
4. Continue down and around with the hook until it connects back into the neck. This will be the head. Remember to draw it very lightly — you’ll erase some of these lines later, too.
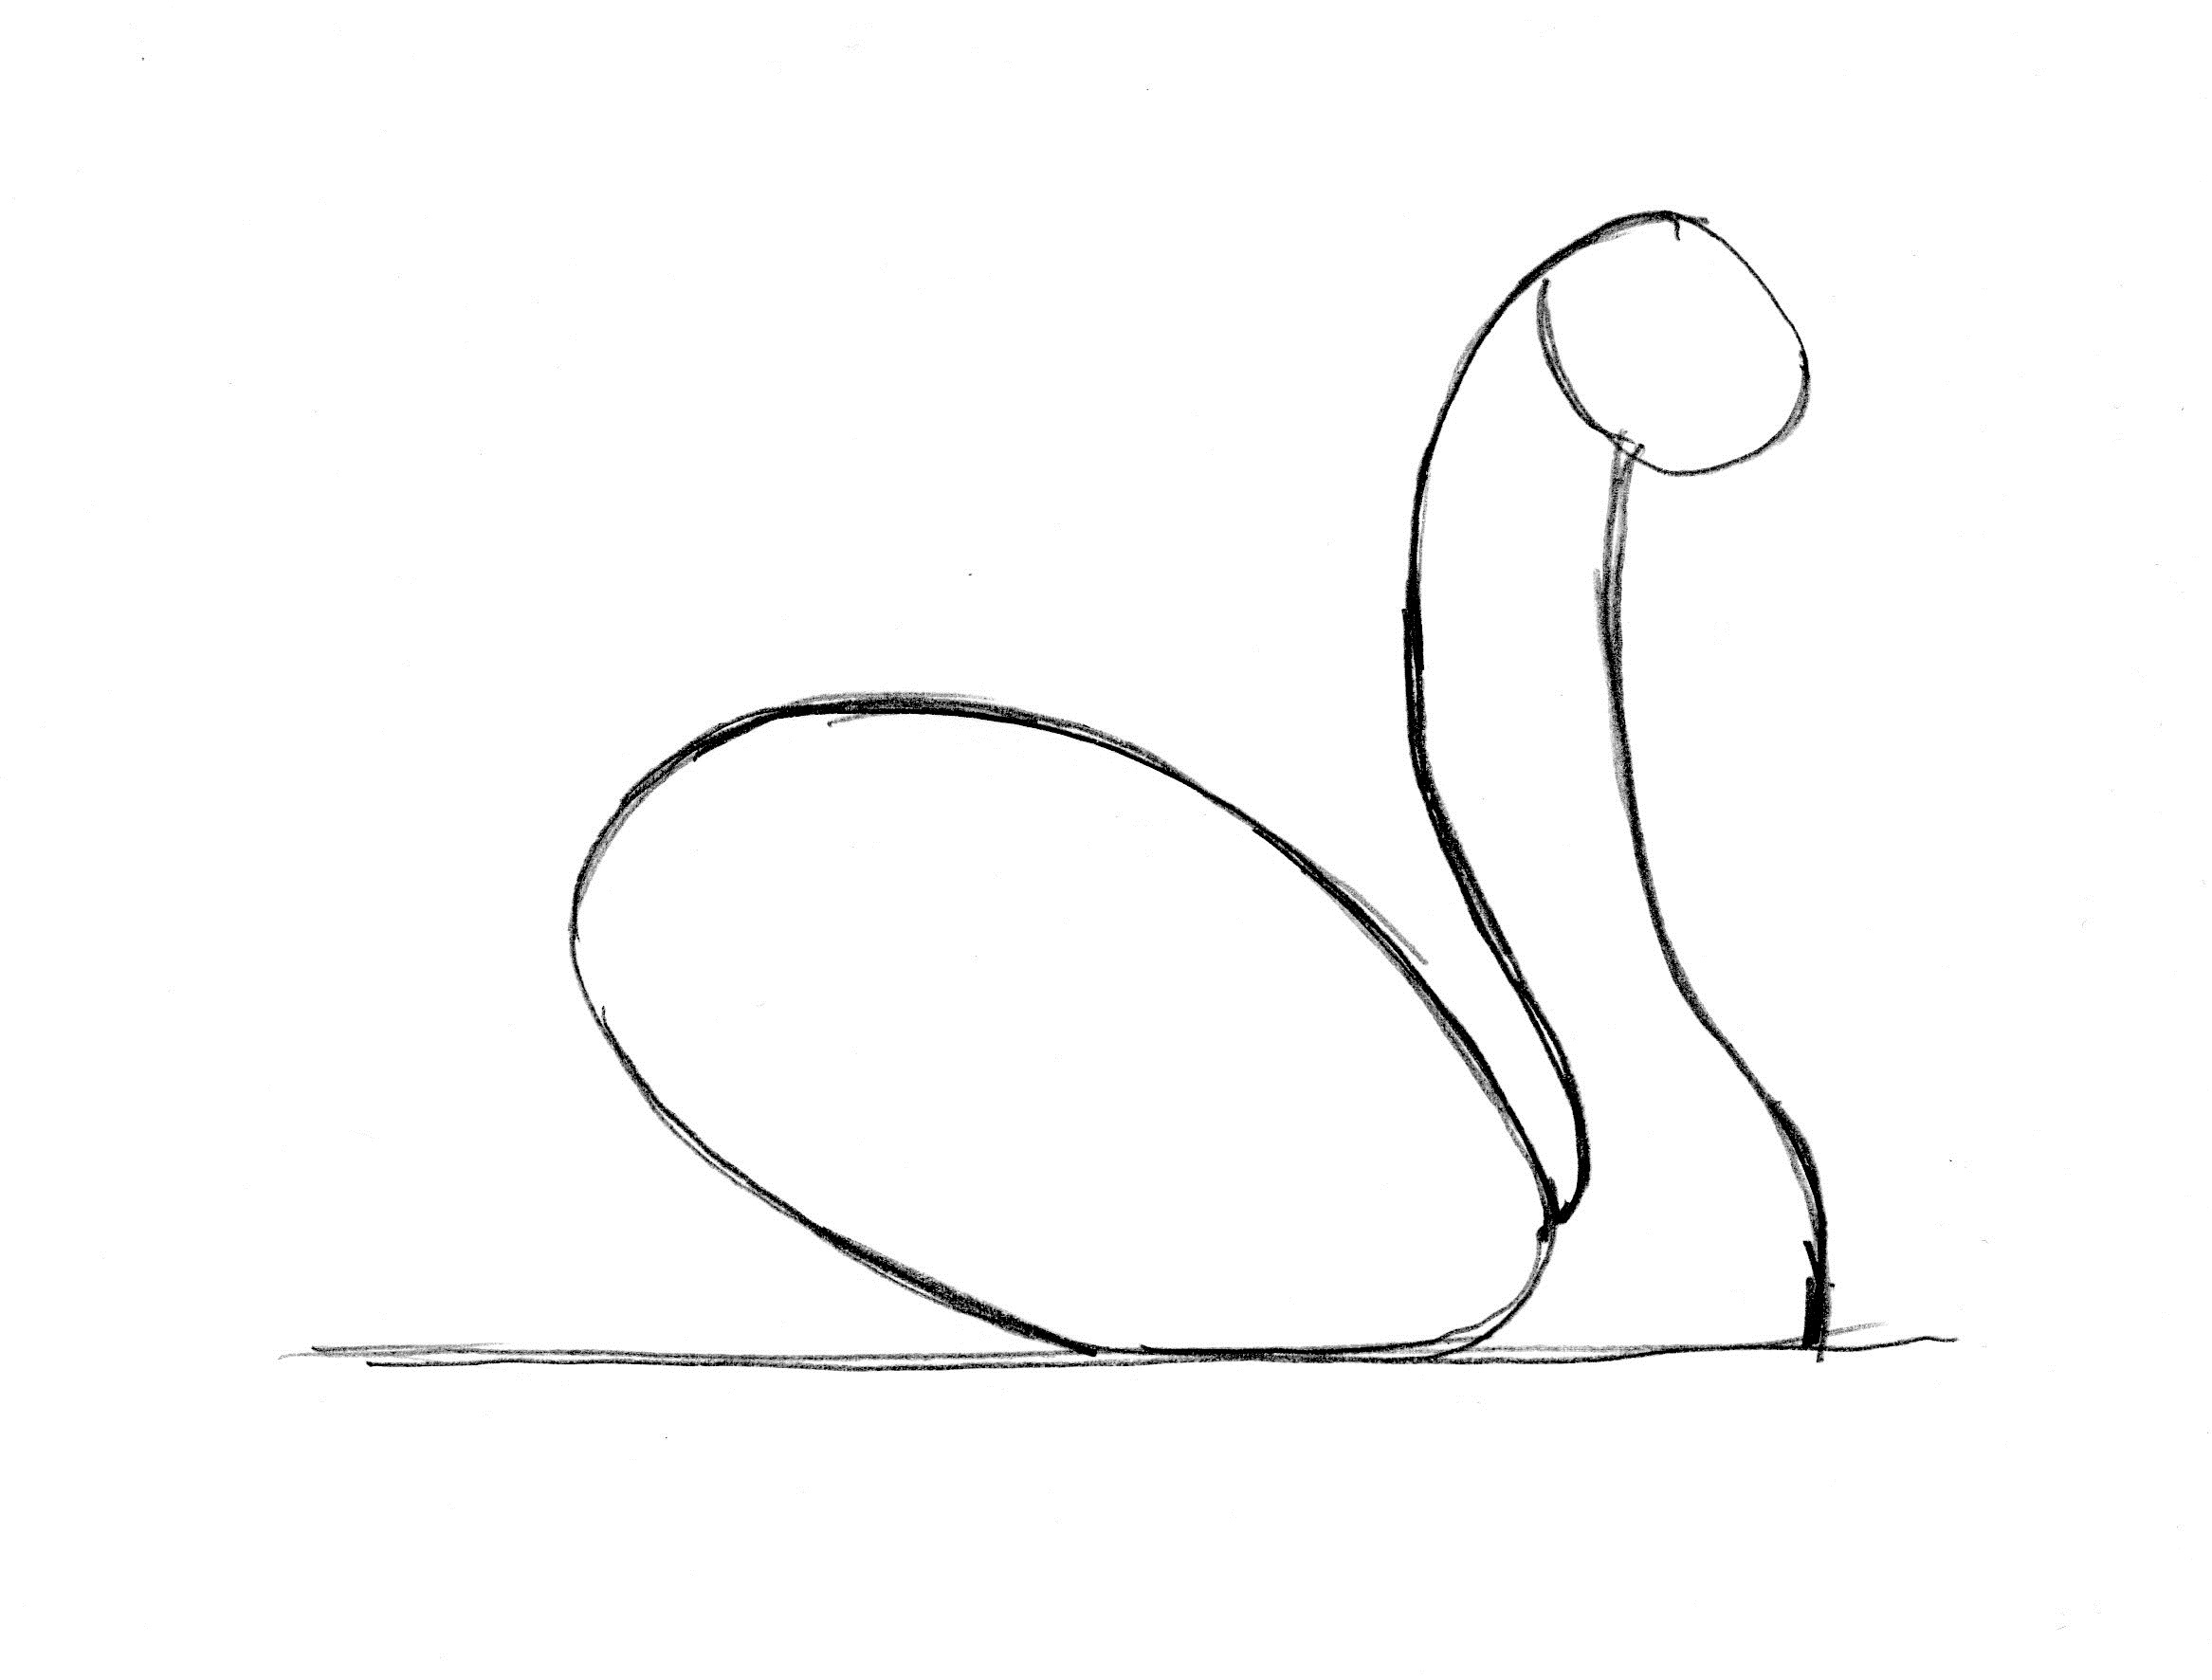
5. Draw the front of the neck. Make the lines curve the same way the “back” of the neck curves. Notice where the line connects to the other lines. The top of the line connects to the head; the bottom of the line connects to the straight line of the water.
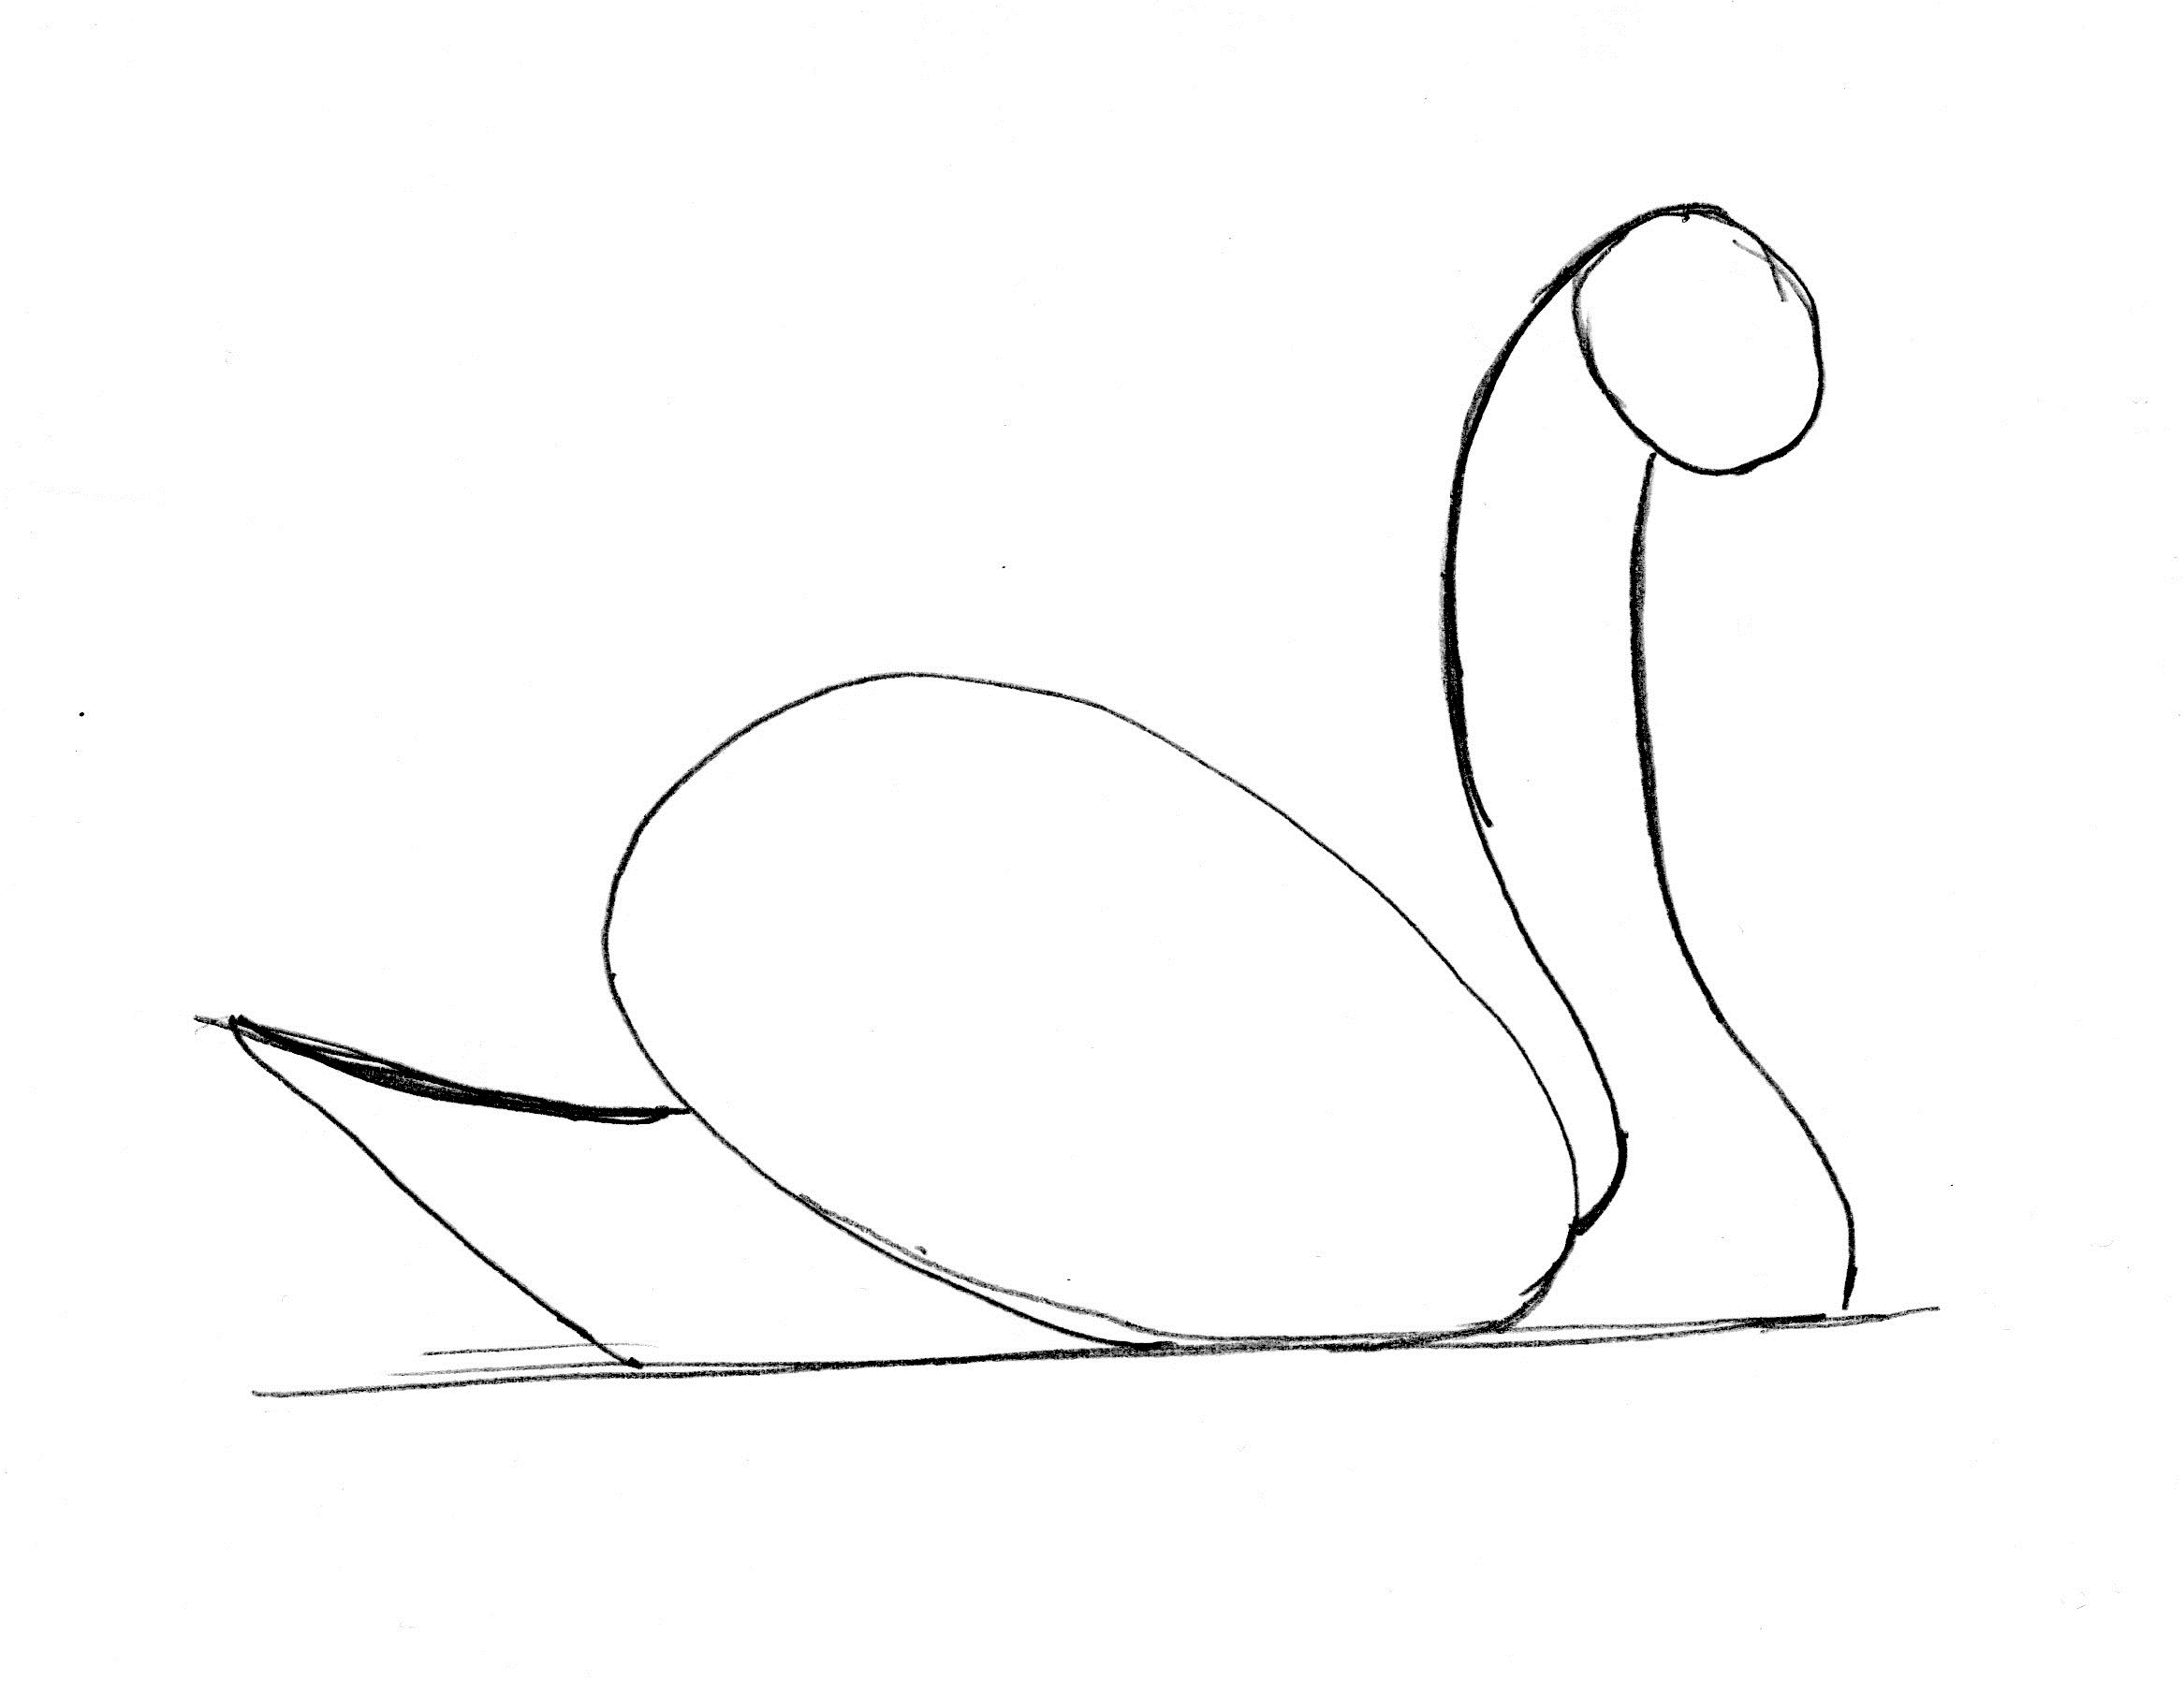
6. Draw the swan’s tail. Notice it’s two lines that come together at an angle. One line connects to the oval; the other line connects to the horizontal water line.
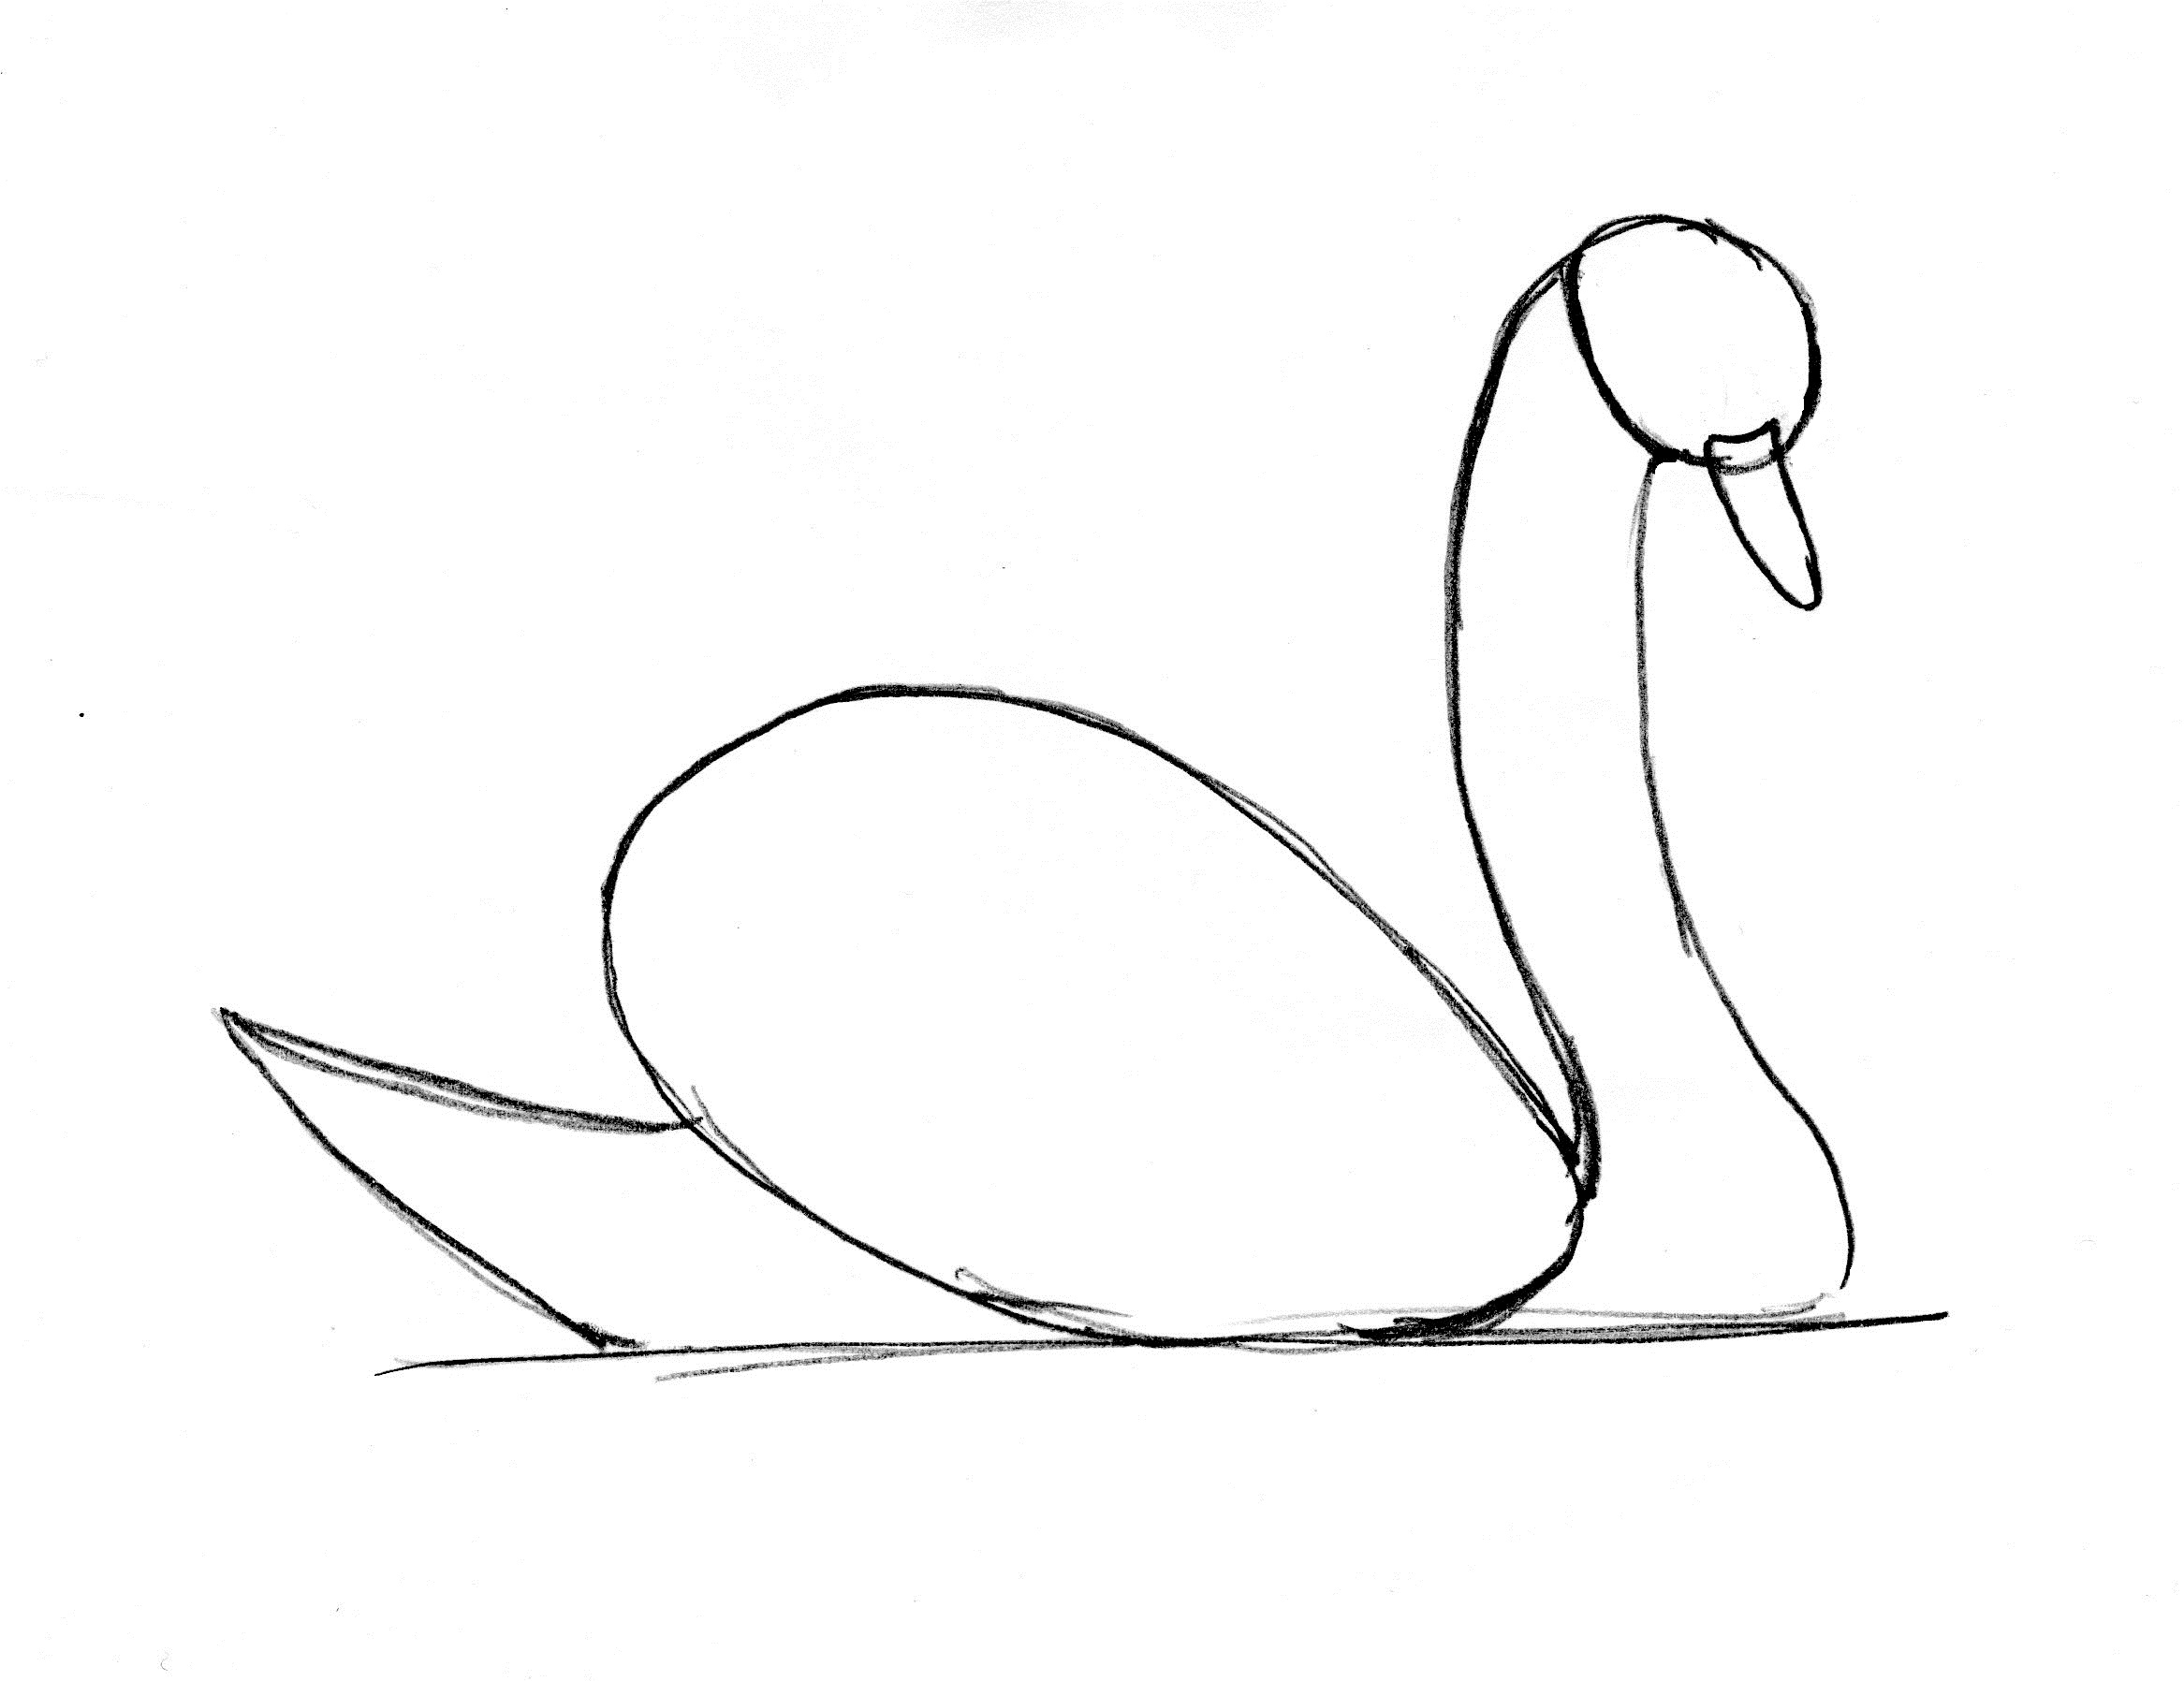
7. Now for the beak! The beak points downward from the head. Be sure to make it overlap the head a little.
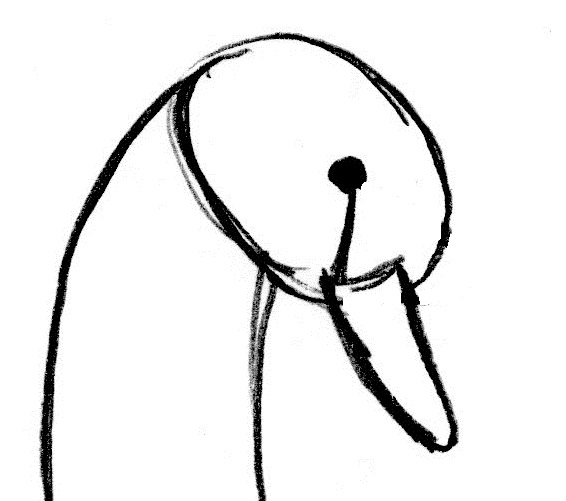
8. Now draw the swan’s eye. The eye should be in line with the top of the swan’s beak.
9. Next is the bump on the top of the swan’s beak. Draw a straight line from the bottom of the beak to the eye.
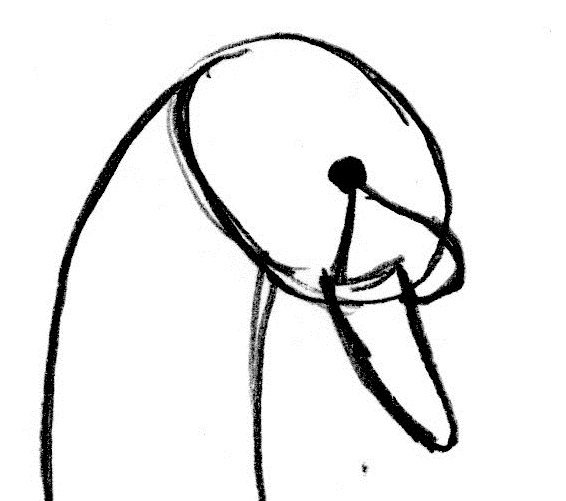
For the top part of the bump, draw half of a heart-shape, starting at the beak. (The heart will be upside down.) Make this shape end at the at the eye.
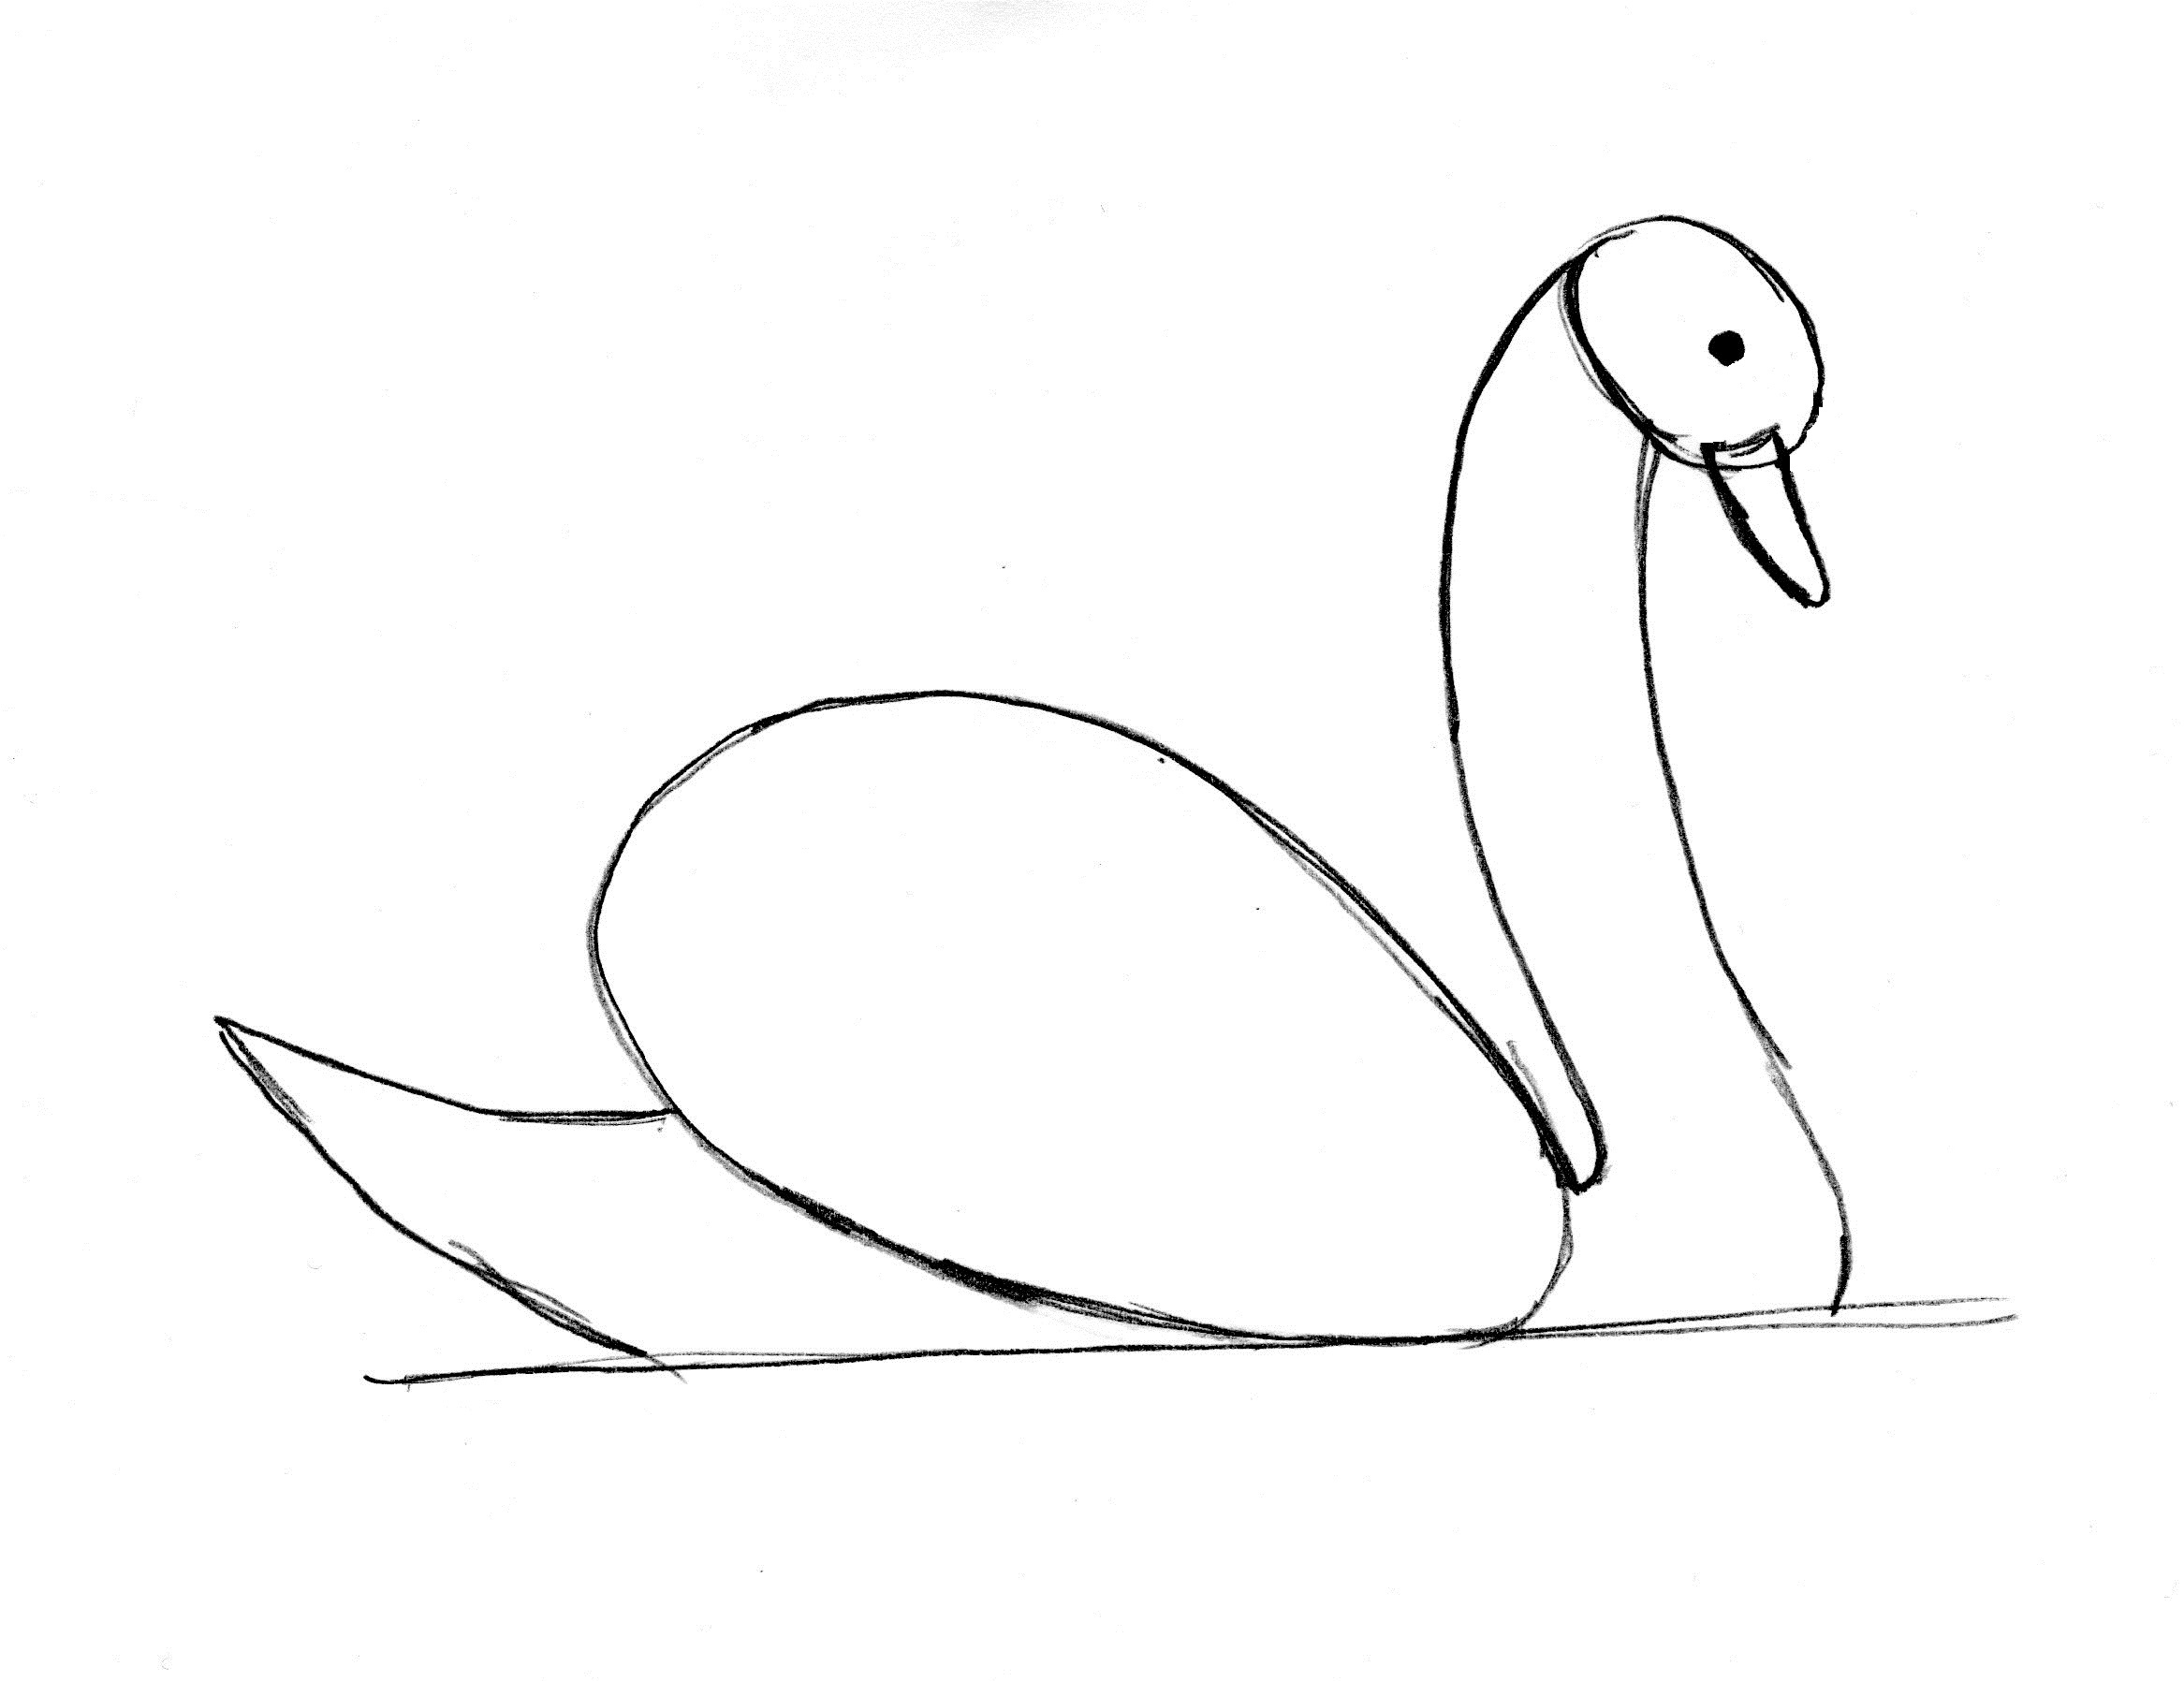
Your swan should look something like this: 
10. Erase the extra lines around the beak and where the head attaches to the neck.

11, Time to add some feathers to the wing. Draw small feathers by making angles of various sizes along the edge.

12. Erase the line on the far left side of the wing and along the bottom of the wing.

13. Almost done! Color in the bump above the beak (dark or black) as well as the tip of the beak.

14. That’s it! You’ve created a drawing of a swan!