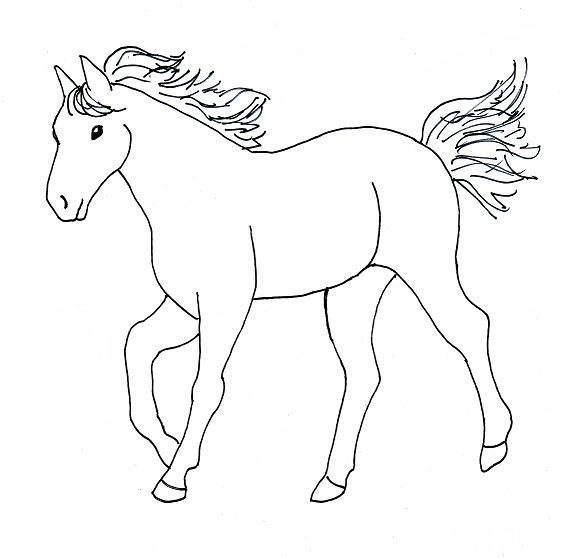
Create this step by step horse drawing!
To begin, start with the shape of the horse’s body. It’s an oval shape, and by drawing it first you can determine the appropriate size for your piece of paper. 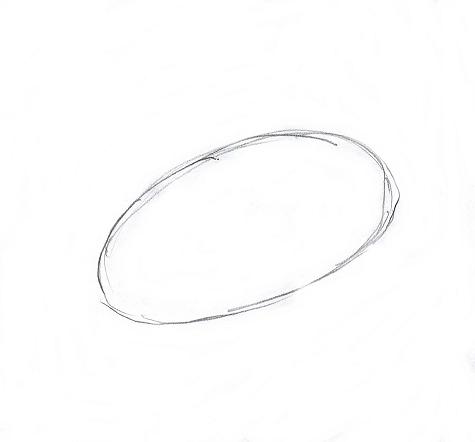
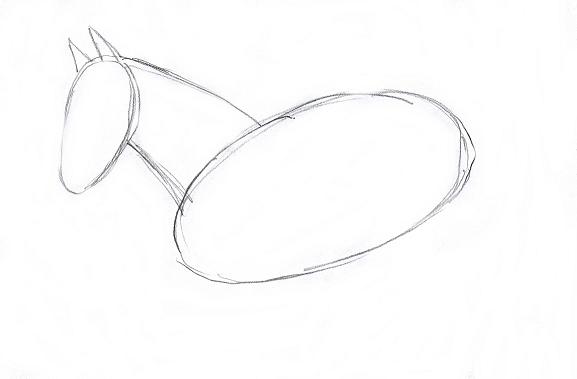
Next, add the neck and the head. Remember to sketch thses in lightly, as these are just the basic shapes and not the finished drawing. You’ll be erasing these later.
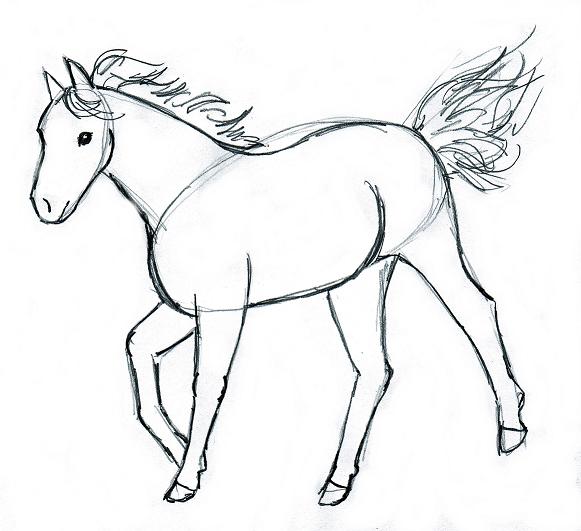
Now add the legs and tail. Again, we’re just drawing the basic shapes so draw them in lightly. Be sure to measure the body and then measure out the legs to be sure the proportions are correct.

With the basic shapes in place, go back over your drawing in solid lines, following the curves of the lines on the reference drawing. Note where the lines connect to each other. You won’t follow your first lines exactly — they were used to achieve the correct shapes and proportions of the parts of the horse.
Finally, go back and erase your guide lines, those first sketches you drew. If you drew them lightly, they should be easy to erase.
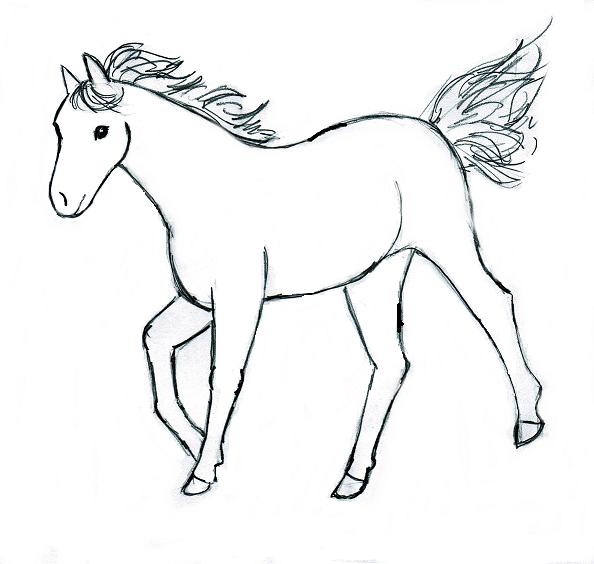
Good job! You’ve finished your drawing of a horse!