By John, Age 11
One of the best ways to practice drawing or painting is to use the actual object as a reference instead of a photograph. This is true if you’re using pastels, too. So for this lesson, you’ll be drawing an object from life in pastel.
SUPPLIES:
• Soft Pastels (these are the chalky ones)
• Pastel Paper (or another kind of paper with a “tooth” to it)
• Drawing or printer paper
• Pencil and eraser
• Object or Objects (to create a still life)
1. Choose an object from your home, yard, or classroom. Possible objects include pitchers, vases, candles and candlesticks, pencils, paintbrushes, flowers, books, shoes, soda cans, teapots, fruit, cups, bowls, toys, etc. You can choose just one object, or put two or three together to create your own still life arrangement. Arrange the objects on a table or other surface.
2. Next, you’re going to create a sketch of the object/arrangement. This won’t be your final drawing, but ;you’ll use this sketch to create your final drawing. If you draw directly on your pastel paper, you may create grooves in the paper that will show up when you go over it with pastel. Instead, use a sheet of drawing/computer paper and draw the object/arrangement you see. You’re going to transfer this drawing later.
*NOTE: If more than one person is drawing from the same arrangement, the perspectives displayed in their artwork will be different.
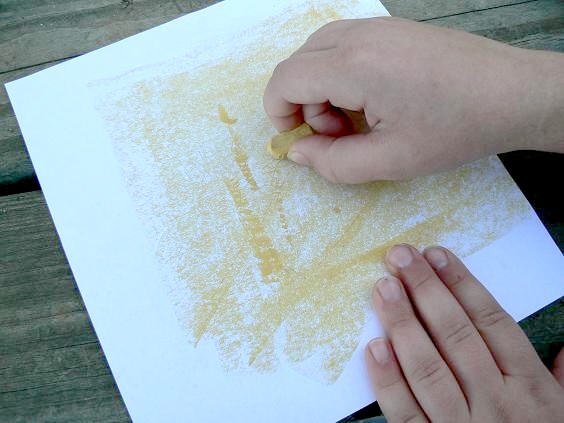
3. Once you complete your drawing, you’re ready to transfer your sketch to the pastel paper. To do this, flip over the sketch so the reverse side is up. Rub a soft pastel in a light color on the paper.
Next, flip the drawing right-side up. Holding the drawing securely with one hand, LIGHTLY trace the drawing with the other. If you press too hard, you’ll form grooves in your paper that are difficult to cover. Remove the drawing paper to find your image underneath in pastel.
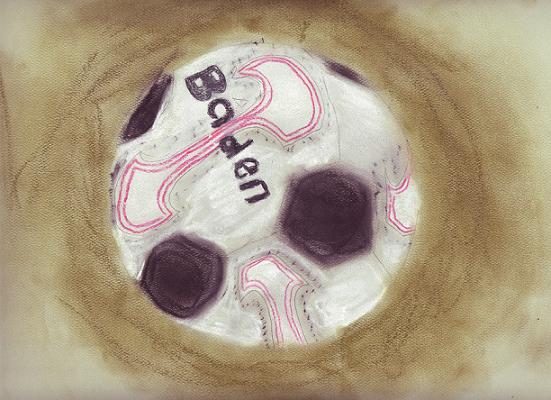
4. Begin filling in your drawing with the soft pastels. Remember, pastels don’t mix like paints do. Instead of trying to mix a color, find one in the shade you need. You can layer the pastels, however. For this reason, I usually begin with the colors I see in the background and work forward. For example, the student who drew the soccer ball applied white first, then grey, red, and black. HOWEVER, when you need a color to stay very dark, you should apply it directly to the paper and then work around it. Otherwise, the colors underneath it will make it lighter.
5. You can also color in the space behind your objects, or you can leave it empty. If you want to leave it empty but have a lot of smudges, use a kneaded eraser to remove them. I’ve also read you can use a small piece of bread, but I haven’t found that to work as well.
*Remember, although pastels don’t mix well, they are great for blending.
*Messy? Pastels can be very messy! You can wash your hands when they get too chalky, but be sure to dry them very well. Water will cause the pastels to smear, even in your hand.